|
Noise Filtering and Sharpness in the E-M1 Mk.II |
|
|
My other articles related to the |
|
Table of Contents: | ||
| ||
|
This experiment should show what combination of sharpening and noise filtering in the E-M1 Mk.II will result in "best" (subjectively) in-camera JPEG images.
In the past I did two similar studies: This is, however, the first such effort in which three difference sample scenes are used, each designed to diagnose another aspect of image degradation. Before your pictures can be viewed or printed, the raw image information has to be converted to RGB form. This is a process consisting of two basic parts:
All cameras can perform this raw-to-RGB conversion just after the picture is taken, so that only the resulting RGB image (usually JPEG) is saved to the memory card. Some allow for saving the raw information file and postponing the RGB conversion to be done with a separate piece of software runnIng on a computer. This is often referred to as "shooting raw", and you can read about its pros and cons elsewhere. This article applies only to in-camera conversion, where you store your images as JPEG files. Many cameras (including all by Olympus) allow you to tweak the conversion process by adjusting a number of parameters. Of these, two are special, affecting resolution and noise level (both at the same time). One is the degree of image sharpening, the other — the strength of noise filter. They work, in a sense, against each other: more sharpening also increases the image noise; stronger noise filter negatively affects image sharpness (resolution, detail). To suit our needs and taste, we have to find the optimum combination of both these parameters. This may depend on a number of other factors, most of all, the ISO setting. I am sure Olympus already adjusts the default parameters to the ISO, and any user-defined corrections are applied on top of those adjustments. As my results show, those "hidden" offsets are chosen very reasonably. Still, I would really like to see the noise filter setting as one of the parameters stored in Picture Mode presets (and not as a global value, hidden deep in the Custom Menu branch). Sharpening already is a part of the Picture Mode, and adjusting one often calls for changing the other. This makes the current design inconsistent. Because our evaluation of image quality is subjective, so are conclusions of this study. Your taste may differ from mine; if so, just ignore my choice of parameters and use the included image samples to come up with your own preferred parameter combination. Note on sharpness setting: for each Picture Mode this is set as a value from -2 to +2. I'm usually showing the value with a prefix denoting the mode; for example: N-2 means "-2 applied in Natural mode". Each Picture Mode also adds a hidden offset to the internally used value; it is +1 for Vivid, -1 for Muted and Portrait, 0 for Natural. Therefore, for example, settings of V-2, N-1, and M±0 all denote the same degree of sharpening. Based on my past experience, I decided I need three (!) sample sets to do the job, each showing a different scene.
Within each sample set I was repeating the same procedure. For every combination or sharpness and noise filter settings (the total of 5×4 or 20 of them), I shot a series of frames at ISO in 1 EV intervals (plus the Low setting of ISO 64). This makes a total of 9×20 or 180 frames per session (or sample set). From each image, a sample of 240×240 pixel size was extracted, and those are presented as 5×4 matrices, one per each ISO value. Within each such matrix a visual choice of the best sample was made. In some cases (especially, but not only, at lower ISO) the visual choice based on small image samples was quite difficult. This is where I resorted to a (much) better, but also more time-consuming way, of inspecting the uncropped frame in 1:1 pixel scale, full-screen, in an image browser, and quick-flipping between images. For this, the browser has to be able to preserve image scale and position while switching images. Both ACDSee and FastStone have this option, you just have to find it in the settings. | |||
|
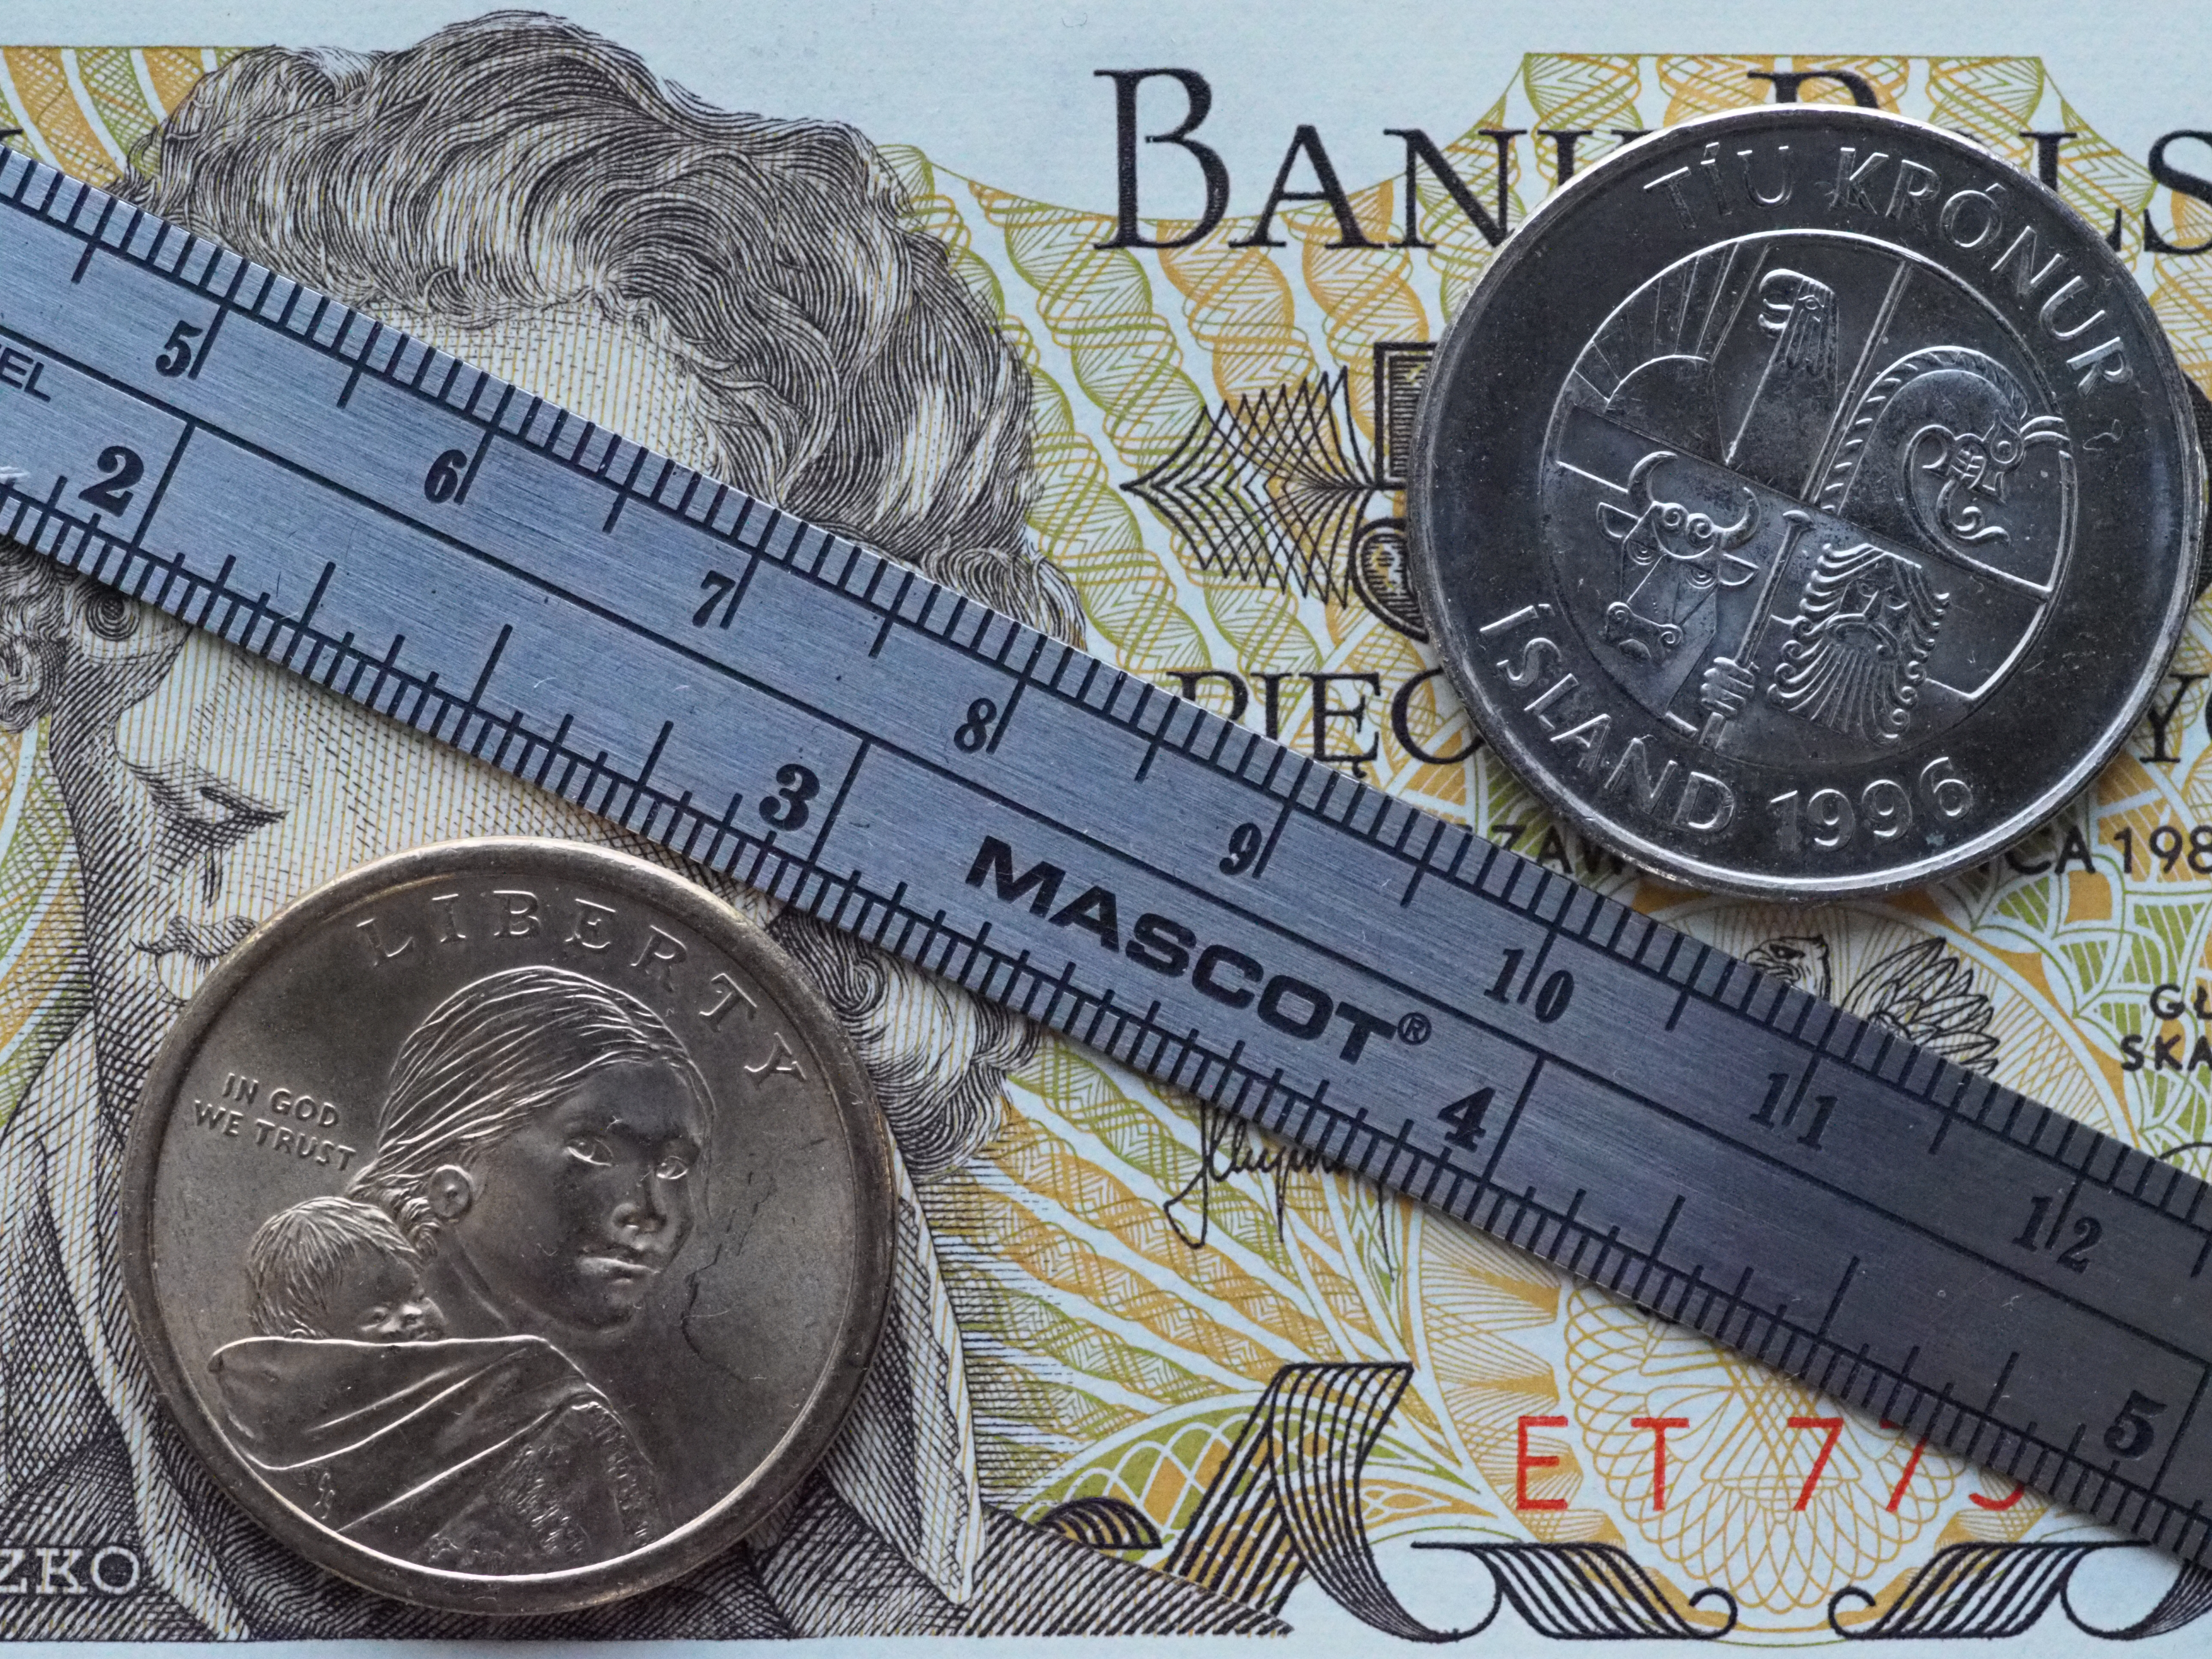
I've been shooting similar arrangements for years now. The ruler and coins offer more contrast and tonal range, and with a good lens the resulting images talk to me stronger than any numbers from tests. I always use diffused, soft light for this subject, arranging the tripod next to a glass patio door. | |||
|
Lens: ZD 50/2.0 Macro (with Four Thirds adapter)
Exposure: Aperture Priority (0 EV) at F/8; from 1/5 s at ISO 64 to 1/2000 s at ISO 25600 White balance: Sunny (5300K) Light source: Open shade and diffused light from a sunlit fence Focus: MF mode with AF on demand before each series when camera was touched Processing: Natural Picture Mode, contrast and saturation at 0, normal gradation; 1:2.7 JPEG compression. Medium tripod, release and ISO change via OI Share, other adjustments by camera's controls
|  This sample at ISO 200, sharpness N-1, NF at Low
| All Set #1 samples (click to open). | |
|
My favorite parameter combination for this sample set would be N-1/Low up to ISO 3200 and then N±0/Std for ISO above that. This is, however, not a strong preference; actually for this scene all six inner (non-boundary) matrix tiles look fine. Here is a quick comparison of somewhat larger samples at various ISO settings, all for the same parameter combination: N-1/Low. Samples link to full-size image files. |
| Sharpen: N-1, Noise Filter: Low | |

ISO 200 | 
ISO 400 |

ISO 800 | 
ISO 1600 |

ISO 3200 | 
ISO 6400 |
ISO 12800 | 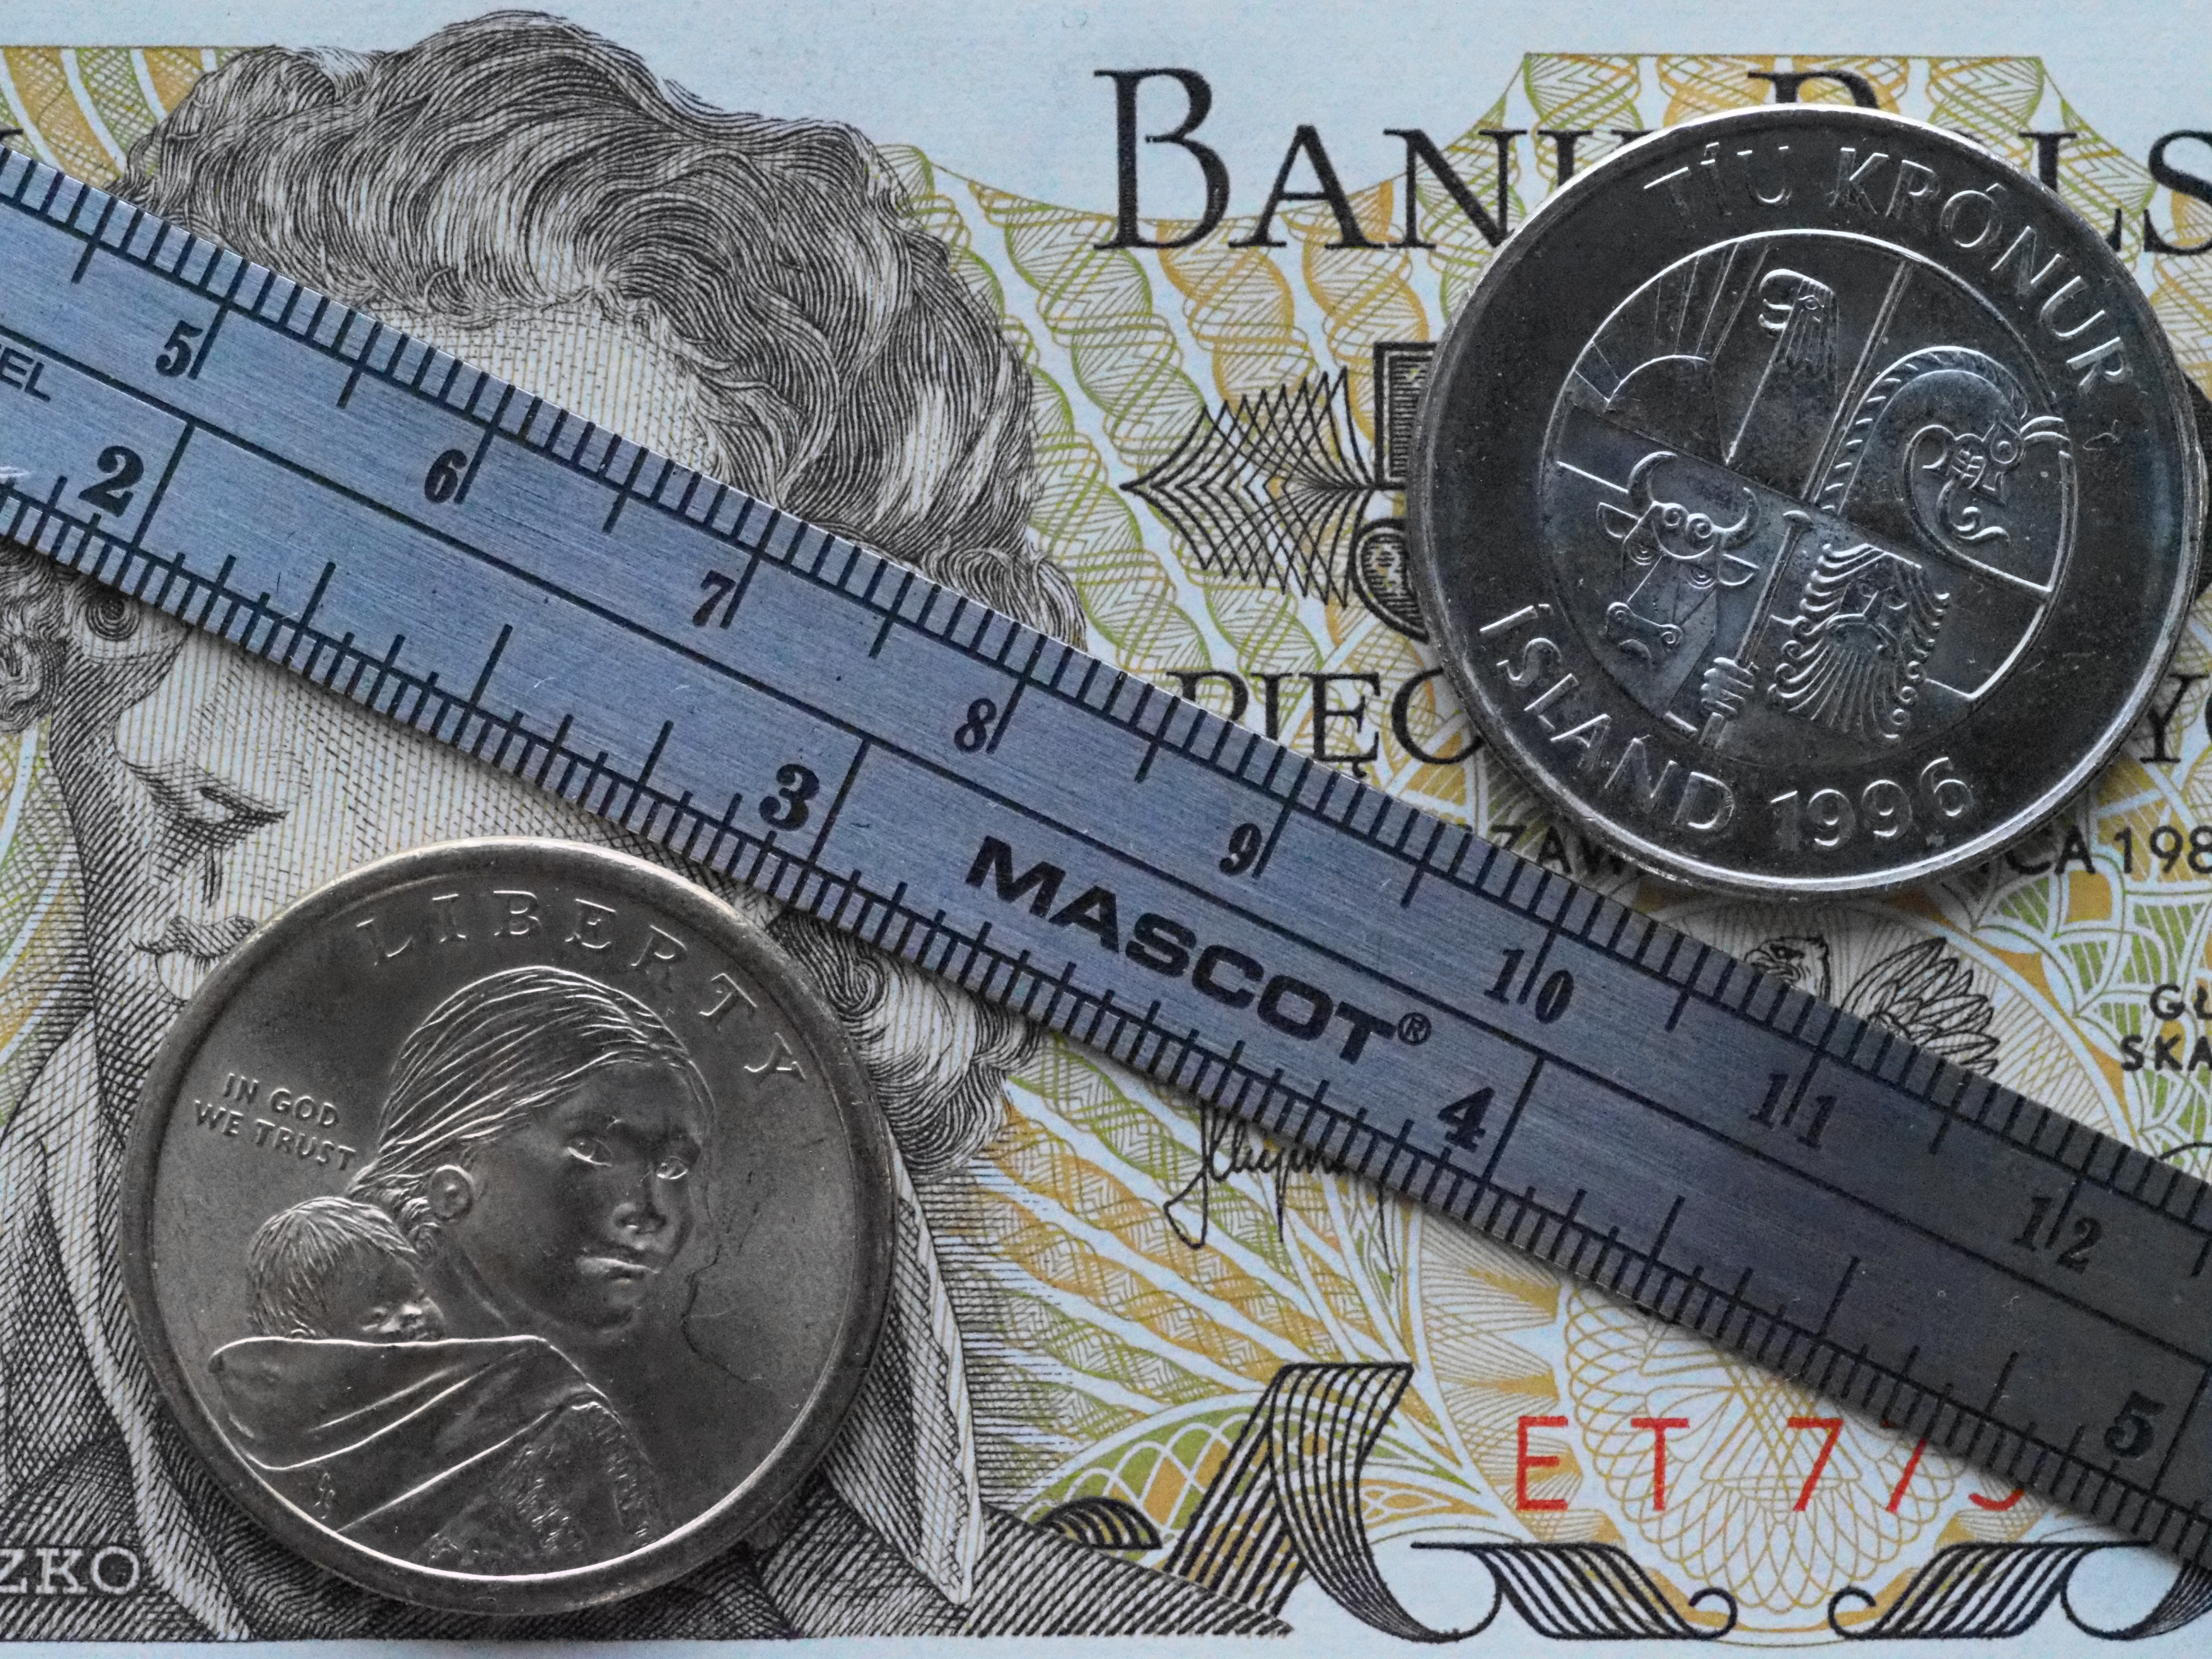
ISO 25600 |
|
I came up with this scene out of desperation, having misplaced my box with props (to which my wife refers as junk). And I am glad I did. It is easily set up on a coffee table, lit by ceiling lamps just above, and offers nice, unfocused background, with just enough of in-focus detail. Placing a silvery object behind the pencil tip was a last-minute idea, aiming at creation of some nice gradient to watch the noise against, at the same time staying close to the focus area. It worked very nicely. Now I am going to torture you with my pencil box until you cry uncle. | |||
|
Lens: MZD 12-100/4.0 IS PRO at 70 mm
Exposure: Aperture Priority (-.3 EV) at F/4; from 1.3 s at ISO 64 to 1/320 s at ISO 25600 White balance: Auto Light source: Warm fluorescent lamps in paper shades Focus: MF mode with AF on demand at start of the session Processing: Natural Picture Mode, contrast and saturation at 0, Normal gradation; 1:2.7 JPEG compression Medium tripod, release and most adjustments via Olympus Capture
|  This sample at ISO 6400, sharpness N-1, NF at Low
| All Set #2 samples (click to open). | |
|
I'm really happy with how this set turned out. It is not only good-looking, but also quite informational. Differences between samples, even neighbors within a matrix, are well-pronounced, so the choice of optimal parameters is easier than in Set #1. Generally, you may get an impression that a different camera was used to shoot this scene. Not only is the noise more prominent at highest ISO settings, but, subjectively at least, I can see more loss of detail. For general use, my parameter choice would be, again, N-1/Low up to ISO 3200 and N±0/Low above that. Here are larger samples from this set, obtained at N-1/Low for various ISOs, and linking to full image files. |
| Sharpen: N-1, Noise Filter: Low | |

ISO 200 | 
ISO 400 |

ISO 800 | 
ISO 1600 |

ISO 3200 | 
ISO 6400 |

ISO 12800 | 
ISO 25600 |
|
Sample Set #3: Tree in the Sky This, against my expectations, turned out to be a tough one. With recent temperature drop in Maryland, we are below or near freezing for most of the day, and I'm not going out there just to take 180 or so of stupid tree shots, all identical. At the same time, I had to hurry — the leaves are already showing up! I ended up setting the tripod out in the living room next to the patio door, tethering the camera to a laptop running Olympus Capture, then waiting for the right light, opening the door — and shooting all series in 40 minutes or so. I could use ISO settings only up to 3200, running out of shutter speeds above that. No harm done, however, as the bounce artifact goes away at ISO 1600, see the comments below. | |||
|
Lens: MZD 12-20/2.8 PRO at 40 mm
Exposure: Aperture Priority (-.3 EV) at F/8; from 1/125 s at ISO 64 to 1/6400 s at ISO 3200 White balance: Sunny (5300K) Light source: Late afternoon sunlight Focus: MF mode with AF on demand at start of the session Processing: Natural Picture Mode, contrast and saturation at 0, Normal gradation; 1:2.7 JPEG compression Medium tripod, release and most adjustments via Olympus Capture
| 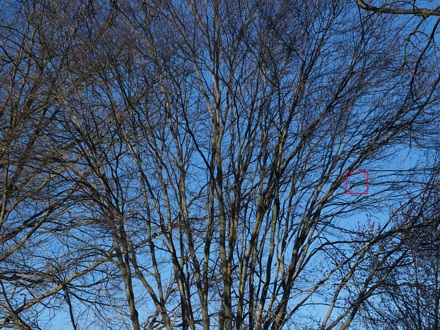 This sample at ISO 3200, sharpness N-1, NF at Low
| All Set #3 samples (click to open). | |
|
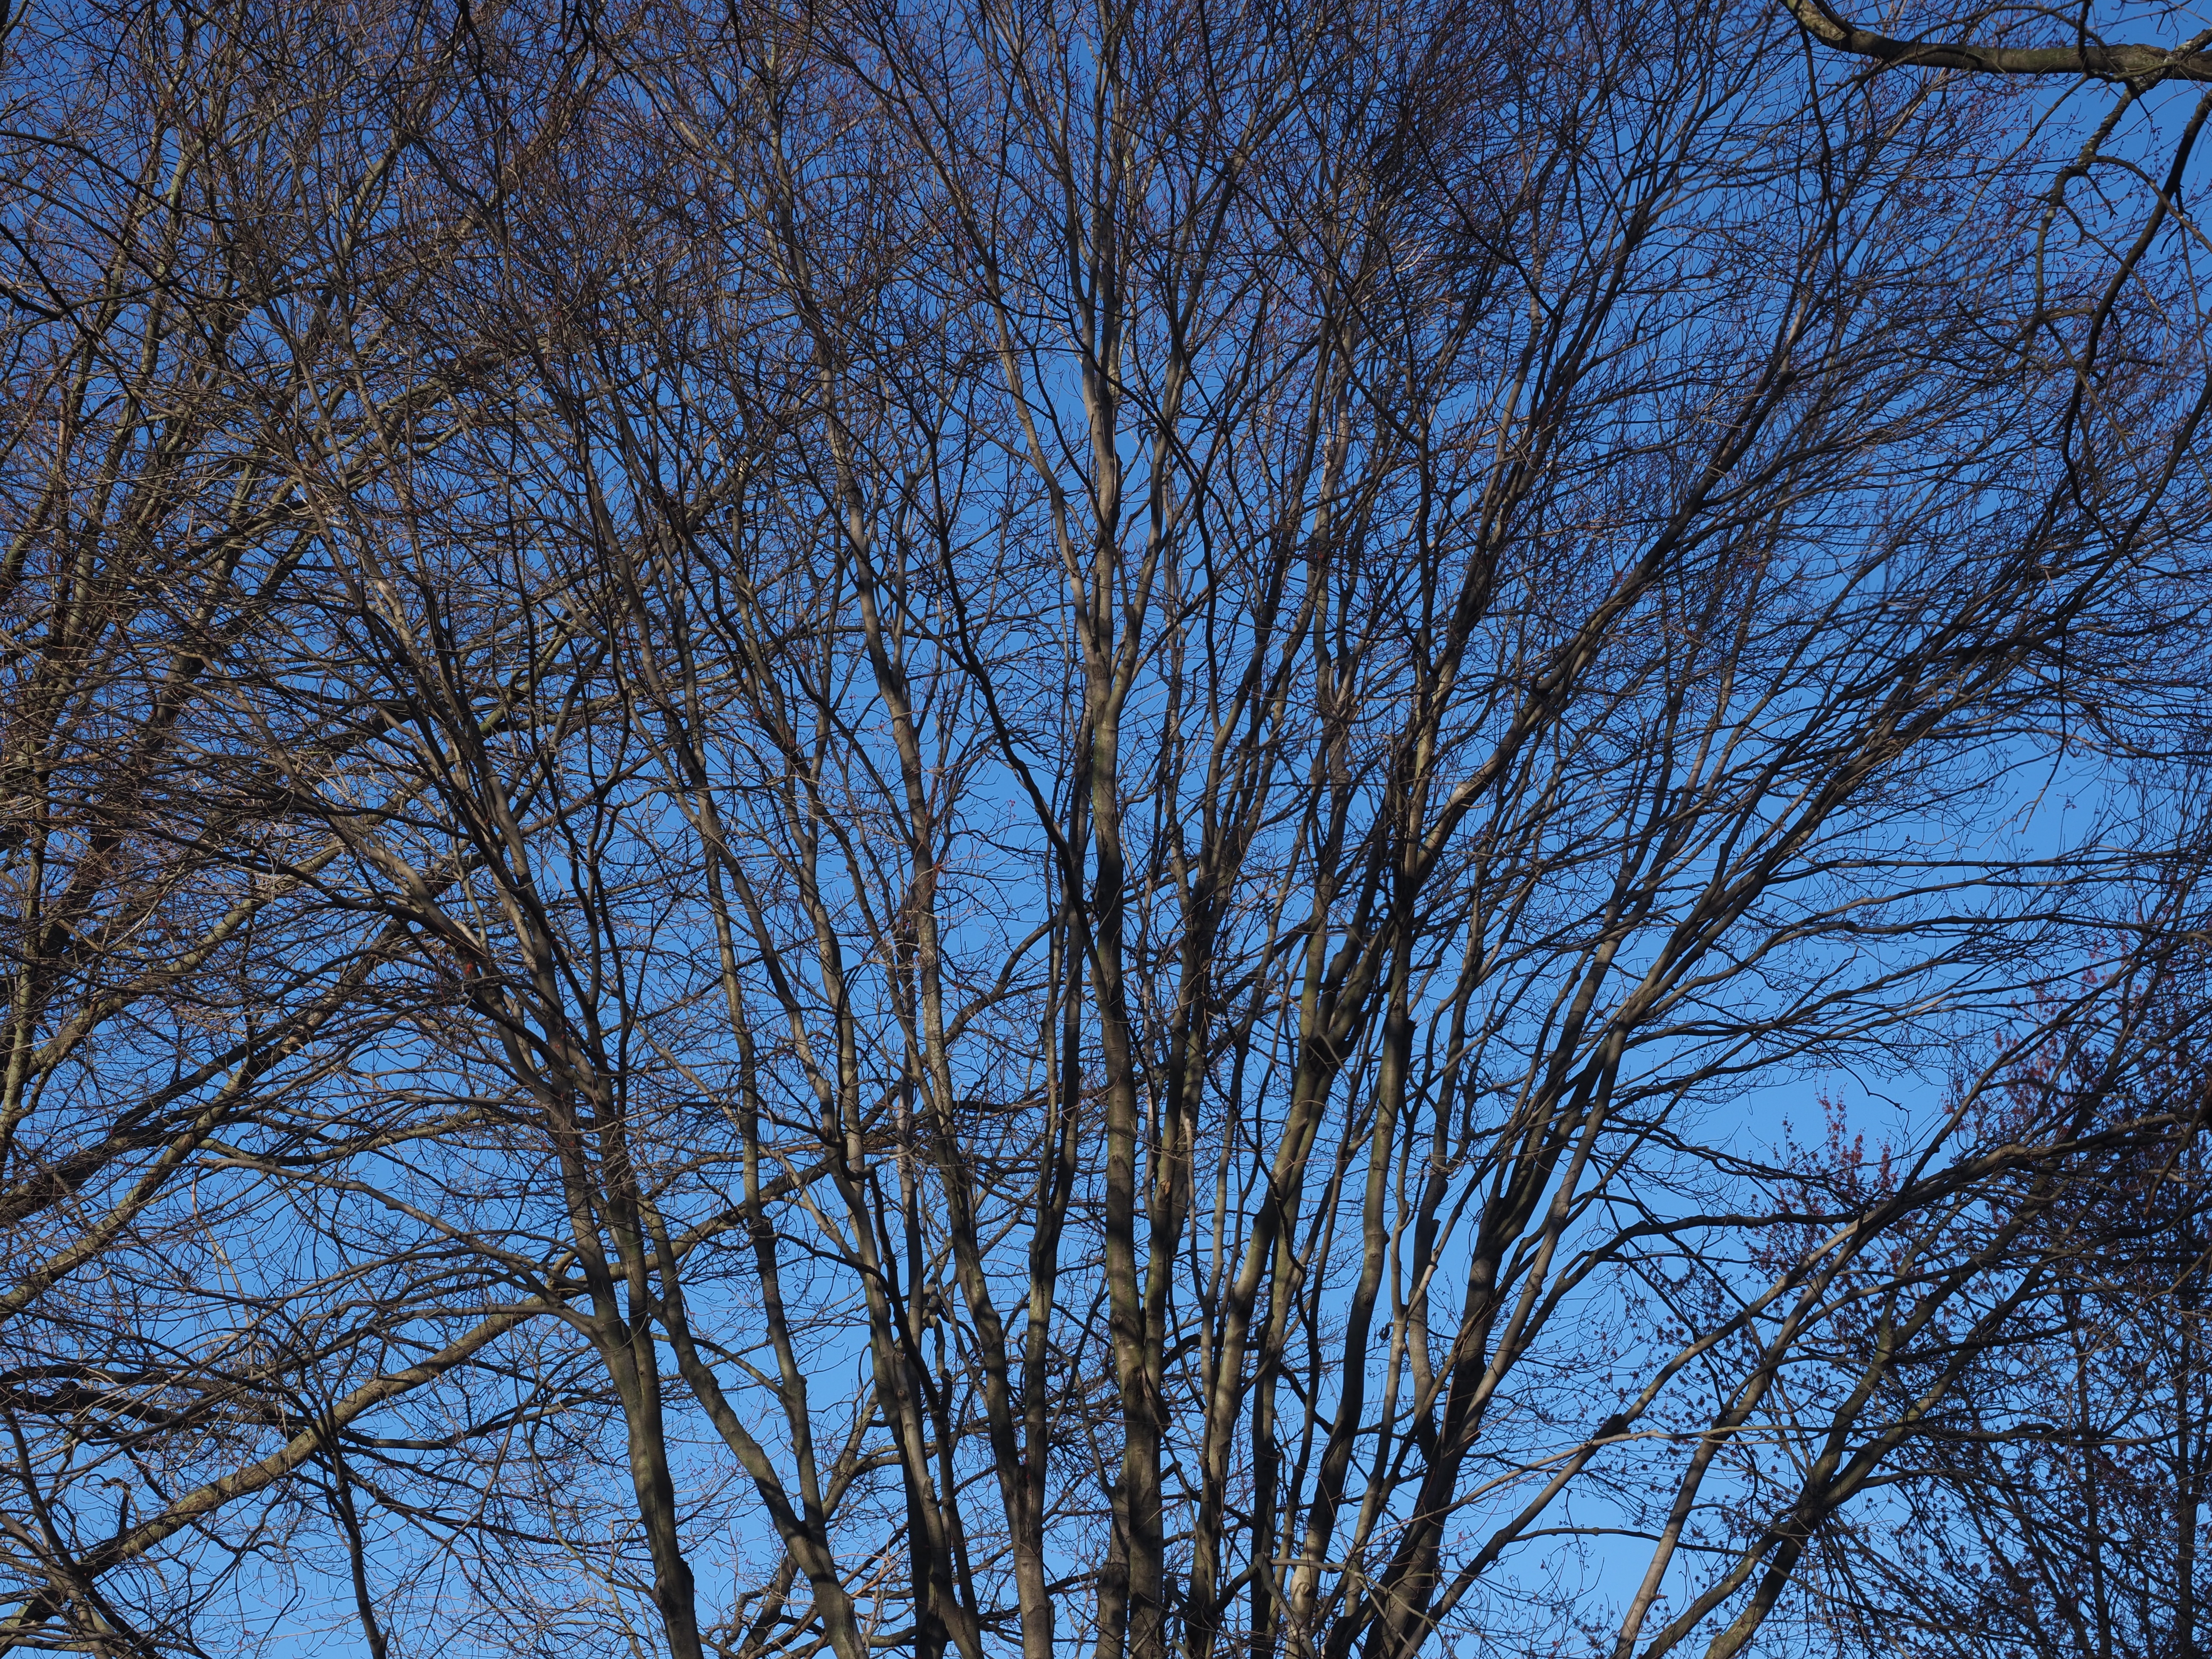
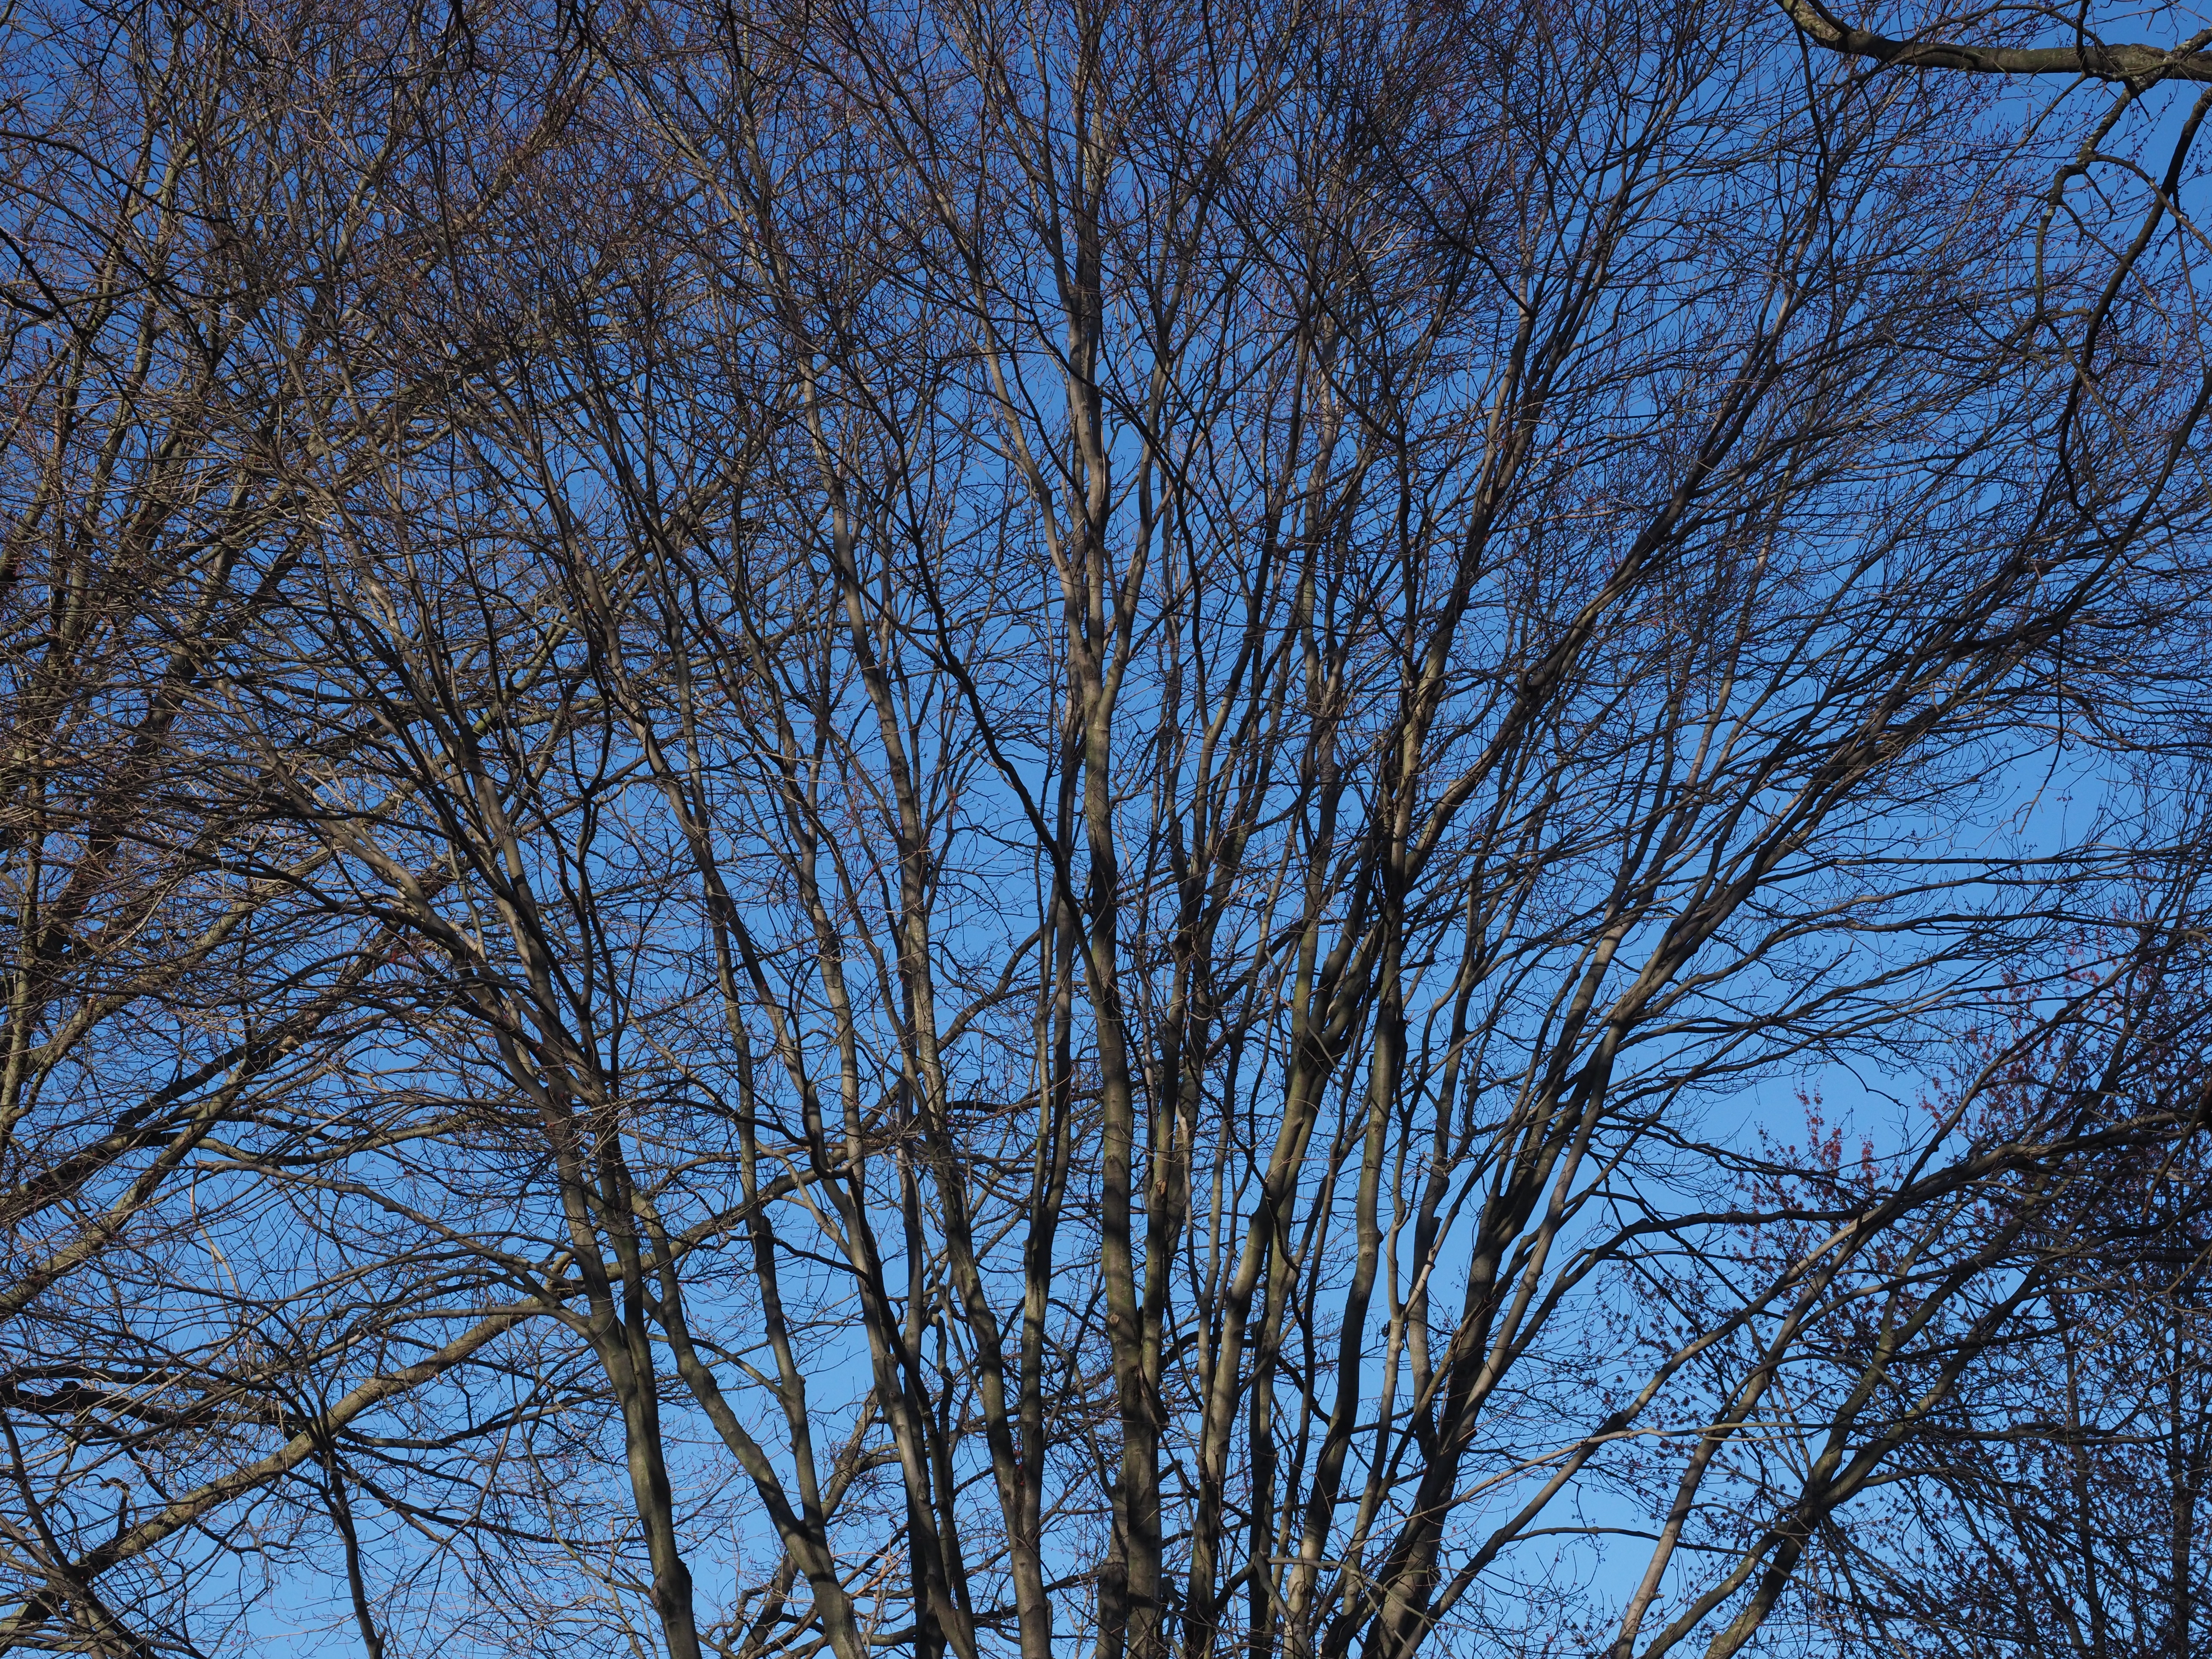
While this set of samples does not bring any new information about noise or loss of detail, it does the job it was introduced for: showing sharpening artifacts. These are the narrow, bright outlines along high-contrast boundaries, like where a dark branch meets the sky. Look for the crooked, branch, running horizontally at about 30% from the sample top, especially at lower ISOs and sharpening of more than 0. See? No, it was not a misprint: the effect shows at its strongest at ISO 64 (noticeable at sharpening of N±0, but even more so at higher values), and then it fades away, disappearing at ISO 1600. While I could see it on every camera I tried (actually, more of it), thIs is the first time I've noticed how it depends on ISO. Remember, at this pixel count we are viewing our samples at insane magnifications, therefore I'm not worried much about this particular artifact. Still, to keep it under control, I would recommend not setting the Sharpening higher than N-1, especially when shooting outdoors. Just for the heck of it, here is a difference between sharpening at N-1 and N±0, a close-up of the branch I mentioned at 2:1 pixel magnification (I know this is sick, and I'm still doing it!): |

ISO 200, Noise Filter at Low, sharpening at N-1 | 
ISO 200, Noise Filter at Low, sharpening at N±0 |
|
Under this magnification we can actually see the bounce effect in both samples. Still, we have to draw a line somewhere, and this seems like a good place to do it. N-1 it is. And one more comparison on larger sample snippets: various ISOs at our chosen N-1/Low parameter setting. Click on sample to see or download the full original image. |
| Sharpen: N-1, Noise Filter: Low | |
ISO 64 | 
ISO 200 |
ISO 400 | 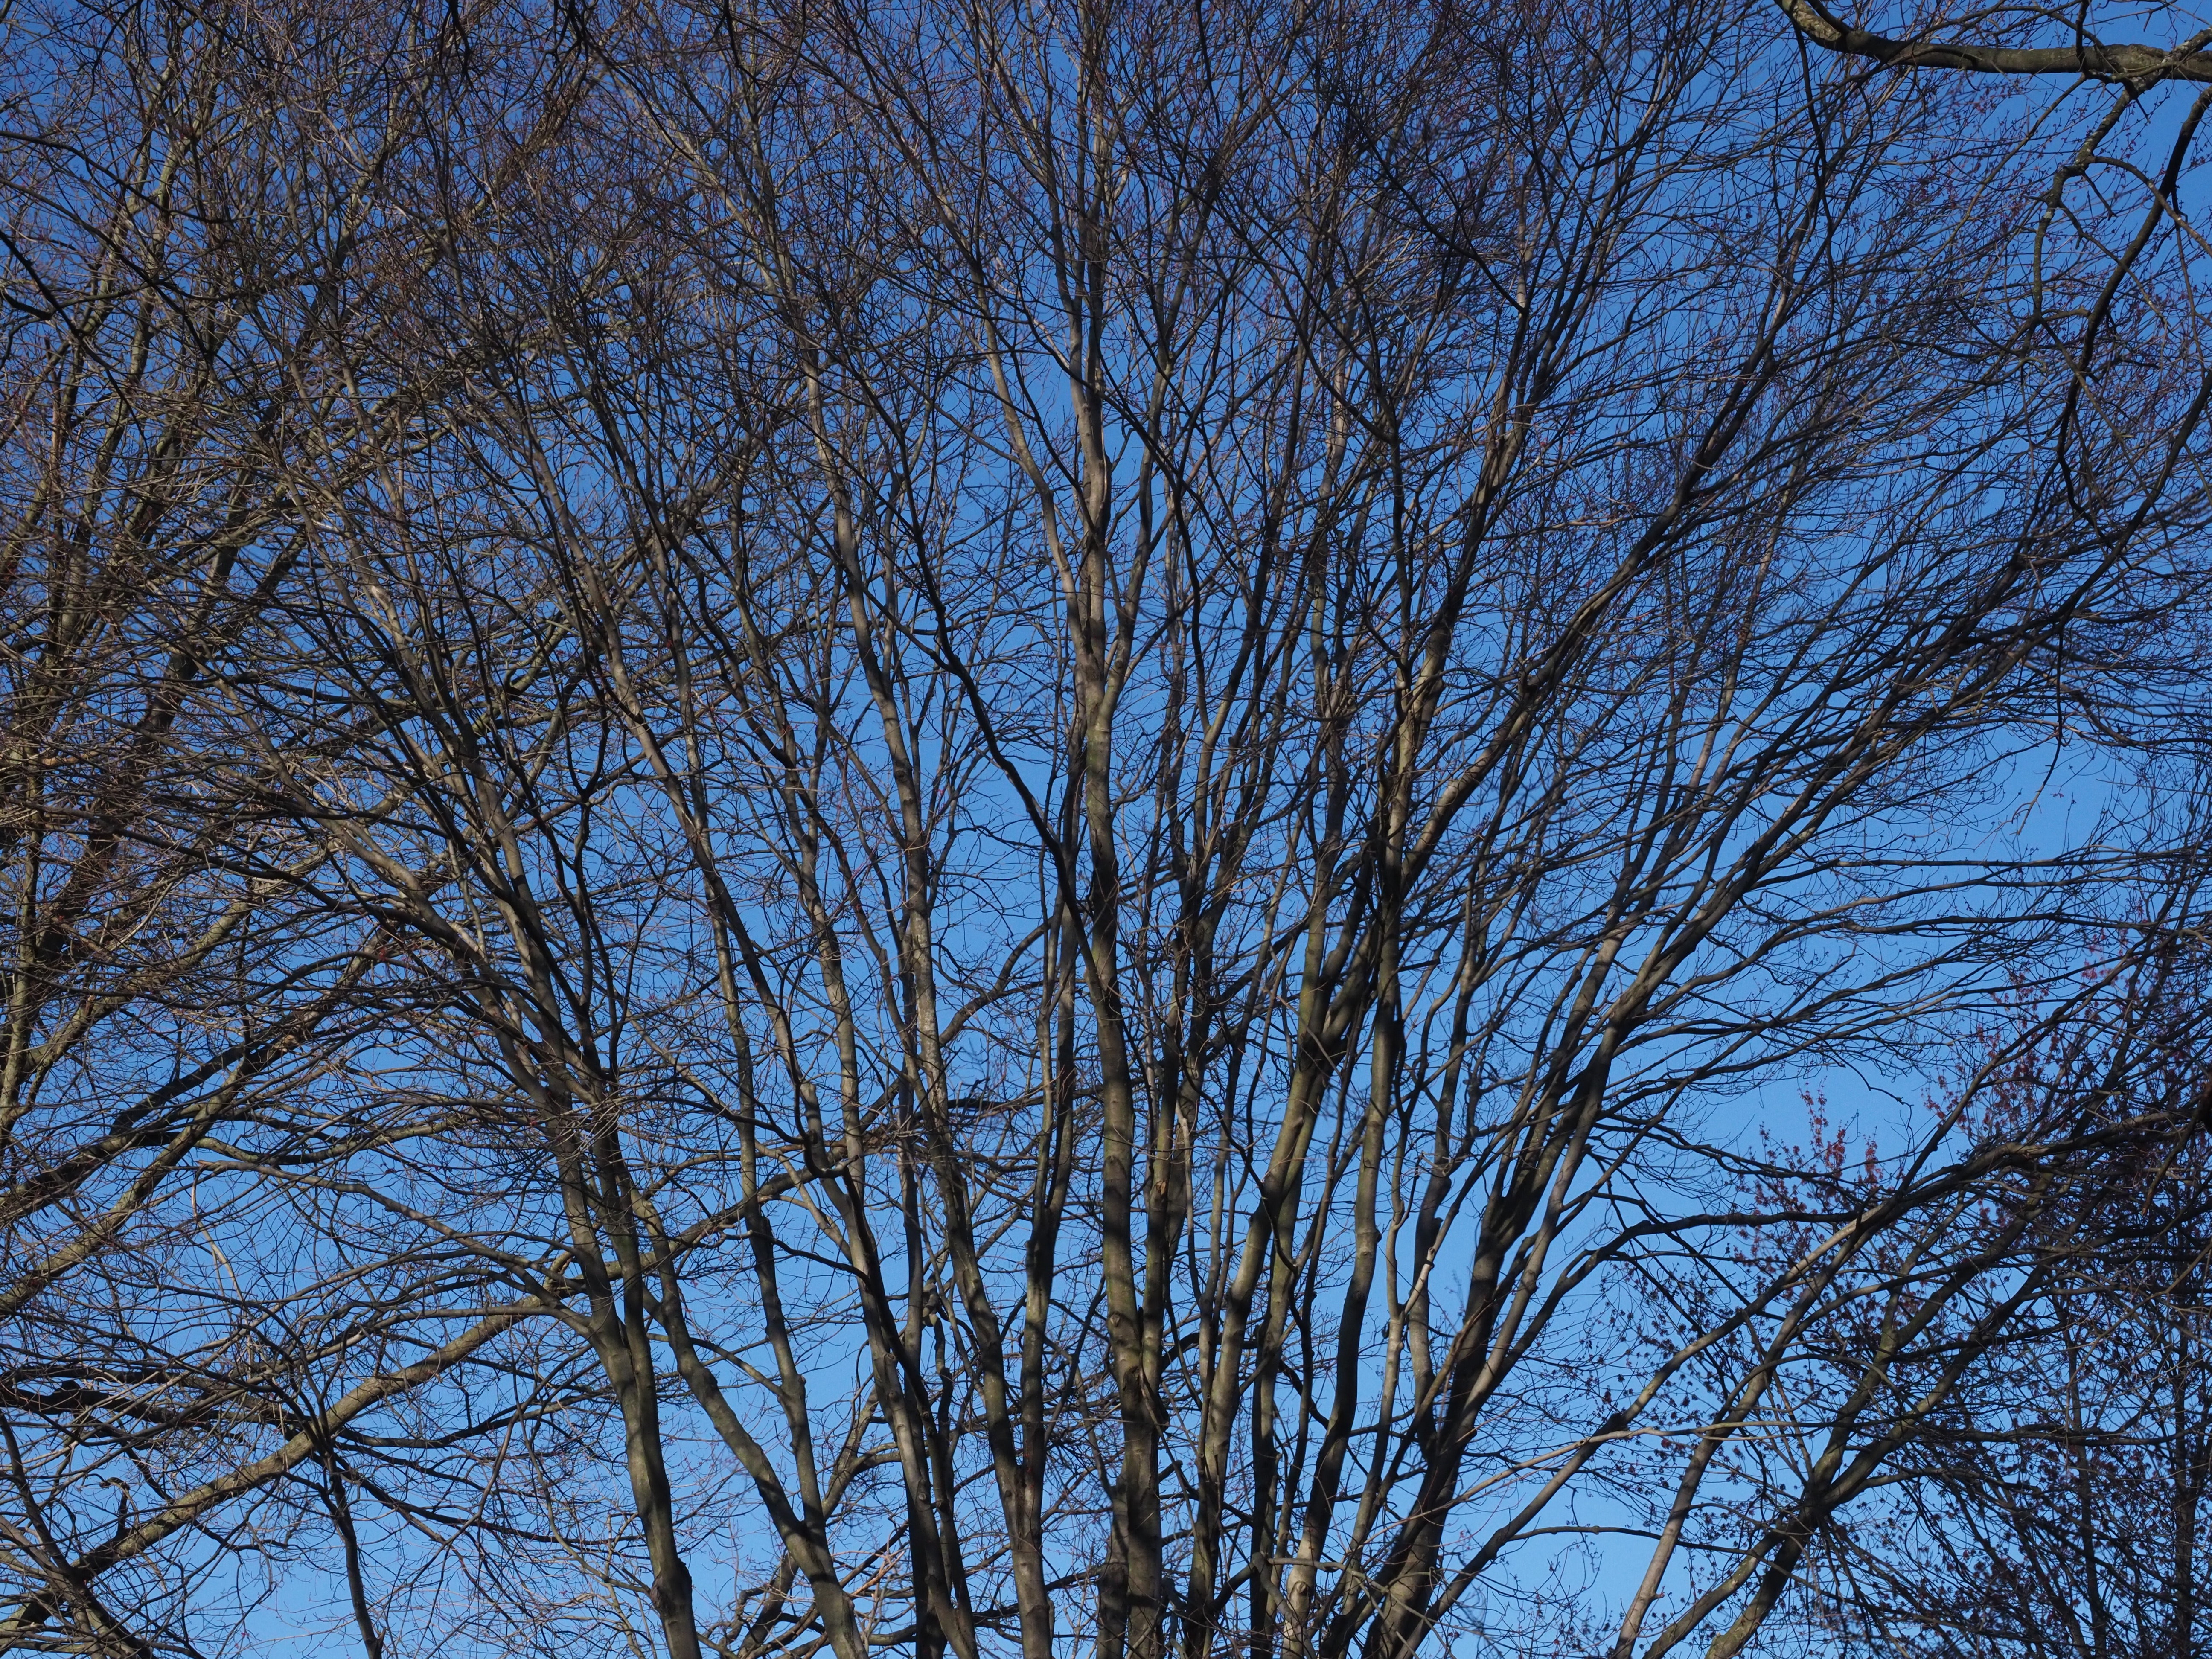
ISO 800 |

ISO 1600 | 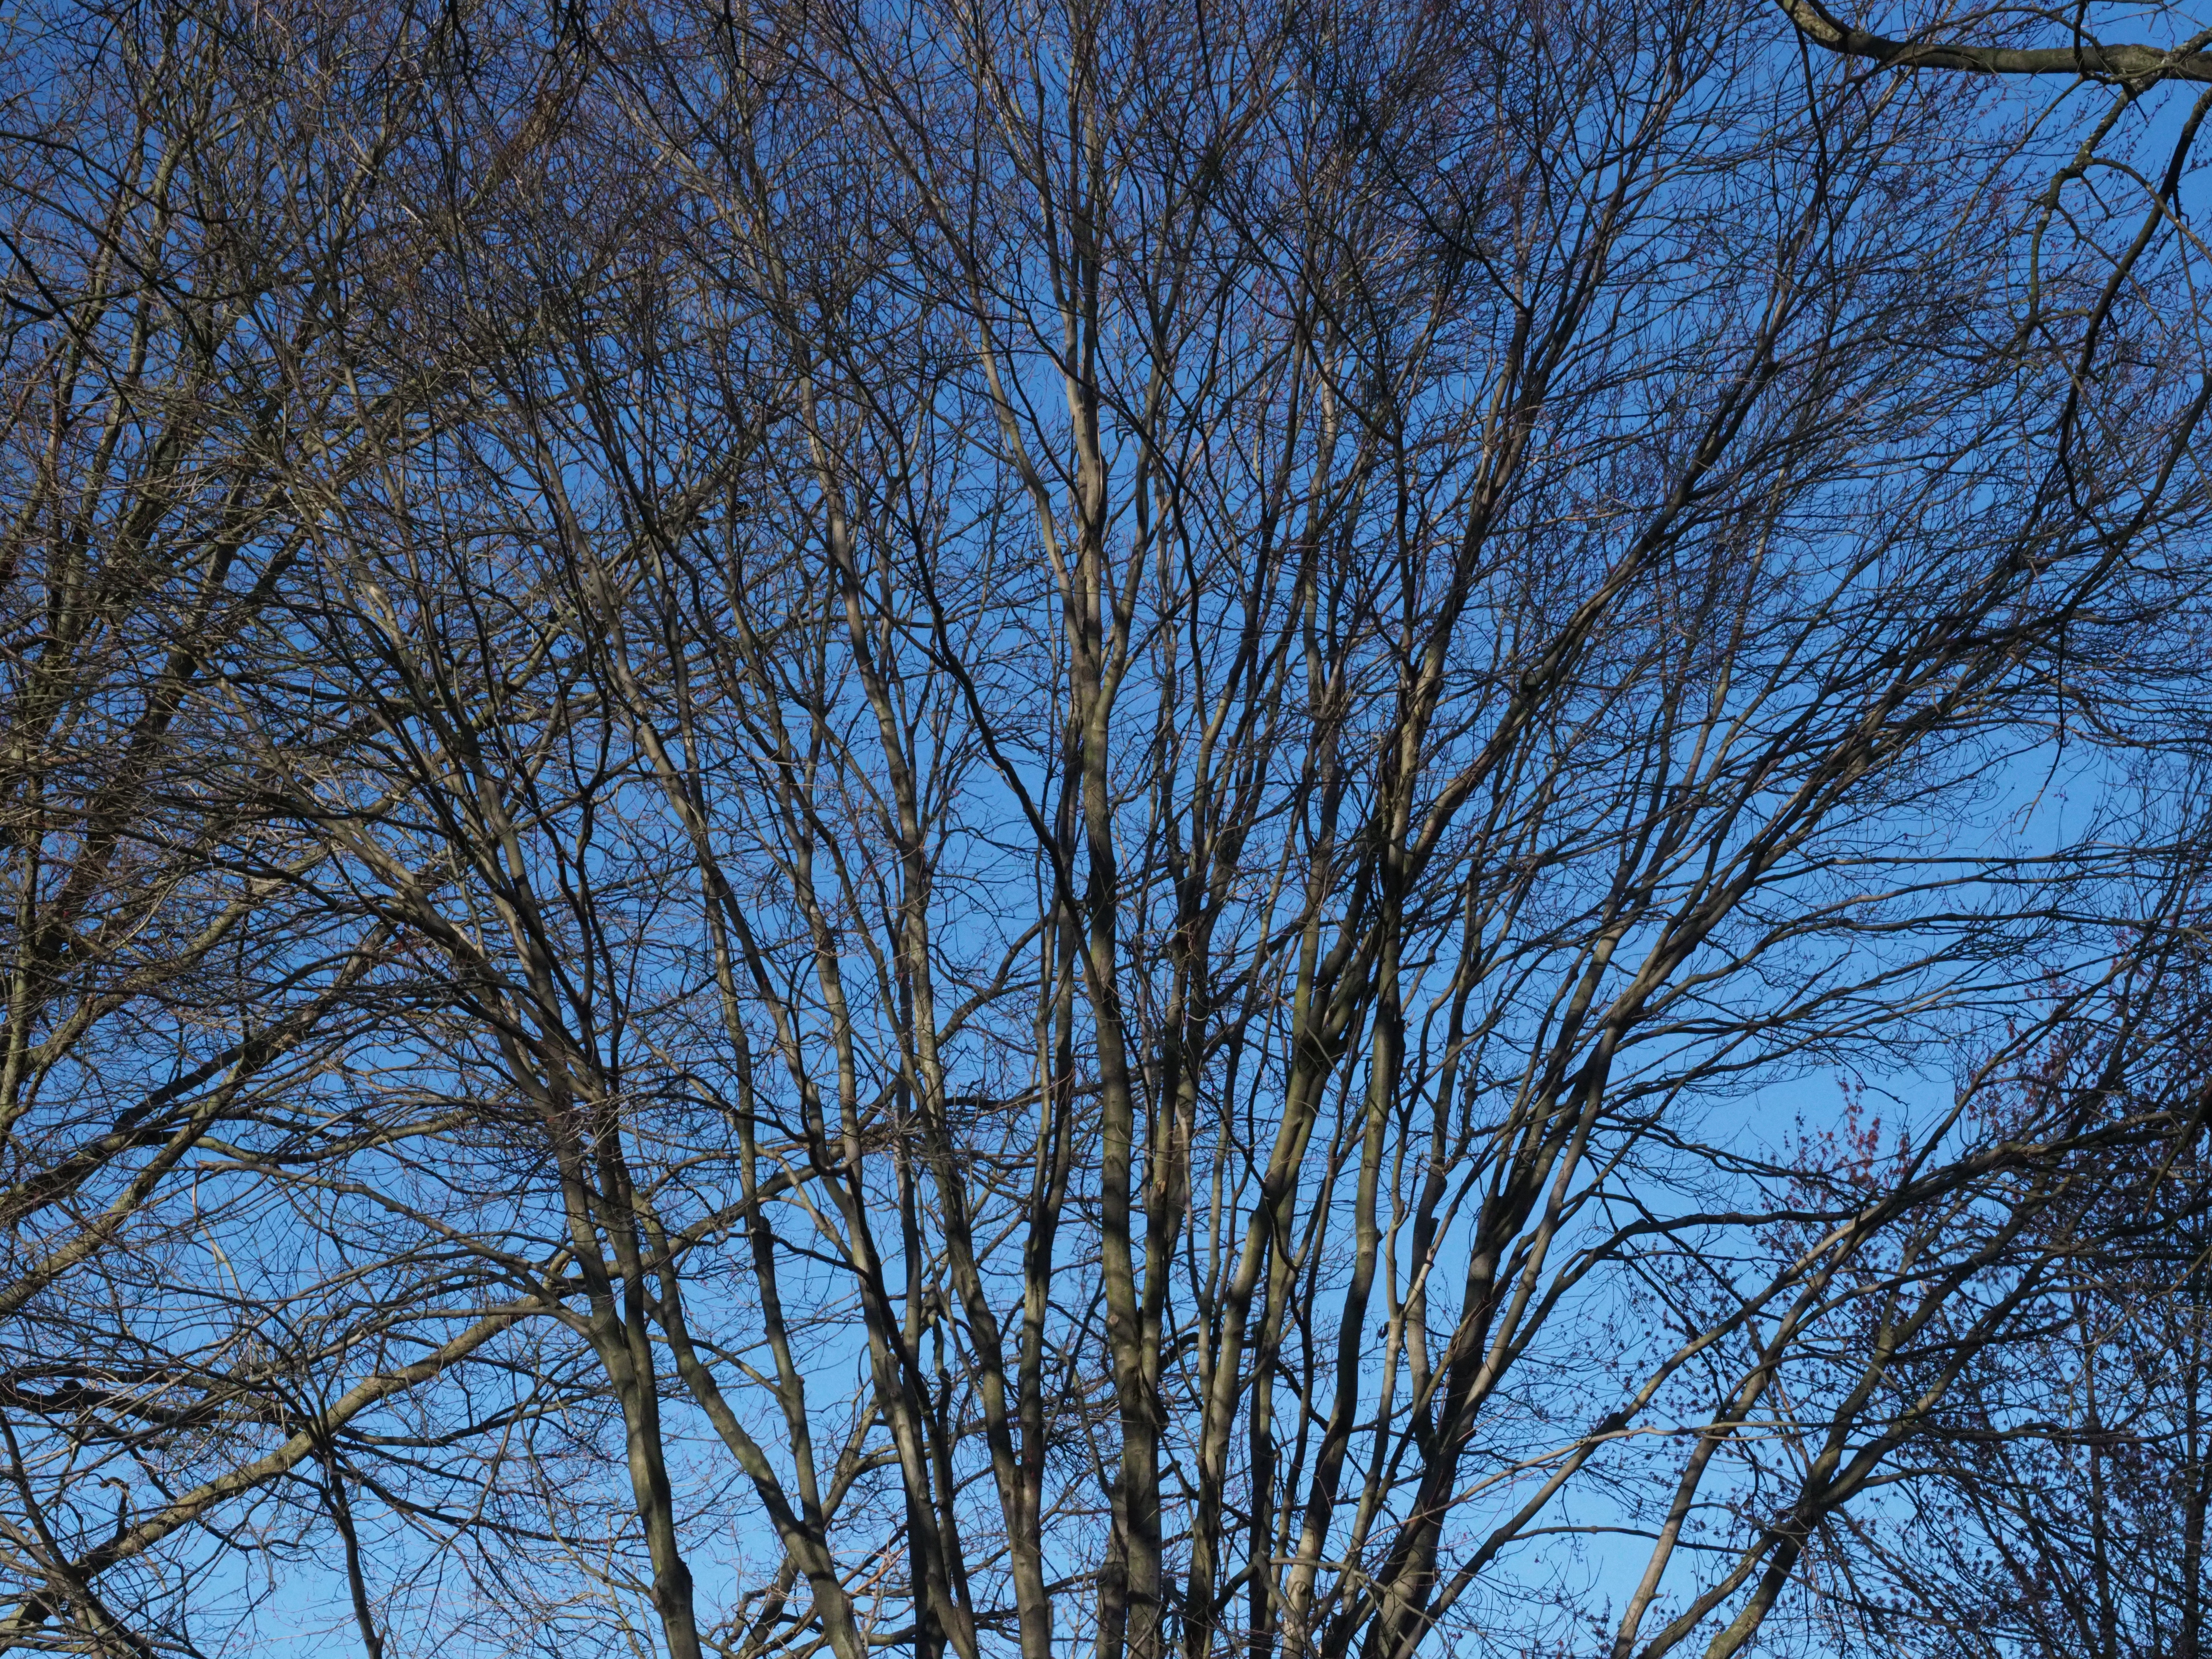
ISO 3200 |
|
While, theoretically at least, every ISO setting may have its optimal combination of noise filtering and sharpness (with the situation further complicated by adaptive character of these processes as implemented), for those of us who use in-camera JPEGs I would suggest the following:
Three zip archives with all 240×240 samples presented here can be downloaded for your own scrutiny:
The number of files inside those archives requires that I follow a strict naming convention. Here it is, shown by example. A name may look like x2-00800-f0-s2.f.jpg and its parts mean the following:
|
|
|
My other articles related to the |
| Home: wrotniak.net | Search this site | Change font size |
| Posted 2017/03/14 | Copyright © 2017 by J. Andrzej Wrotniak. |