
|
Noise Filtering and Sharpness in the E-510 and E-410 |
|
|
My other articles related to the |
|
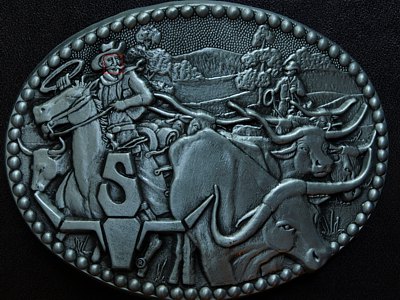
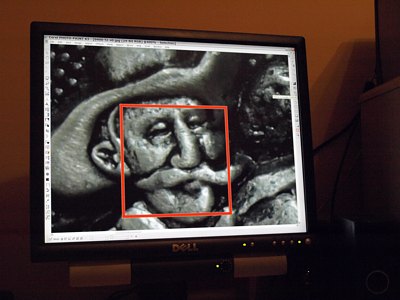
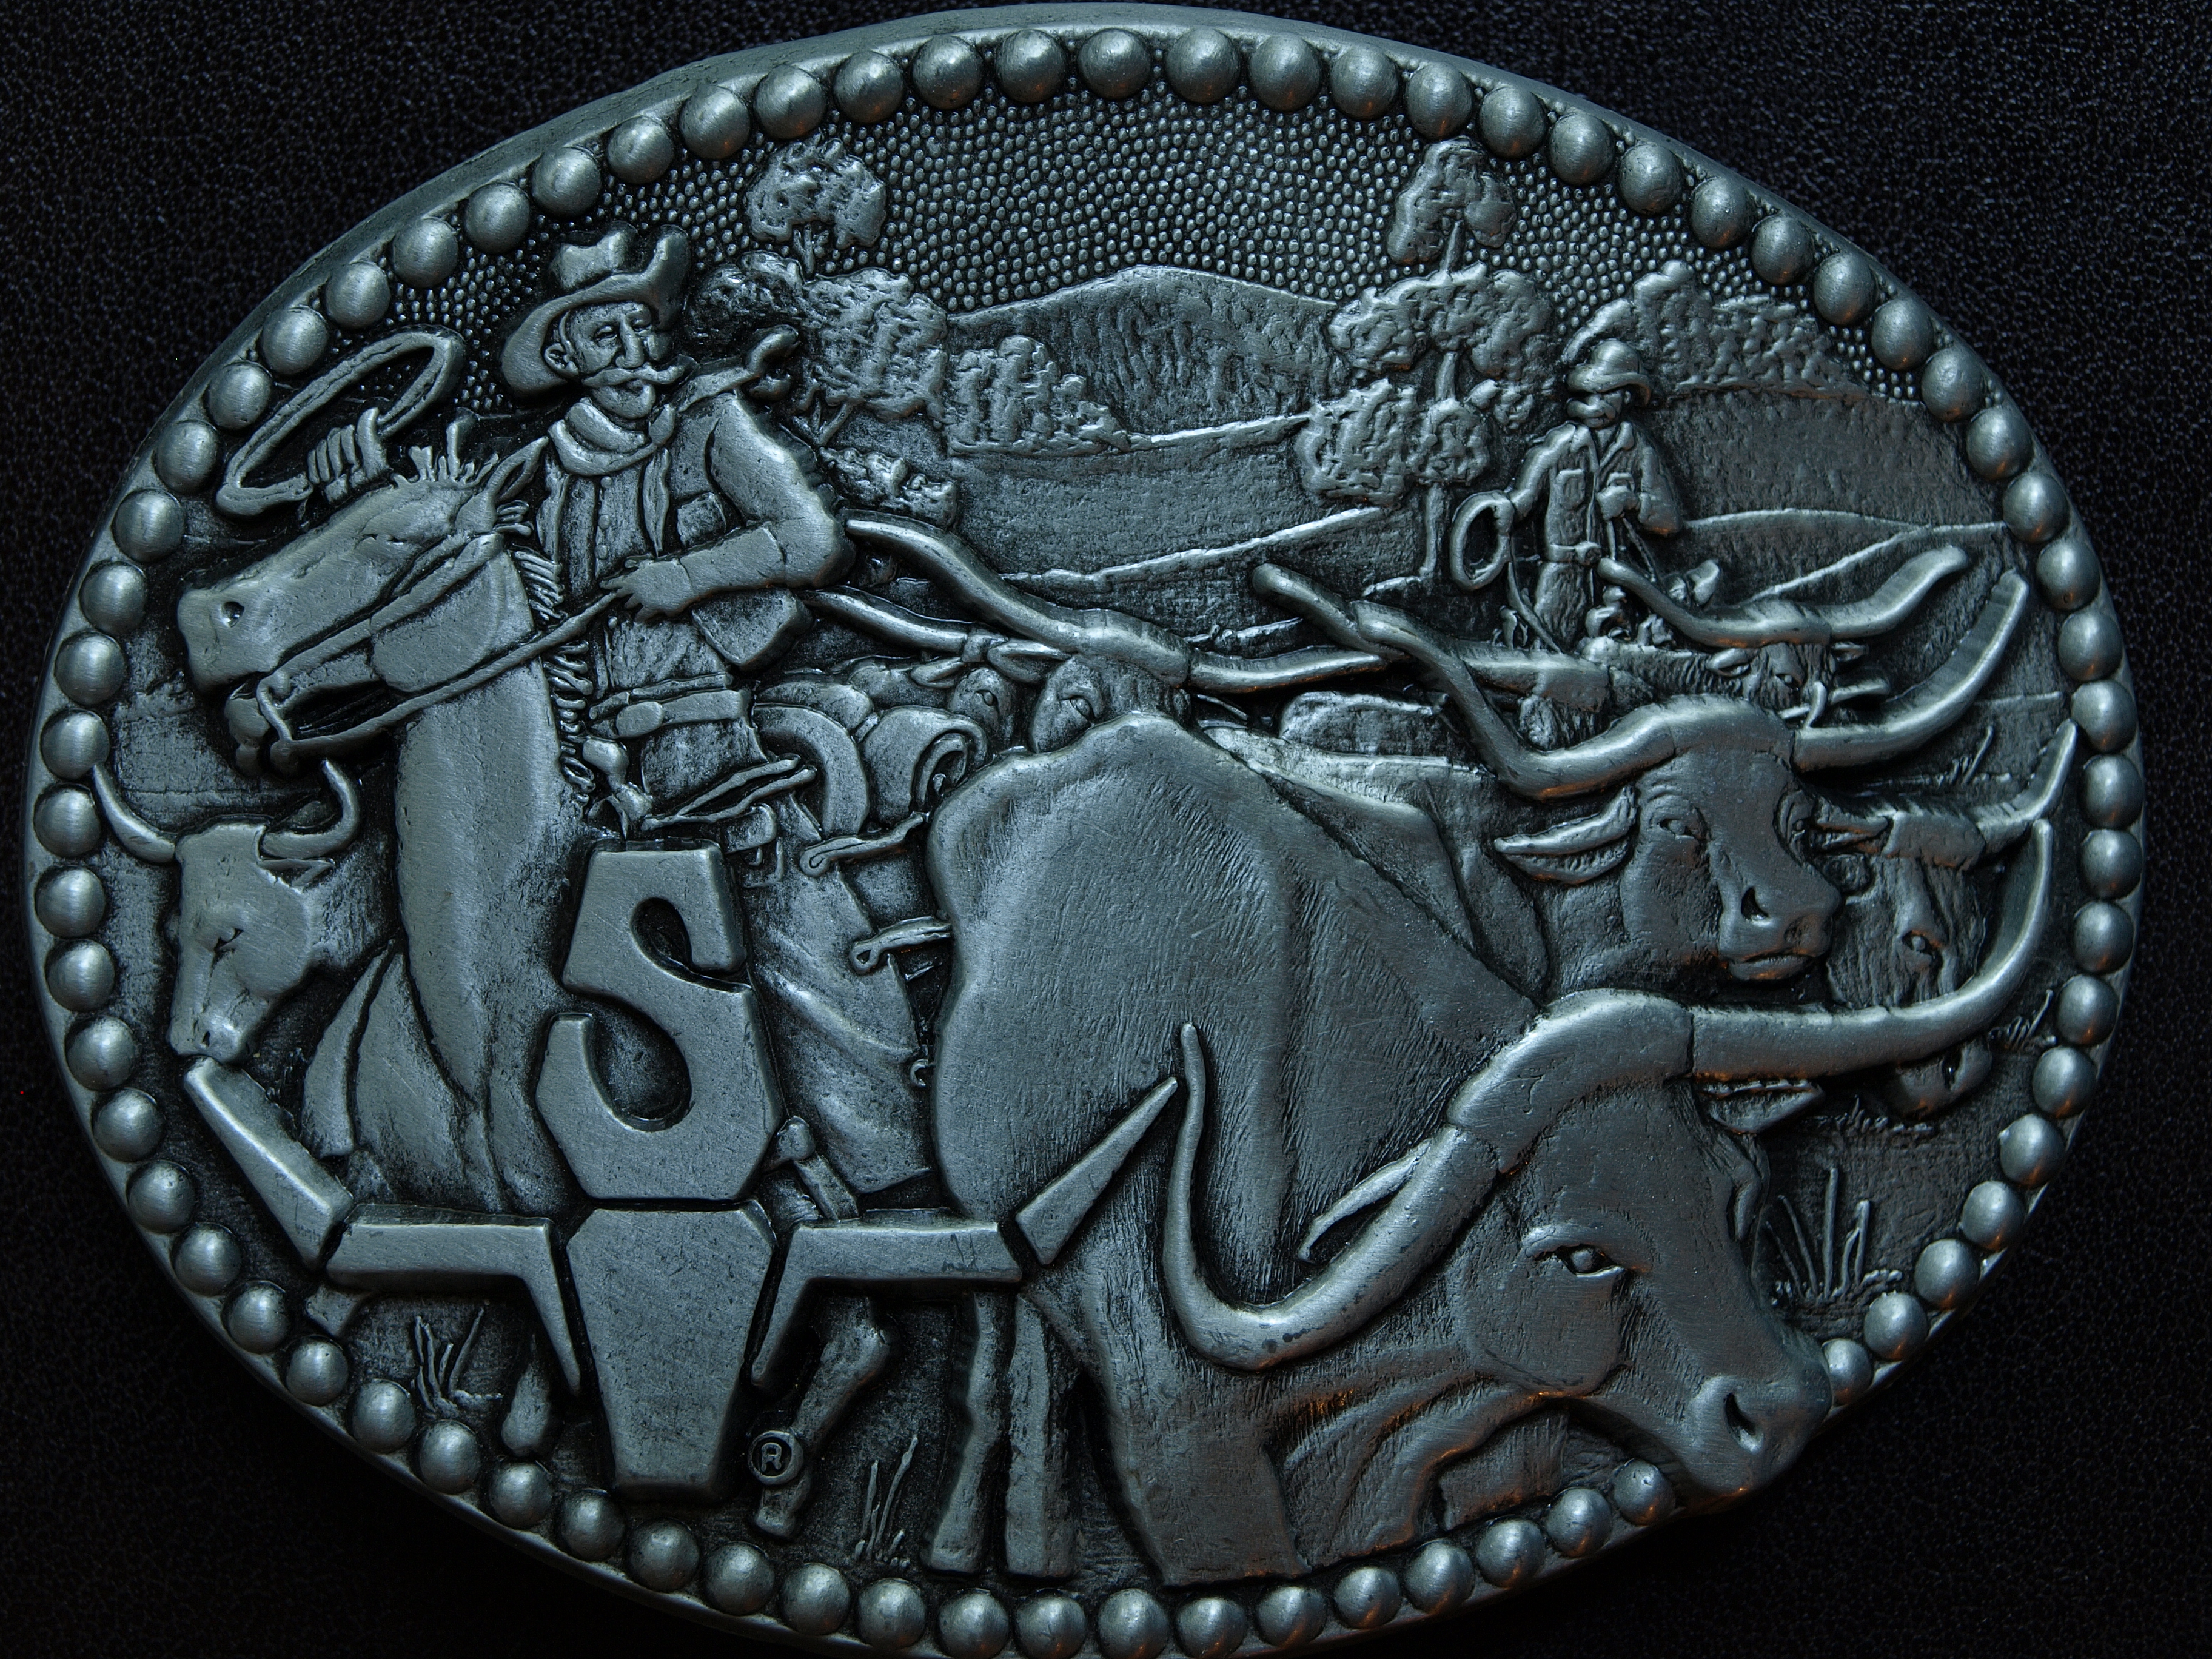
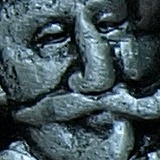
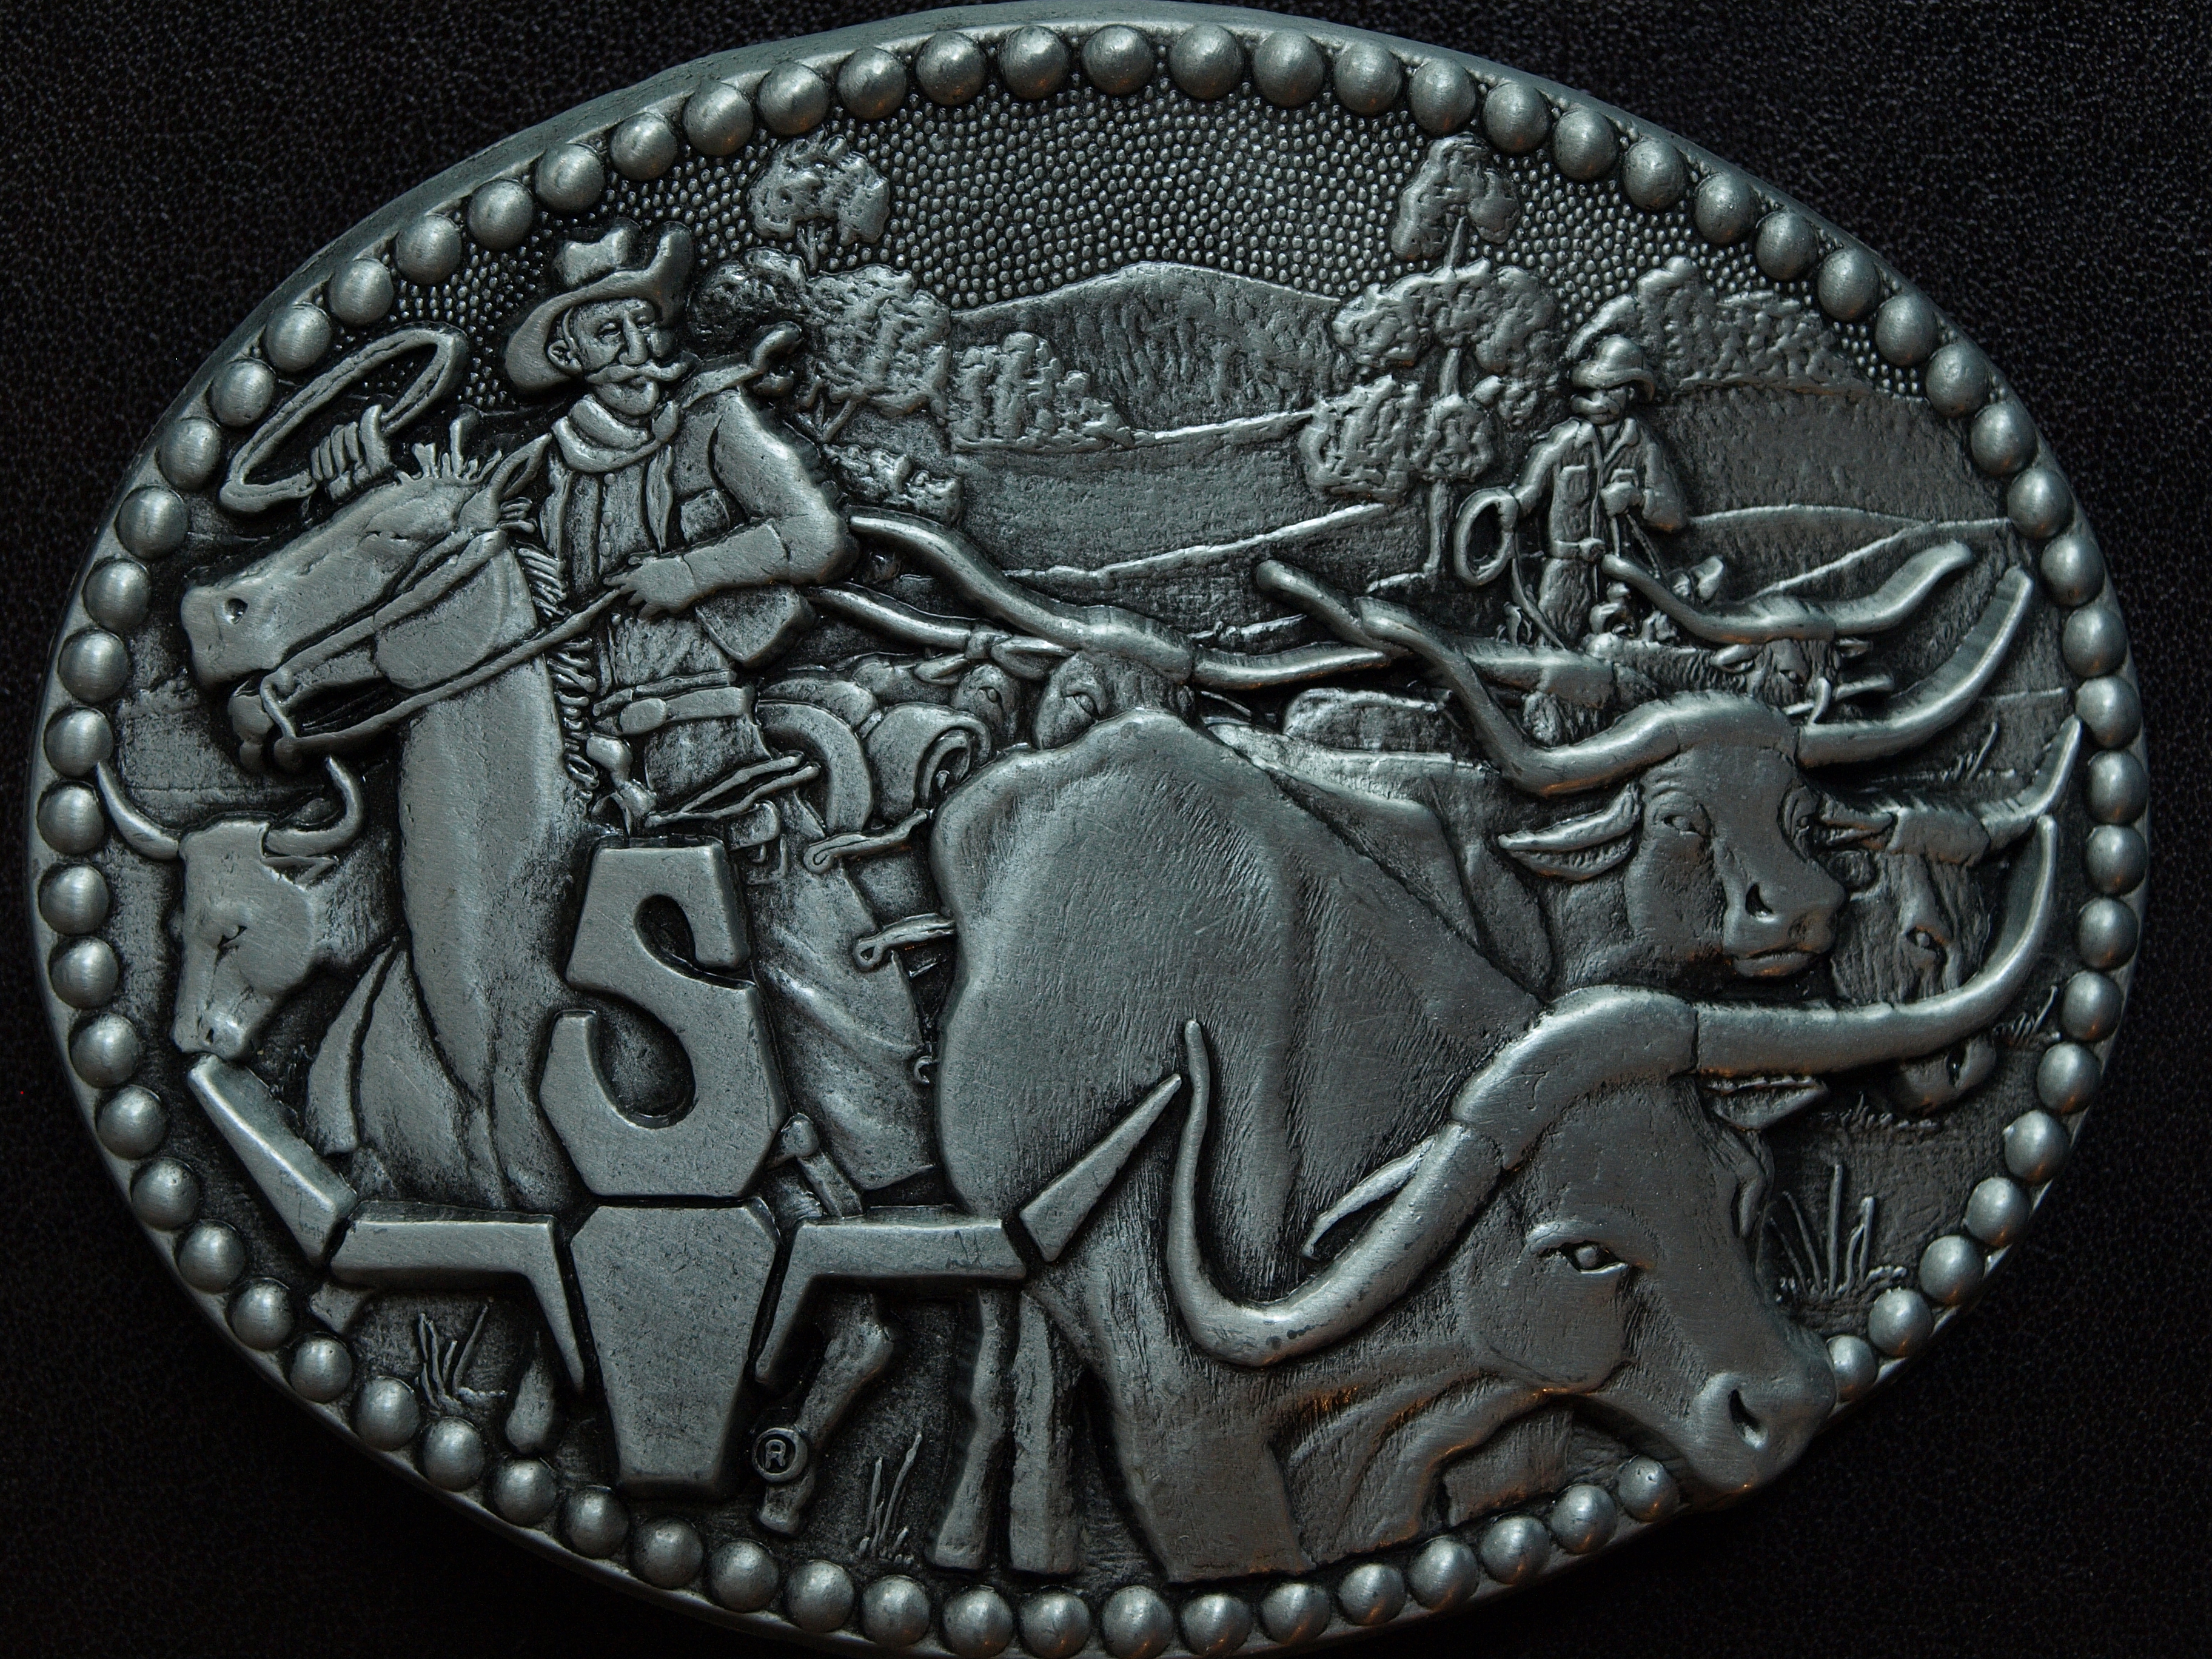
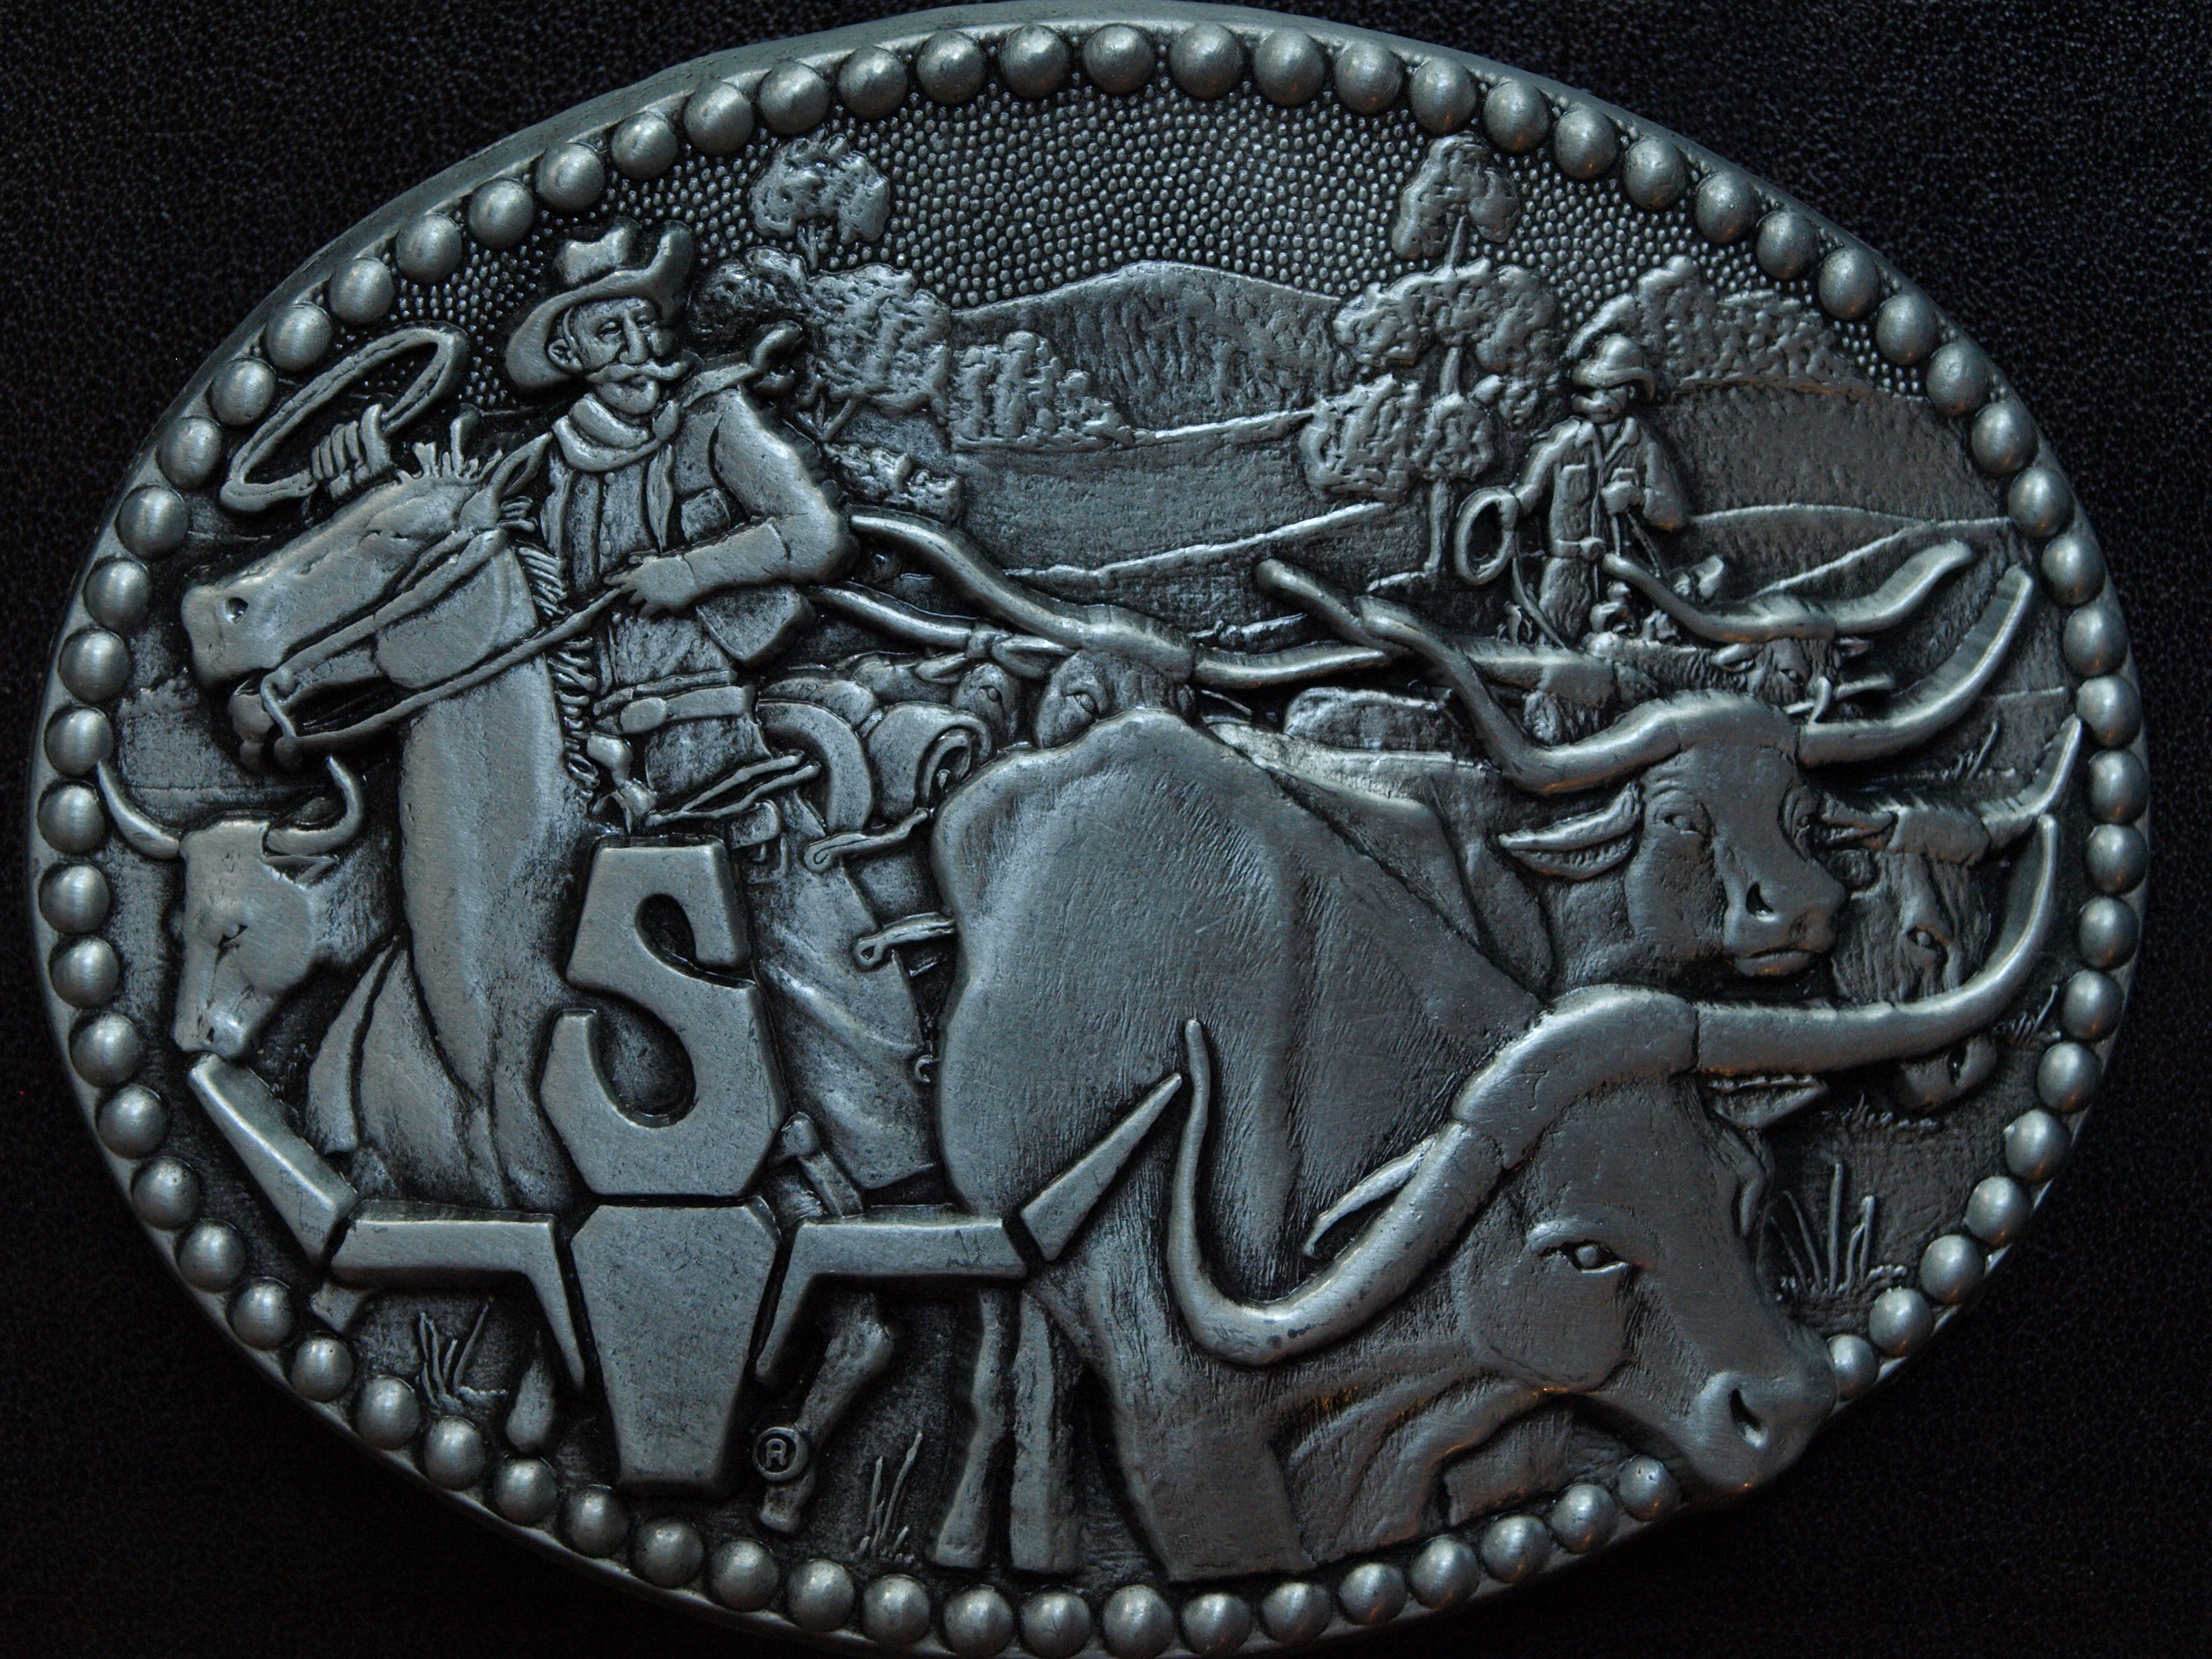
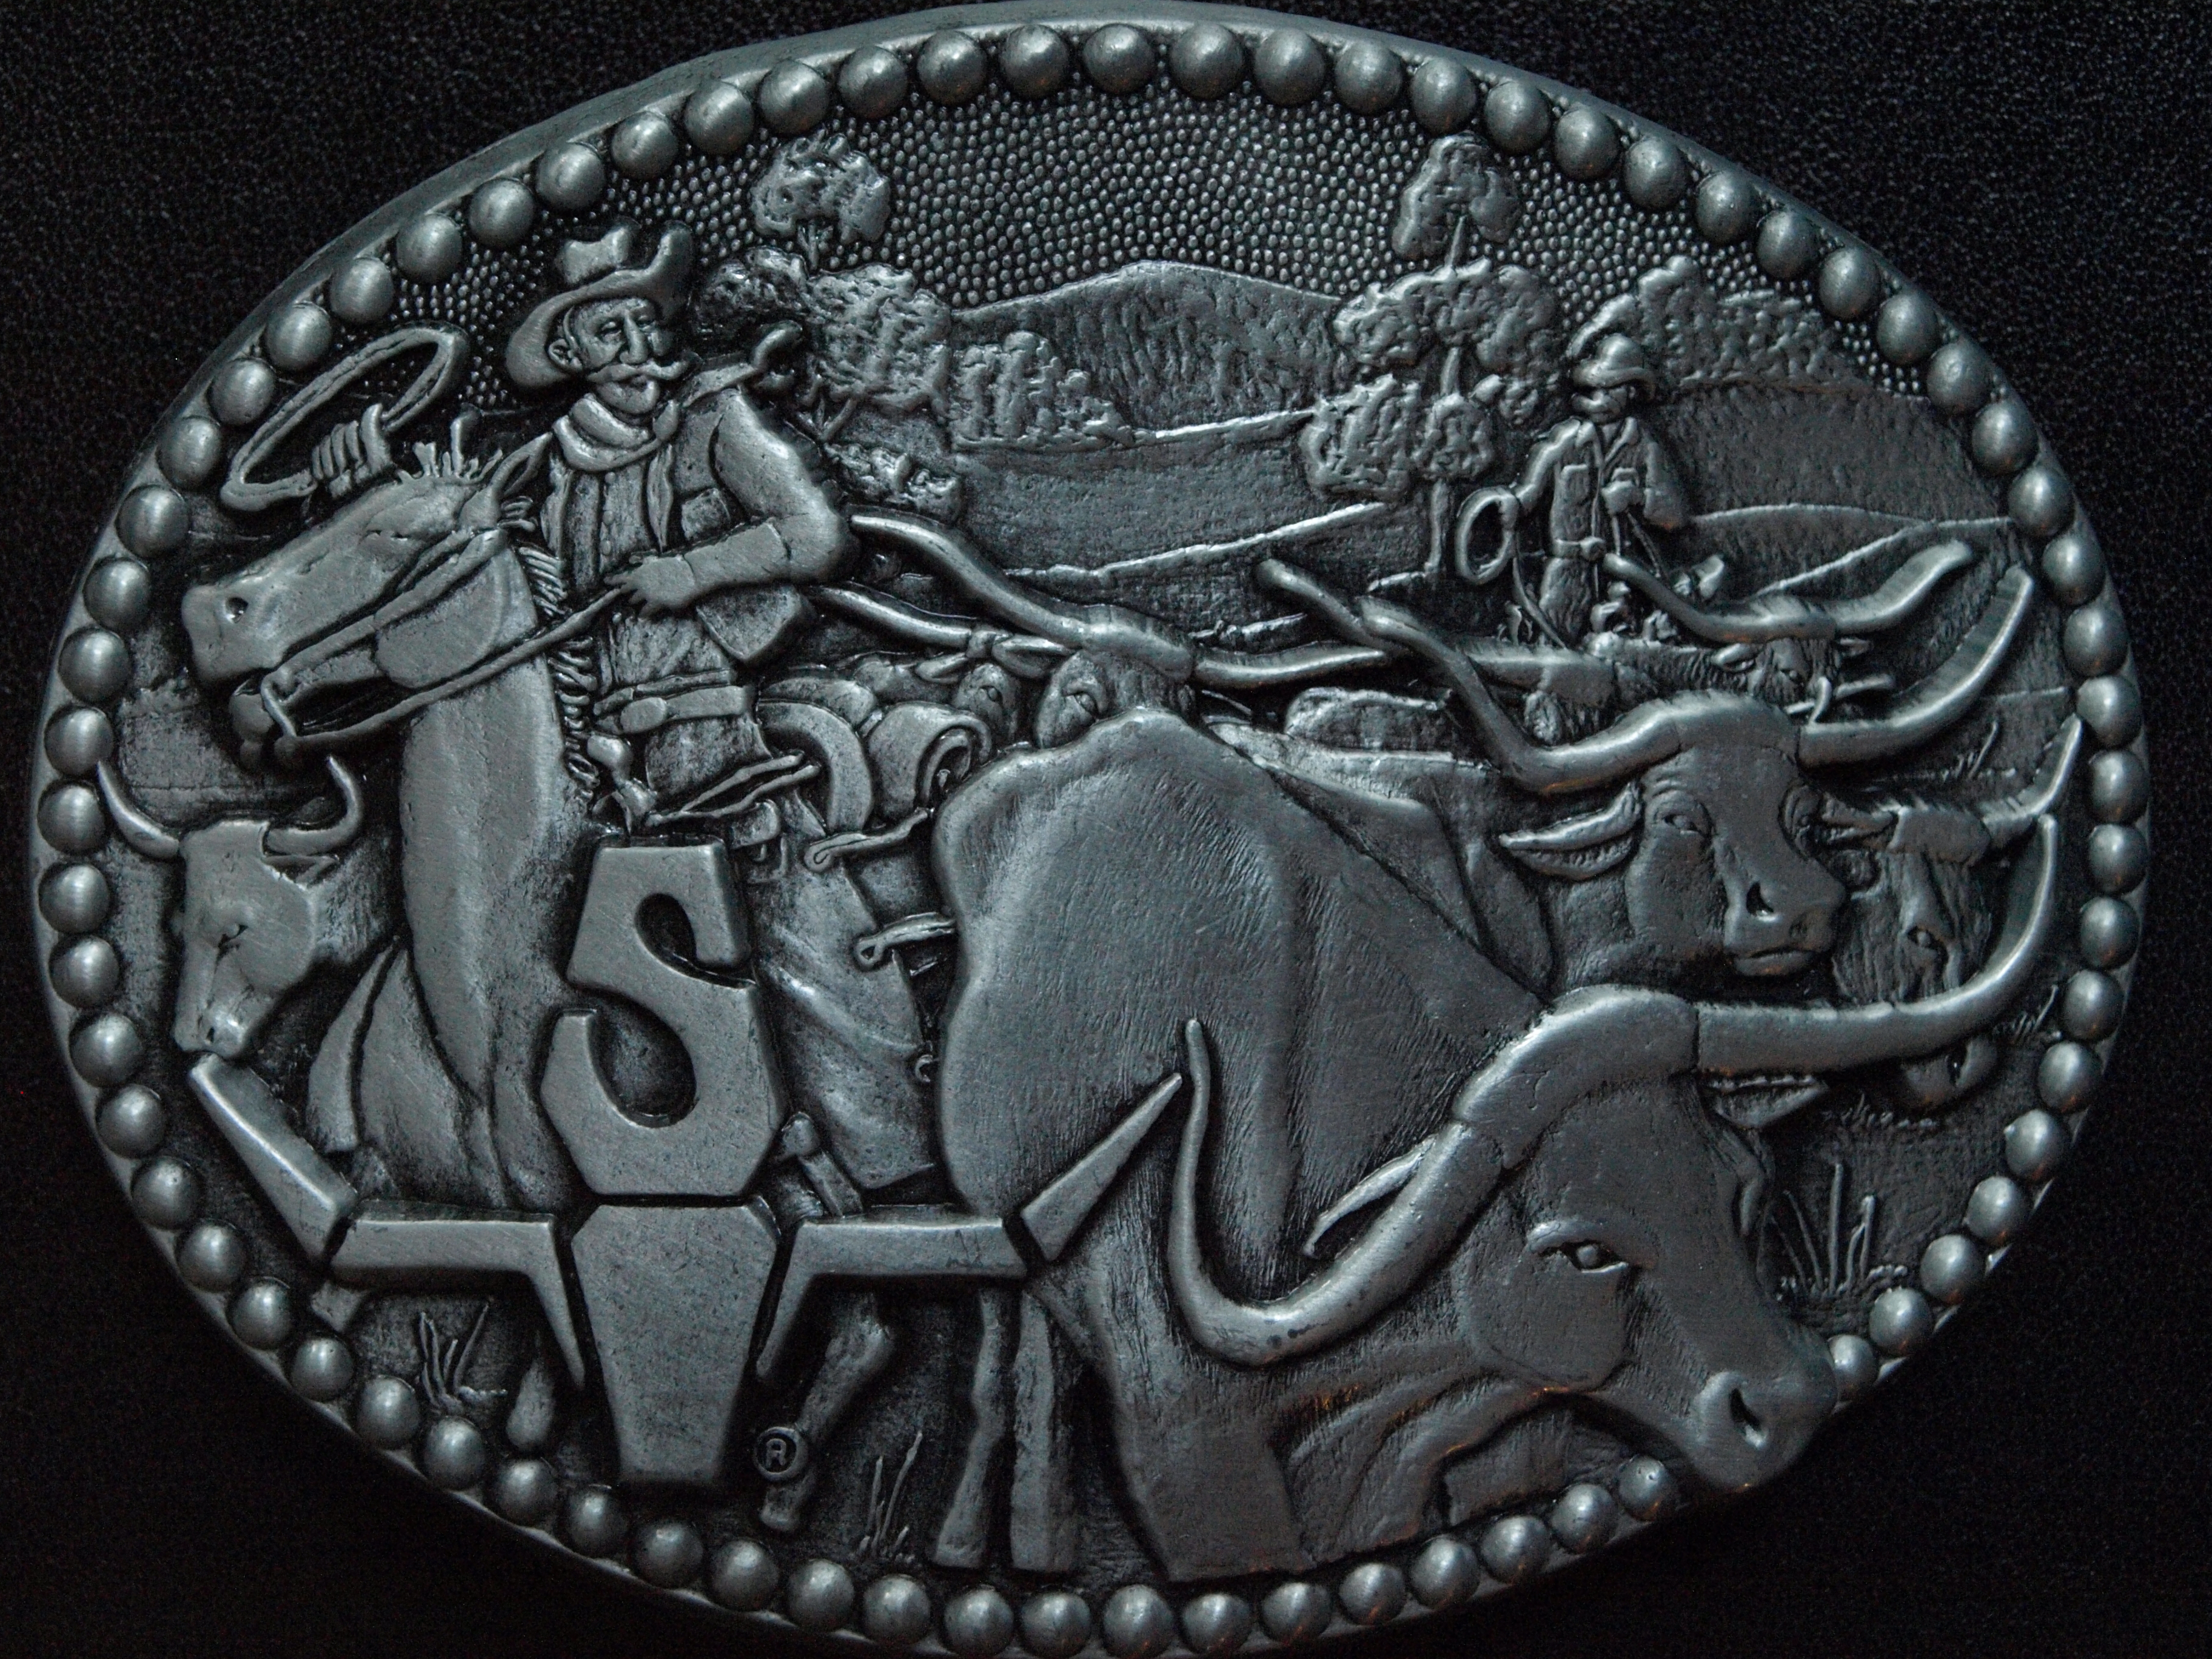
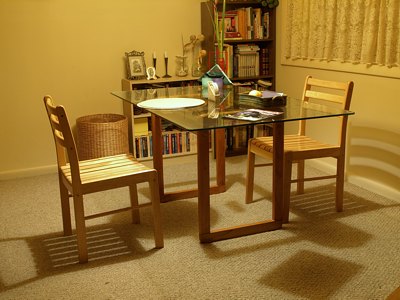
With the E-510 and E-410, Olympus allows the photographer one more degree of control over produced images: in addition to adjustable degree of sharpening, you can also adjust the amount of dynamic noise filtering in the raw-to-RGB conversion. These cameras allow for four degrees of that filtering: Off, Low, Standard, and High. Most probably, the actual parameter combination of filtering applied additionally varies with the ISO setting. If you are saving your images in-camera as JPEG files (as I do), this conversion is done by the camera's firmware just before the file is physically saved to the memory card. If you, as they say, "shoot raw" (which is a misnomer: "save raw" would be appropriate, as the picture-taking is the same in both cases), then the process is performed afterwards on a computer. This is done with one of the applicable Olympus or third-party applications or plugins (the latter can be invoked from the Photoshop or many other applications which accept plugins in this standard). To make the situation more complicated, the raw development module in Olympus Master (Version 2.02) does not offer full noise filtering adjustment, limiting it to just Off and On. I never held this program in high esteem, and this new version is no better. To avoid any misunderstandings: noise filtering refers to algorithmic removal of (mostly, at least) the random noise component, due by varying responses of a given photosite to the same amount of light. The other component, fixed noise, is caused by sensitivity fluctuations between various pixels, and its removal is referred to as noise reduction, as described in my noise article. Sharpening, on the other hand, is a process of algorithmic edge enhancement, also applied during the raw-to-RGB conversion. Its usability is often overestimated, and the process itself — overused, as it really does not restore any detail which was lost in the captured image (due to lens flaws, antialiasing filter, the discrete nature of the photosite matrix, and the noise filtering applied). It will, however, make the picture look more snappy (or crisp), steepening tonal transitions across the detected contour lines. It will also, unfortunately, enhance any visible noise in the image. The degree of sharpening is chosen by the user from -2 to +2 — but this is applied on the top of the setting chosen by Olympus as a default for the selected color mode: Vivid, Natural, or Muted. These offsets, as I could check, remain the same in the E-510 (and, for all I know, the E-410) as they were in the E-500: 0 for Vivid, -1 for Natural, and -2 for Mute. Therefore, if you set the image mode to Natural, and sharpness to -2, denoting it as N-2, the effective sharpening applied will be -3. On the other hand, the V-1 and M+1 settings are really identical, resulting in the same absolute value of -1. In any case, there are no miracles: noise filtering unavoidably leads to some loss of detail (read: reduced image sharpness). A smart filtering algorithm has to decide how much of this loss and in which image areas to allow. There is a delicate balance of trade-offs between these two. Some consumer-grade SLRs cater to the entry-level crowd, providing a significant degree of filtering (silky-smooth images, great!), followed by lots of sharpening, restoring edge crispness — but not the actual detail, irrevocably lost. We've heard about the "Saran Wrap" look in the past. With all this, it becomes obvious that the character of your images, especially when viewed up close, will depend on the combination of these two factors: sharpening and noise filtering (in addition to contrast and color saturation). If you are not sure about your preferences in this area, do not mess with the noise filtering setting, leaving it at the default Standard setting (even if many users, incliding myself, consider the default excessive). After all, this is what the Olympus designers have chosen as something reasonable, balancing various aspects of image quality. Some people will want, however, to adjust the image processing to their liking, and I am in this number. Before putting my new E-510 to any serious use, I have to decide what parameter combination to use in my applications, and to make this decision, I had to do some experimentation, trying various combinations out. While I did that for my own use, in this article I'm sharing some of the results, so that you may make your own decision, not necessarily the same as mine, based on the same original data. Okay, what was originally intended as a brief introduction to the presentation of image samples, grew into a generic introduction to the subject. I beg your forgiveness, and here are the samples. The samples: belt buckle I've used this buckle as a test subject before. It is about 10 cm (4") across, and this time the whole session was done in diffused daylight off my patio door, facing away from the Sun. The sky was partly cloudy, and this is the reason of minor exposure and color balance variations. The WB was manually set to 5300K, or "sunny"; perhaps the open shade setting would have been better — but this is not important in the context of this study. The camera was set to the Natural image mode, therefore the sharpening range N-2...N+2 can be expressed in absolute terms as -3...+1. Contrast and saturation were both set to N-1 (which is also -1, as the Natural mode has zero offsets here). First, let us have a look at the full frame, reduced and re-sharpened, with the sample area marked. The picture on the right shows, just for your entertainment, that frame being analyzed and processed on my computer.
|
|  E-510, 14-42 mm F/3.5-5.6 at 42 mm. Aperture priority
|  E-510, 14-42 mm F/3.5-5.6 at 27 mm. Aperture priority
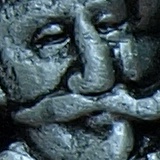
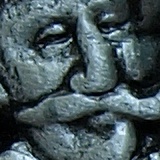
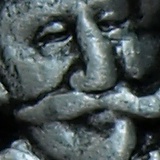
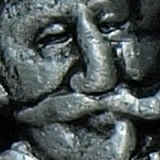
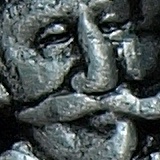
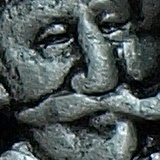
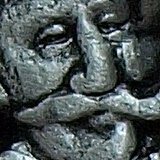
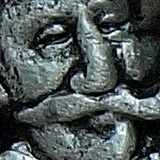
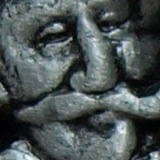
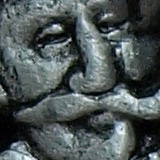
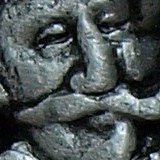
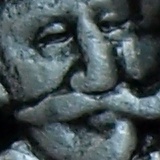
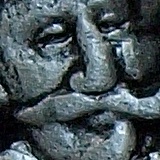
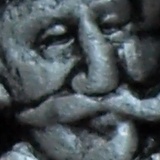
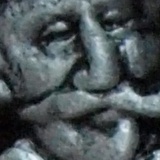
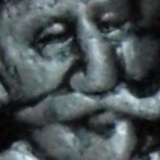
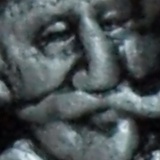
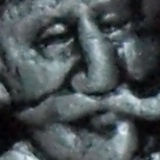
| The 1:1 (full pixel size) samples shown below were not postprocessed in any way (except cropping, that is). Their 160×160 pixel size corresponds to 17 mm (0.7") on a 30×40 cm (12×16") print (or screen); on your screen they are more than twice as large, therefore any image flaws are much exaggerated. Noise filtering changed from row to row; sharpening — from column to column. Samples with a thin frame are clickable, so that you can see the original, full-size image (6-7 MB in SHQ, a slow download and a drag on my bandwidth, so use this option in moderation). ISO 100 | ||||

| 
| 
| 
| 
| |
|---|---|---|---|---|---|

| 
| 
| 
| 
| 
|

| 
| 
| 
| 
| 
|

| 
| 
| 
| 
| 
|

| 
| 
| 
| 
| 
|
|
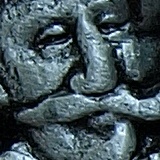
Quite interesting, I would say! At this ISO setting I prefer the Off/N-2 combination, or maybe Low/N-1; both should submit nicely to any sharpening in postprocessing, if I need it. N+2 is certainly excessive, and so is any noise filtering higher than Low. But have a look at the full image at the lowest settings. The detail is nothing short of amazing. Keep in mind that this is a 10 MP image, but even on a pixel-by pixel basis it holds its own against anything you can throw at it. Note the hot (red) pixel near the left edge; I still have to do pixel mapping. Note that the manufacturer's default settings are Standard/V±0, what is the same as Standard/N+1 in the matrix above. I think this is not really the best combination, and it leads to some loss of detail, even if the first impression is similar to that of my Low/N-1. A matter of taste? Maybe. ISO 200 |
|
|
|
|
|
| |
|---|---|---|---|---|---|
|
| 
| 
| 
| 
| 
|
|
| 
| 
| 
| 
| 
|
|
| 
| 
| 
| 
| 
|
|
| 
| 
| 
| 
| 
|
|
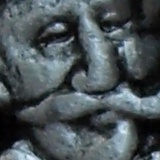
At ISO 200 my preferences remain unchanged: Off/N-2 or Low/N-1. Excessive sharpening does here even more harm than in the previous case. The full-size image illustrates my choice of filtering and sharpening parameters. ISO 400 |
|
|
|
|
|
| |
|---|---|---|---|---|---|
|
| 
| 
| 
| 
| 
|
|
| 
| 
| 
| 
| 
|
|
| 
| 
| 
| 
| 
|
|
| 
| 
| 
| 
| 
|
|
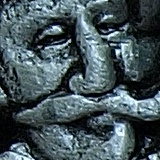
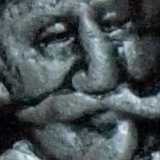
Well, I'm not sure... Perhaps Low/N-1? Or, again, Off/N-2? One of these may be the best combination. In any case, the Standard noise filtering is rather out of question. Generally, the ISO 400 images are very nice, but so they were in the E-500, even if I could see some noise in the mid-shadows. Not that it bothered me, but it is good to see that improved anyway. If you would like to start looking for noise here, you can try it using the full Low/N-2 image, available via the link above. A good place to start are the round dimples around the circumference. Whatever you'll be able to see is quite negligible. ISO 800 |
|
|
|
|
|
| |
|---|---|---|---|---|---|
|
| 
| 
| 
| 
| 
|
|
| 
| 
| 
| 
| 
|
|
| 
| 
| 
| 
| 
|
|
| 
| 
| 
| 
| 
|
|
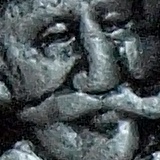
Again, Low/N-1 or Off/N-2 would be my choice here, even if Low/N±0 may look better straight off the camera, especially in this magnification. This image lacks the large, dark gray areas where the noise is most visible, but I know it is there: you can see some granularity in the dimples, when viewing the full image — not much, mind it, a visible improvement from the E-500. Still, here Low is my preference over Off. And if I need to sharpen the image a bit more, I can do it later, masking off the uniform areas where noise creeps in. Still, have a look at the linked full image, if just to prove to yourself that the ISO 800 is not just usable on the E-510. A well-controlled noise, and civilized resolution. Quite impressive for this sensitivity. ISO 1600 |
|
|
|
|
|
| |
|---|---|---|---|---|---|
|
| 
| 
| 
| 
| 
|
|
| 
| 
| 
| 
| 
|
|
| 
| 
| 
| 
| 
|
|
| 
| 
| 
| 
| 
|
|
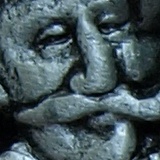
Understandably, at ISO 1600 some compromises are unavoidable, but, again, I would go with Low/N-1. As you can see in the full frame, now some noise is clearly visible in the dimples. Remember film? Yes, the image is clearly not as good as at ISO 800, but download the file, print it at 30×40 cm (12×16") and show the print to the person who will tell you that ISO 1600 images from this camera can be printed only at 4×6". Obviously, ISO 1600 is no longer for emergencies only. Long exposures While tweaking the camera parameters to my liking, I shot a series of 60 almost-identical frames, at various shutter, ISO, and noise filtering settings. To make a stronger point on how noise filtering degrades image sharpness, and what it gives in return, let me show you some frames from that series.
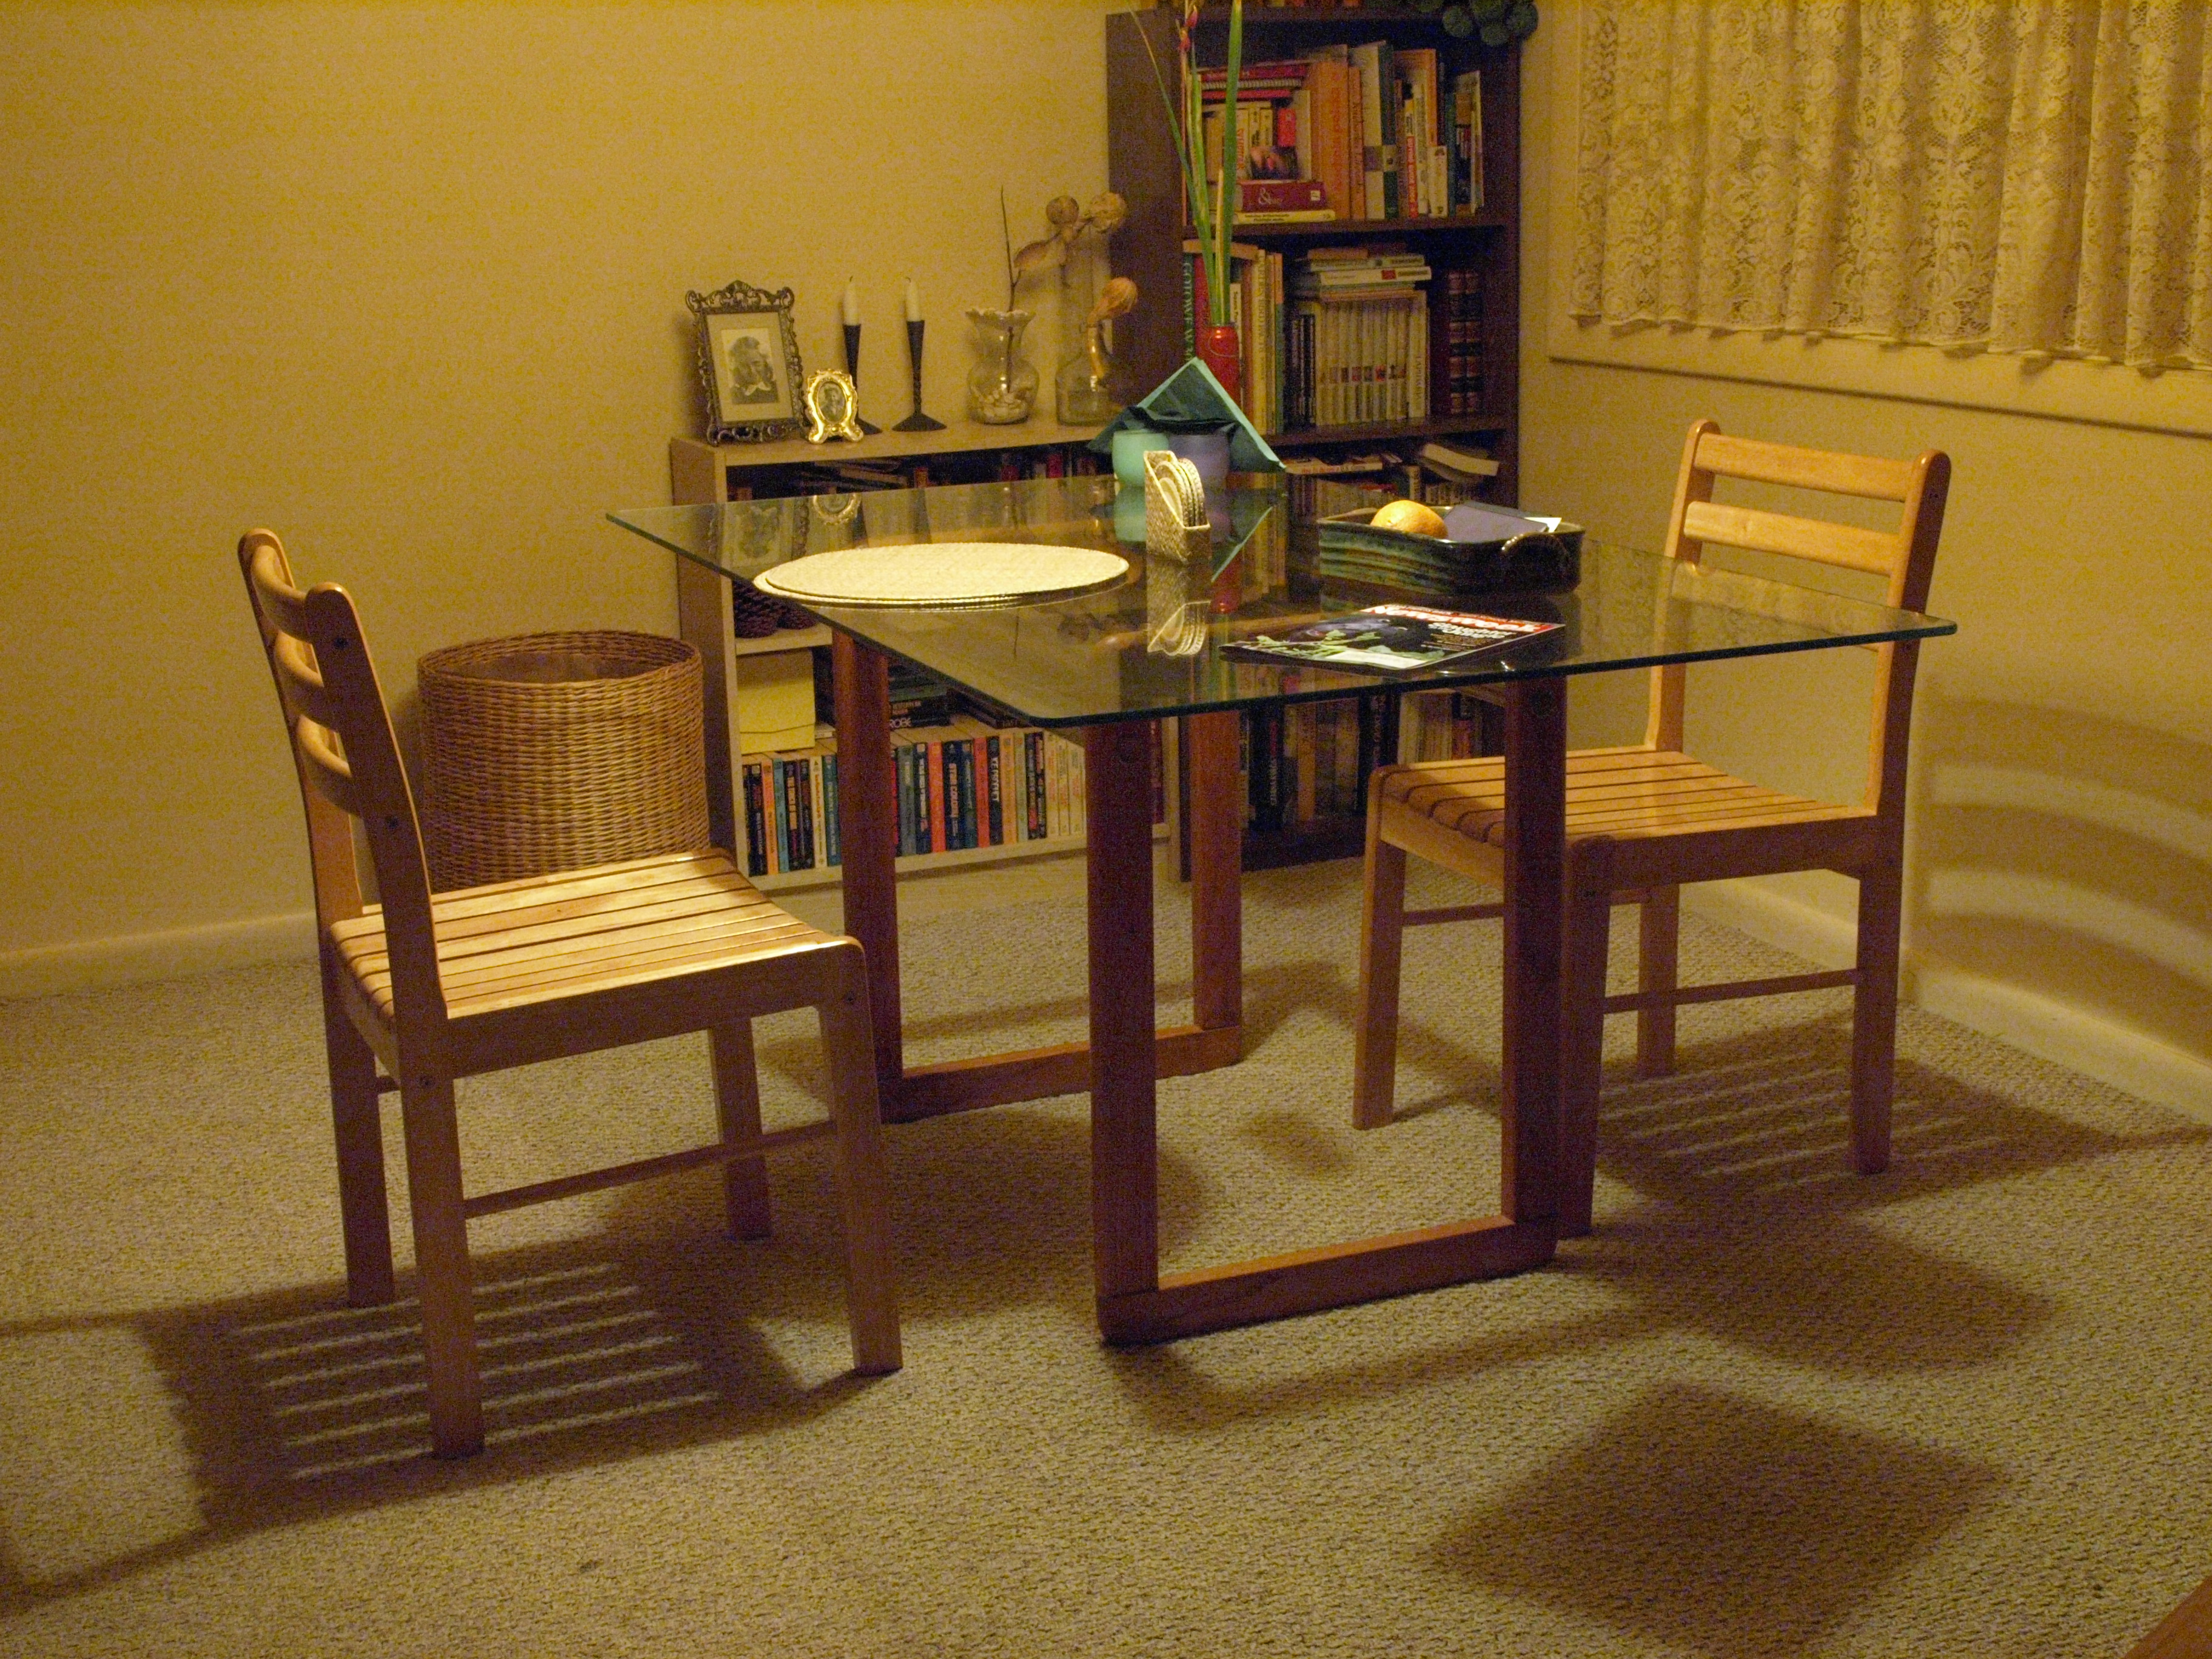
The subject was a breakfast table, illuminated by a paper-shaded, incandescent ceiling lamp directly above it. Using a dimmer, I adjusted the light to get a 60-second exposure at ISO 100 without closing the aperture beyond F/11, and, believe me, I could barely see in that light.
| The dimmed light becomes more red, so I've set the white balance to 2300°K. The exposure was timed manually after being TTL-metered before the first frame. Natural Picture Mode was used, with contrast at N-1 and sharpness at N-2. All frames shown here underwent static noise reduction (dark frame subtraction).
| 
| In the matrix below, each column corresponds to one ISO value; each row — to a noise filter setting. All pictures were taken at F/11 (already a bit into the diffraction realm), so the shutter speed had to be set differently for each ISO: from 60 seconds at ISO 100 to 4 seconds at ISO 1600. (The marked samples link to original full frames, saved in-camera as 1:4 JPEGs.) | ||

| 
| 
| 
| 
| |
|---|---|---|---|---|---|
|
| 
| 
| 
| 
| 
|
|
| 
| 
| 
| 
| 
|
|
| 
| 
| 
| 
| 
|
|
| 
| 
| 
| 
| 
|
|
A small gold mine of information, I would say; it took me a better part of the evening to go through these samples (plus the ones at F/8 and F/5.6, not shown here): moving selected combinations of files into the Image Basket of the ACDSee browser, and then switching between them back and forth, with zoom and pan locked — similar to what astronomers do when comparing different pictures of the same area of the sky; this shows all minor differences more clearly than any side-by-side comparison. My interpretation of the results is consistent with that of the previous series: image noise without filtering is not objectionable up to ISO 800; there is no reason to turn the filtering on, and the images have more detail. At ISO 1600 I would maybe go to Low filtering, but no higher. Remember: image sharpening will not restore any detail lost to the filtering process! Quirky sensor gain (ISO) settings? An interesting by-product of this exercise: note that the ISO 100 images are a bit brighter than all others. Not by much; this looks like less than 1/3 EV (or about 25%). Still, this behavior is consistent over all 60 frames I took in that session. As all 60 frames shared the same metering, with exposure parameters being set by hand. This rules out any inconsistencies of the AE system. Similarly, I can exclude the possibility of a systematic error in shutter speeds (at these times that accuracy, electronically timed, is way beyond any suspicion) and an explanation of the aperture not closing precisely to the selected value (there is no reason for that to happen only at ISO 100 and always at that setting). Variations of the power line voltage are also unlikely. What is left, is a possibility that the geometric progression of ISO values is slightly inaccurate: the ISO 100 is not really a half of the nominal ISO 200 as it should be. I don't know: maybe the nominal ISO 100 is really ISO 125, or maybe the nominal ISO 200..1600 are really closer to 160..1250; one or the other, these are not simple measurements, and it really does not matter, as the effect is really small. As a nitpicker, however, I had to point that out. Conclusions Only after having shot the belt buckle series, I realized that this is an easy subject for high ISOs, maybe too easy. The image is quite busy, with lots of contrasty detail; the noise has simply not much room to raise its ugly little head. This is why I did the series with the breakfast table: there is less contrast here, an there are large areas without much detail, where the noise should be more visible. It turned out that even under these conditions, ISO 800 performs very nicely, and 1600 — quite fine, thank you; both are perfectly usable for final images of practically any size. Forget the self-proclaimed gurus who proudly mastered the tables of multiplication and will derive the maximum printable size by dividing the image dimensions in pixels by 200 or 300 dpi; I'm not even going to argue with them. They've never heard about the angular resolution of the human eye, or the relationship between image size and the viewing distance. Well, at least our schools still work OK on the fourth grade level... It was also quite entertaining (in a very special way) to read a review (don't remember the source), claiming that ISO 1600 from the E-510 is good for 4×6' (10×15 cm) prints but not more. This is just not true, and I doubt whether the reviewer actually used the camera, besides of taking a couple of Sunday snapshots. To be precise, I'm talking here about conditions under which ISO 1600 is most likely to be used: to extend the range of scene luminance when the camera can be used handheld. This is why I chose the conditions and aperture value so that 1600 ISO speeds were 1/8 of a second, and not longer. Once I have to use a shutter of 2 seconds at ISO 1600, I certainly have to use a tripod, and then I can equally well shoot at 30 seconds and ISO 100. And yes, 60-second exposures at ISO 1600 will, most probably, be quite bad. I have to check that yet. Interestingly enough, in neither series was I able to spot any amount of the "banding" I could see in my infrared shooting at ISO 1600, 1/3 s and longer; the images are also much cleaner. This is not easy to explain: maybe the effect shows up only when the sensor is "bored" (just kidding!), i.e., when there are large areas with no detail. Having an option to adjust the amount of noise filtering is a lifesaver for high ISO usability in this camera, and a nice bonus for lower ISOs. As far as I can tell, any noise filter settings higher than Low are close to useless; the real choice is between Low and Off, with Off being my personal preference up to ISO 800. Originally, after the belt buckle experiment, I was a bit tempted to use the Low setting; the advantage of Off became more clear when I gained more experience with the camera. From another angle, these experiments were a step in my learning to appreciate the tiny, 12-42 mm kit lens. While it was stepped down to F/8 or even F/11 in these samples, I've run similar series at F/5.6 and (in a less detailed way) below, and I can see it delivers image quality I wouldn't expect from a piece of glass of this size, weight, and price. |
|
|
My other articles related to the |
| Home: wrotniak.net | Search this site | Change font size |
| Posted 2007/07/29; last updated 2008/02/21 | Copyright © 2007-2008 by J. Andrzej Wrotniak. |