|
Olympus E-M1 Imaging Image detail and noise |
|
|
My other articles related to the |
|
In order to get some idea how high ISO settings can I use in my photography, I took three series of pictures, each series exploring the available ISO range in 1 EV intervals (the Low setting, which is ISO 100, was not used).
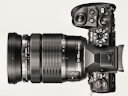
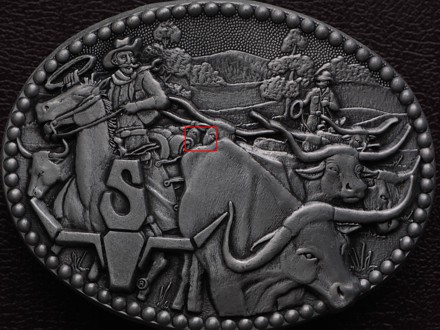
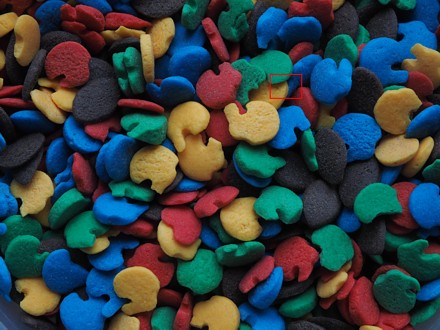
The test scenes All scenes in the first part of this comparison were of the tabletop kind: most controllable and easiest to run; they differed, however, in color and contrast. Diffused daylight from a patio door was used in all. First, let me show you the whole frames (ISO 200 only), reduced in size, each with a red box showing the extent of the 1:1 samples which follow. These three series used the MZS 12-50 mm F/3.5-6.3, with JPEG files generated by the camera. In all three series the Natural Picture Mode was used, with sharpness and contrast tuned down by one notch (except for #2, where contrast stayed at 0); in all Noise Filter was set to Low. Other parameters will be shown as needed. (The settings for pictures shot with the 75/1.8 lens near the end of this article were slightly different, they will be described in the appropriate section.)
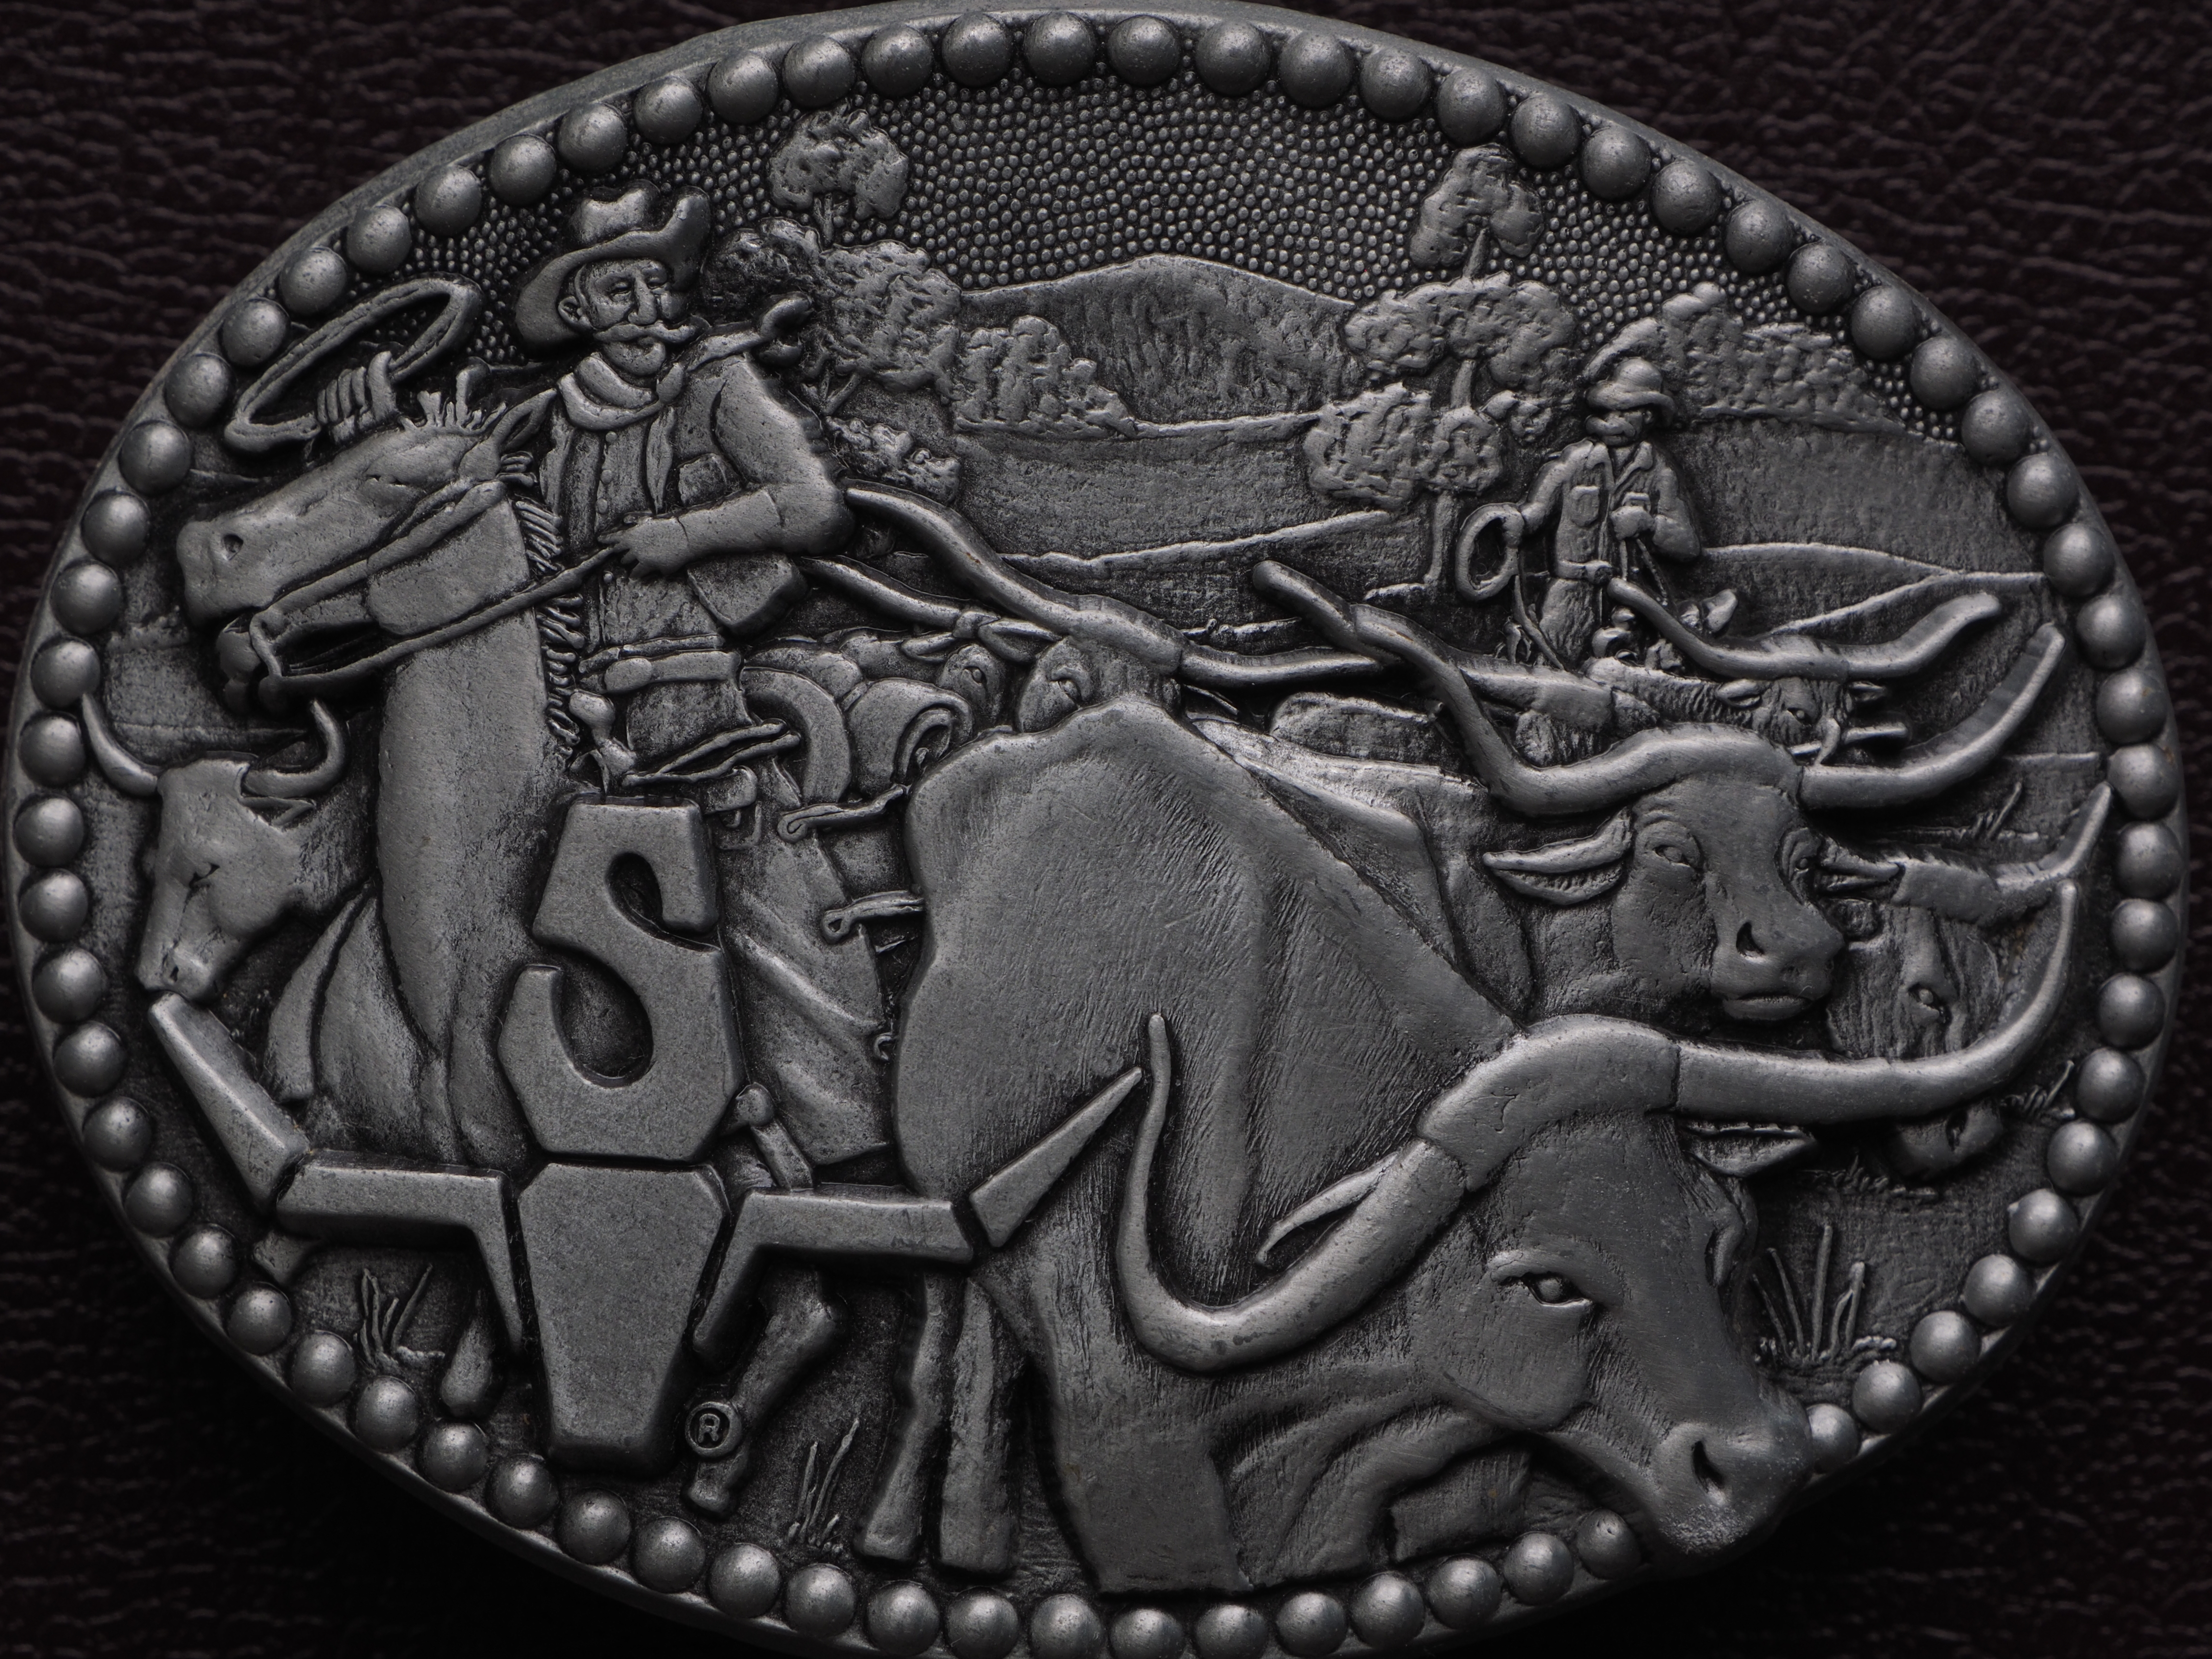
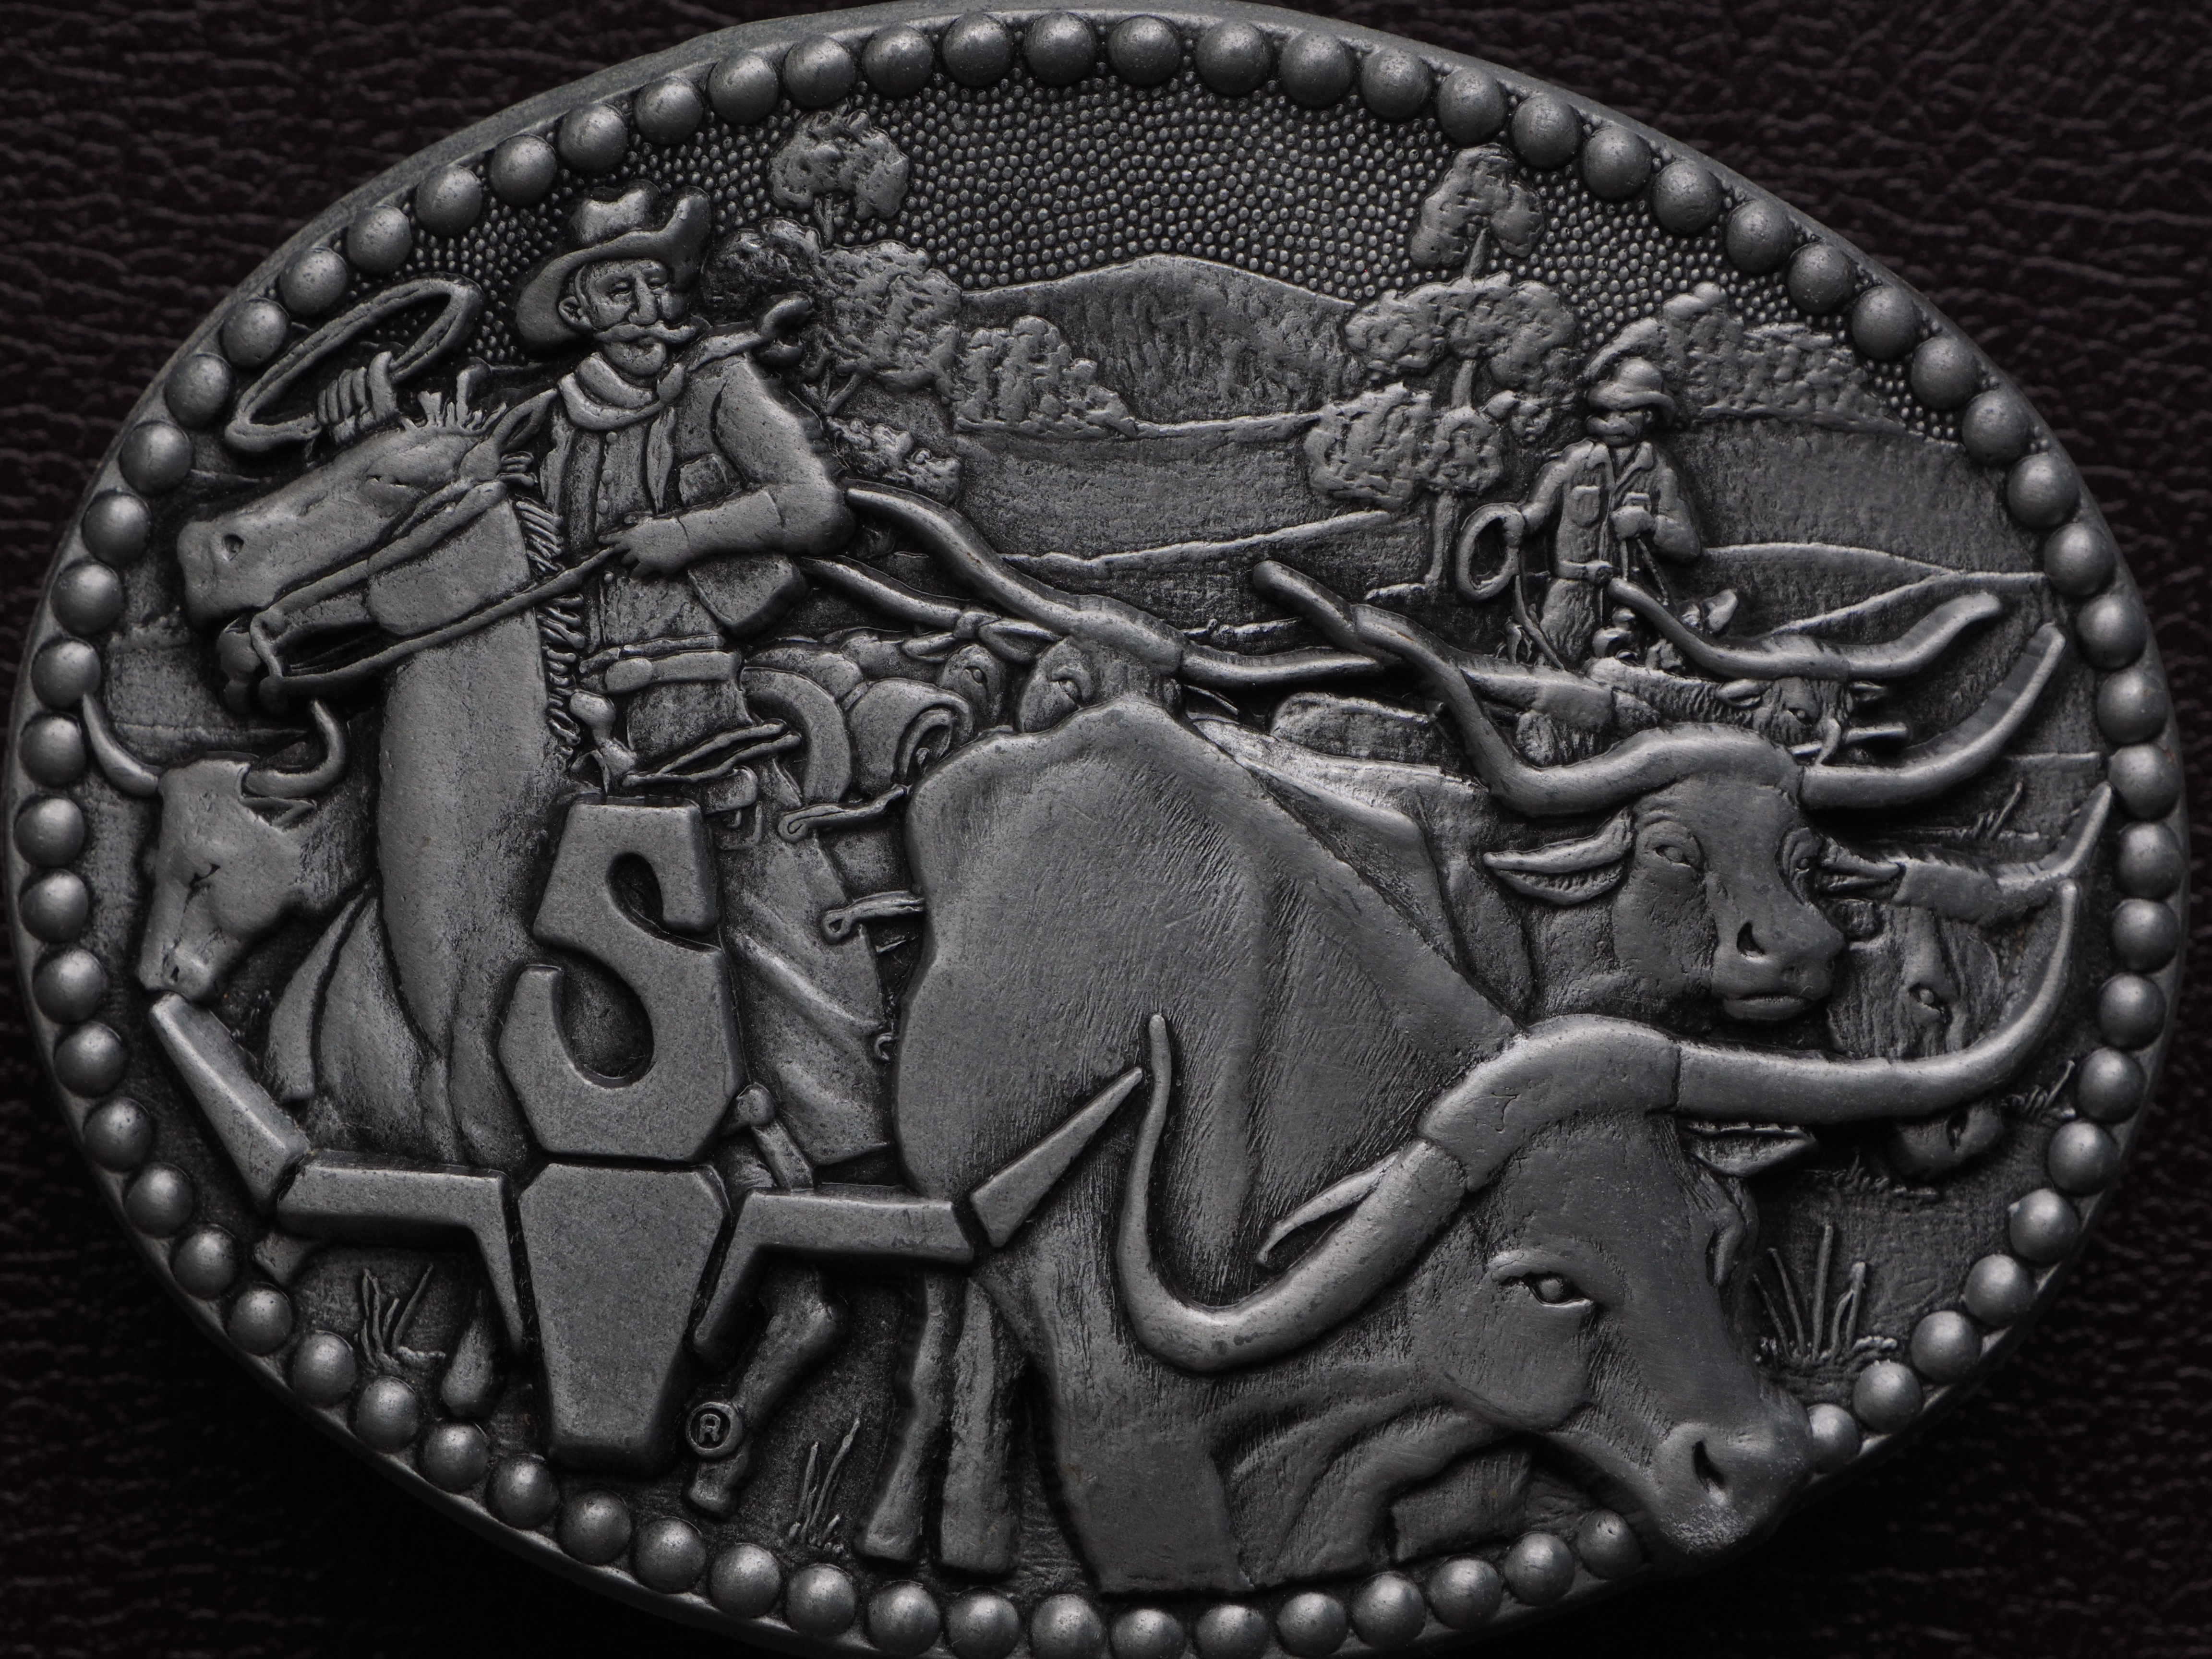
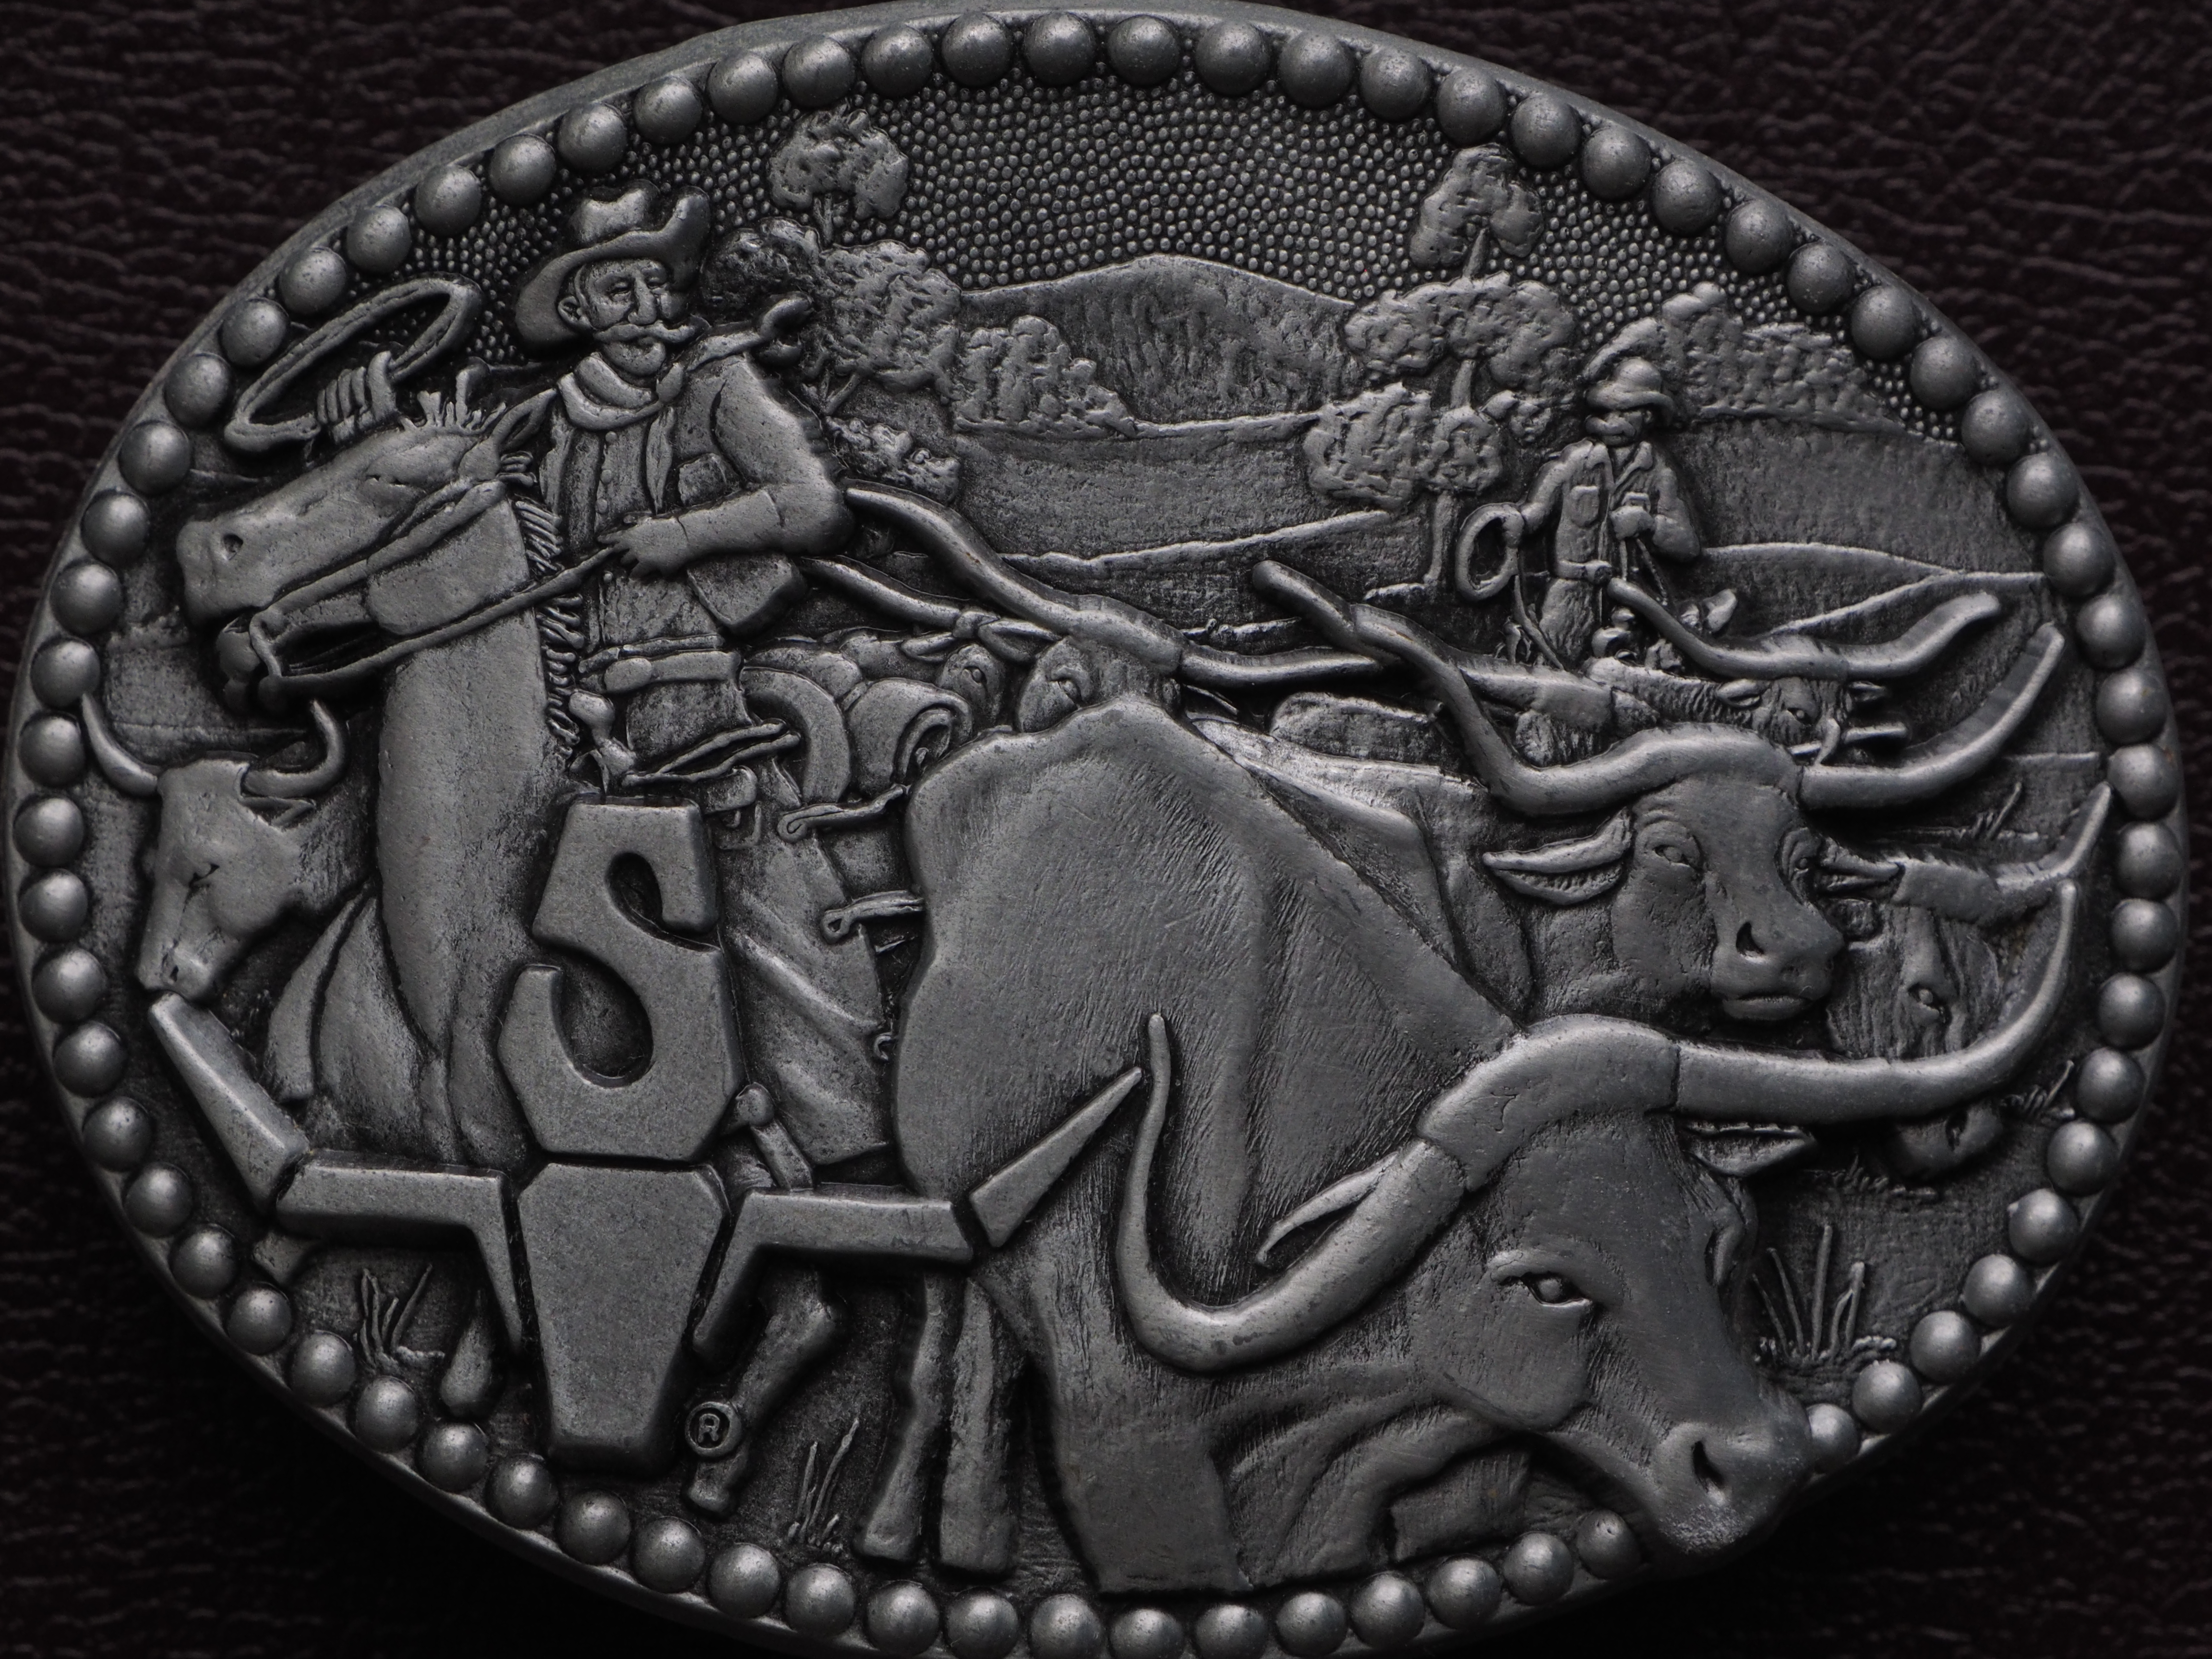
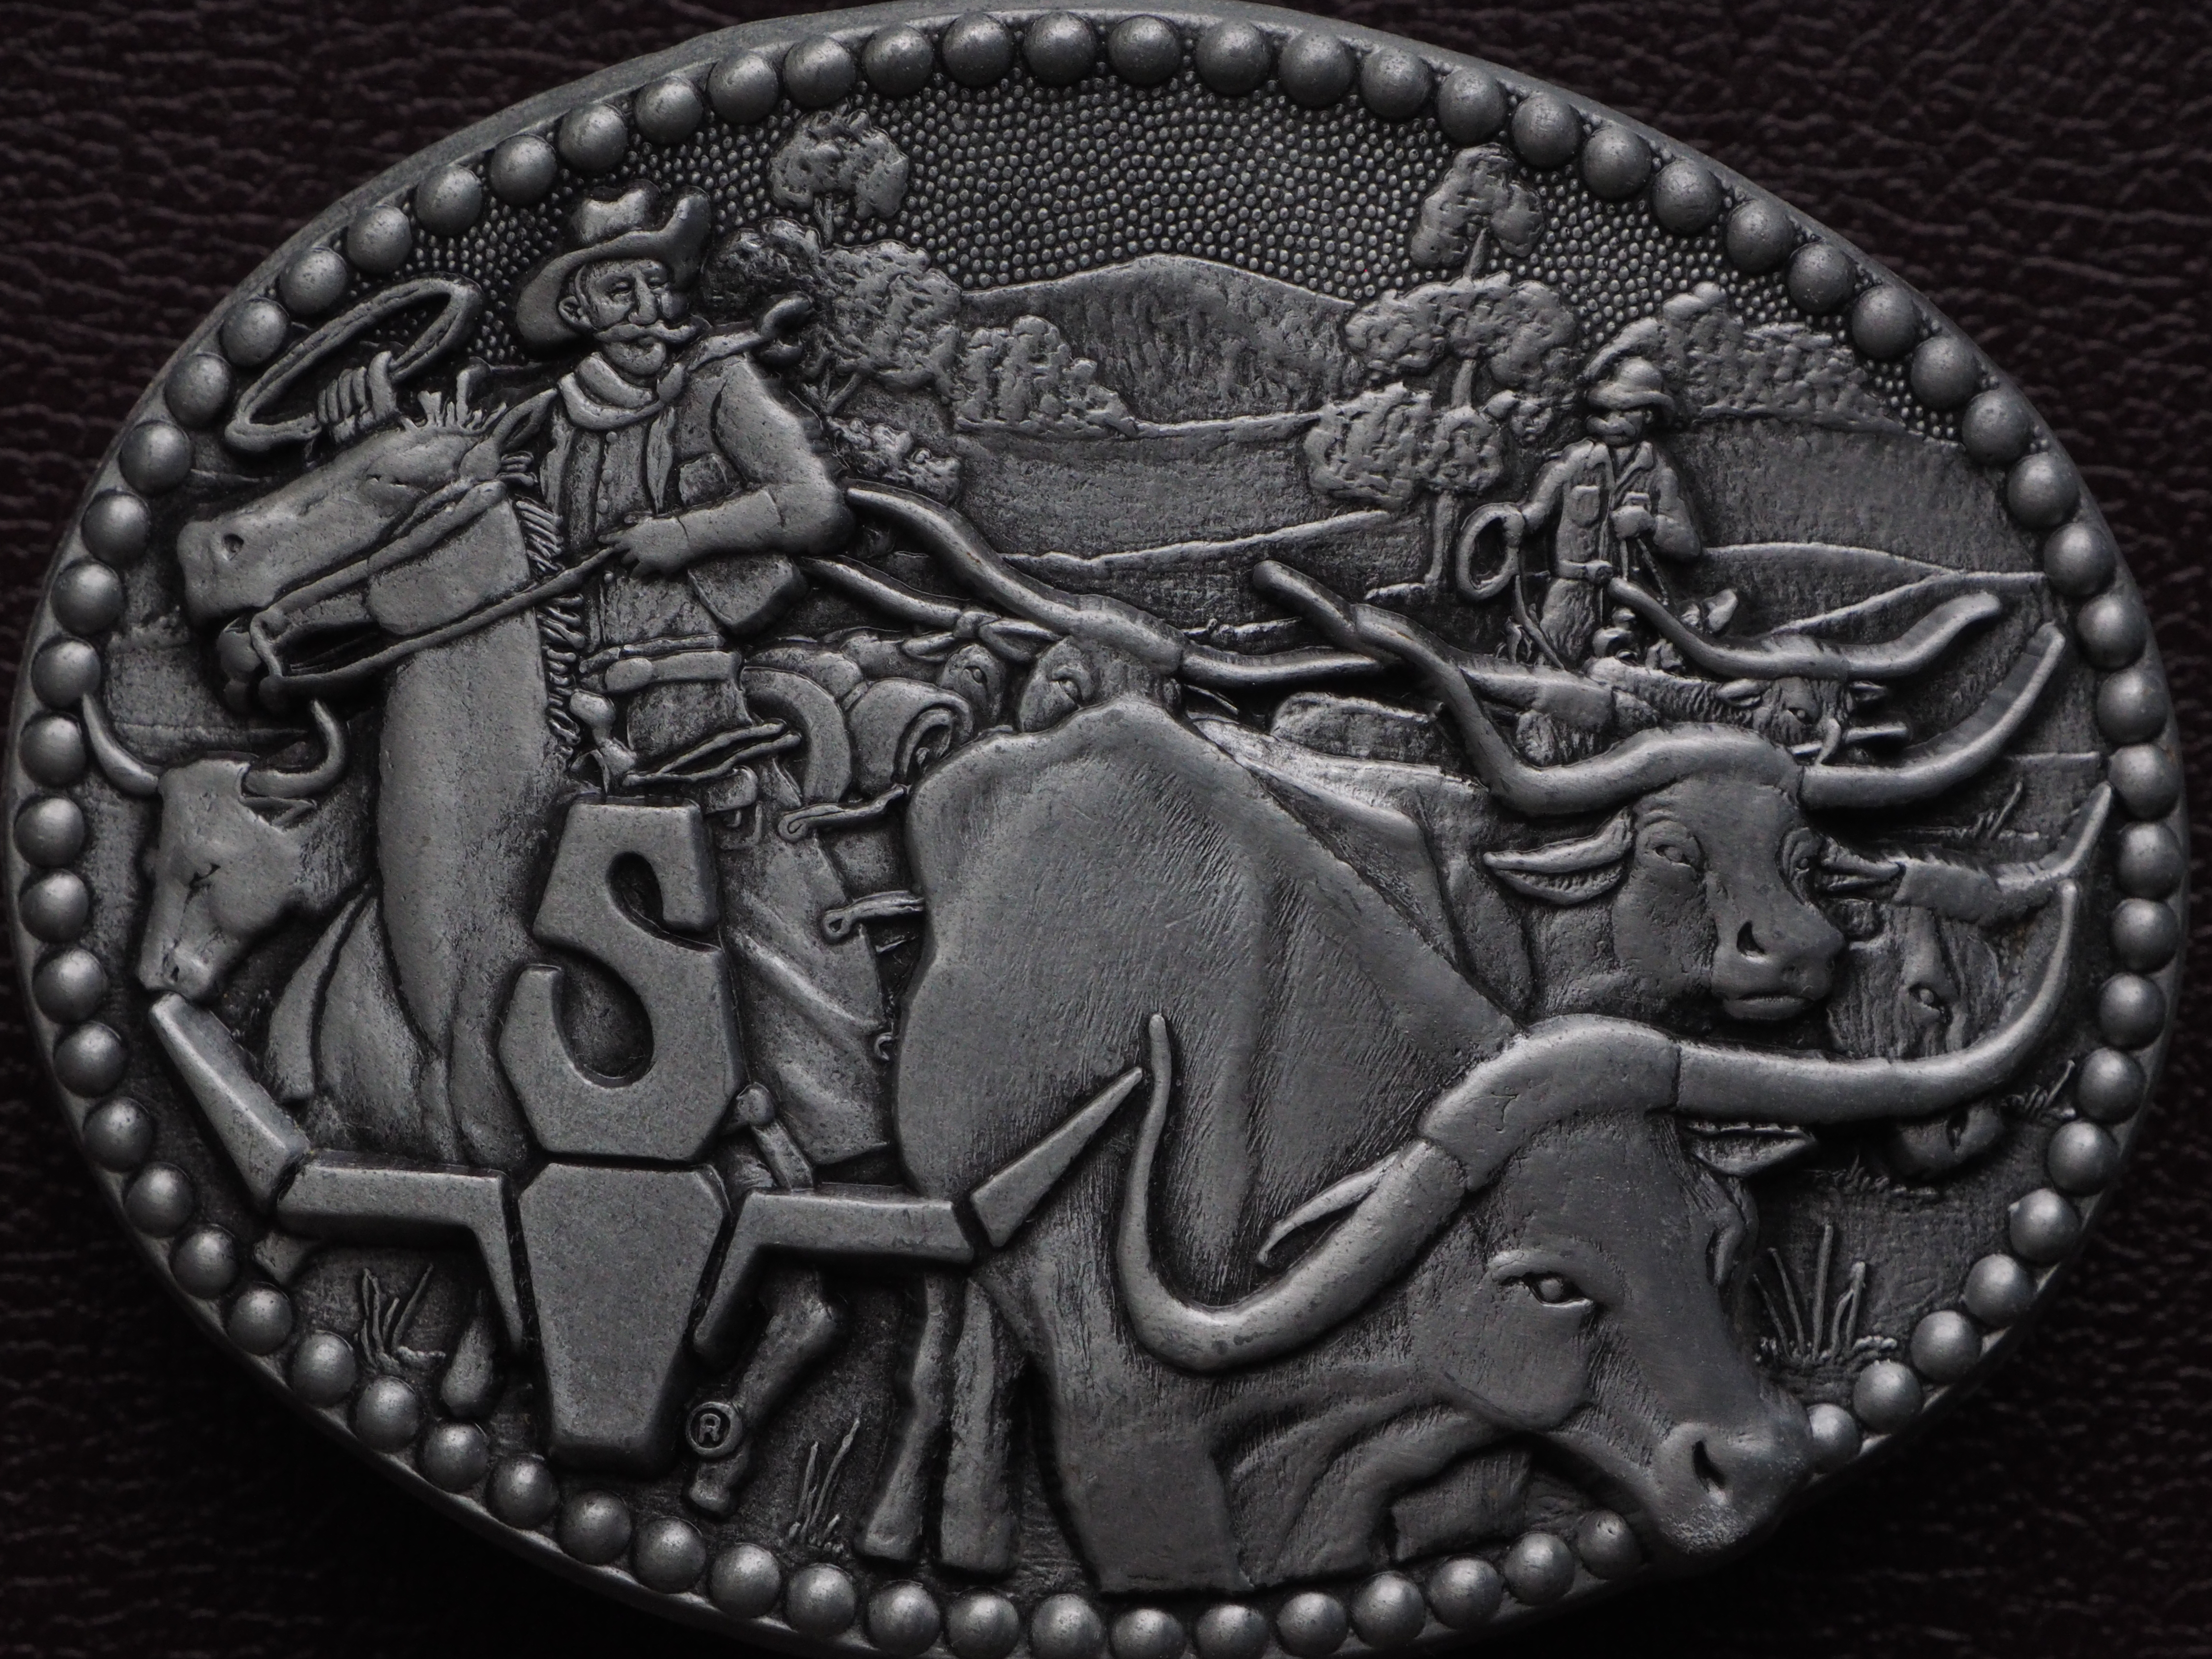
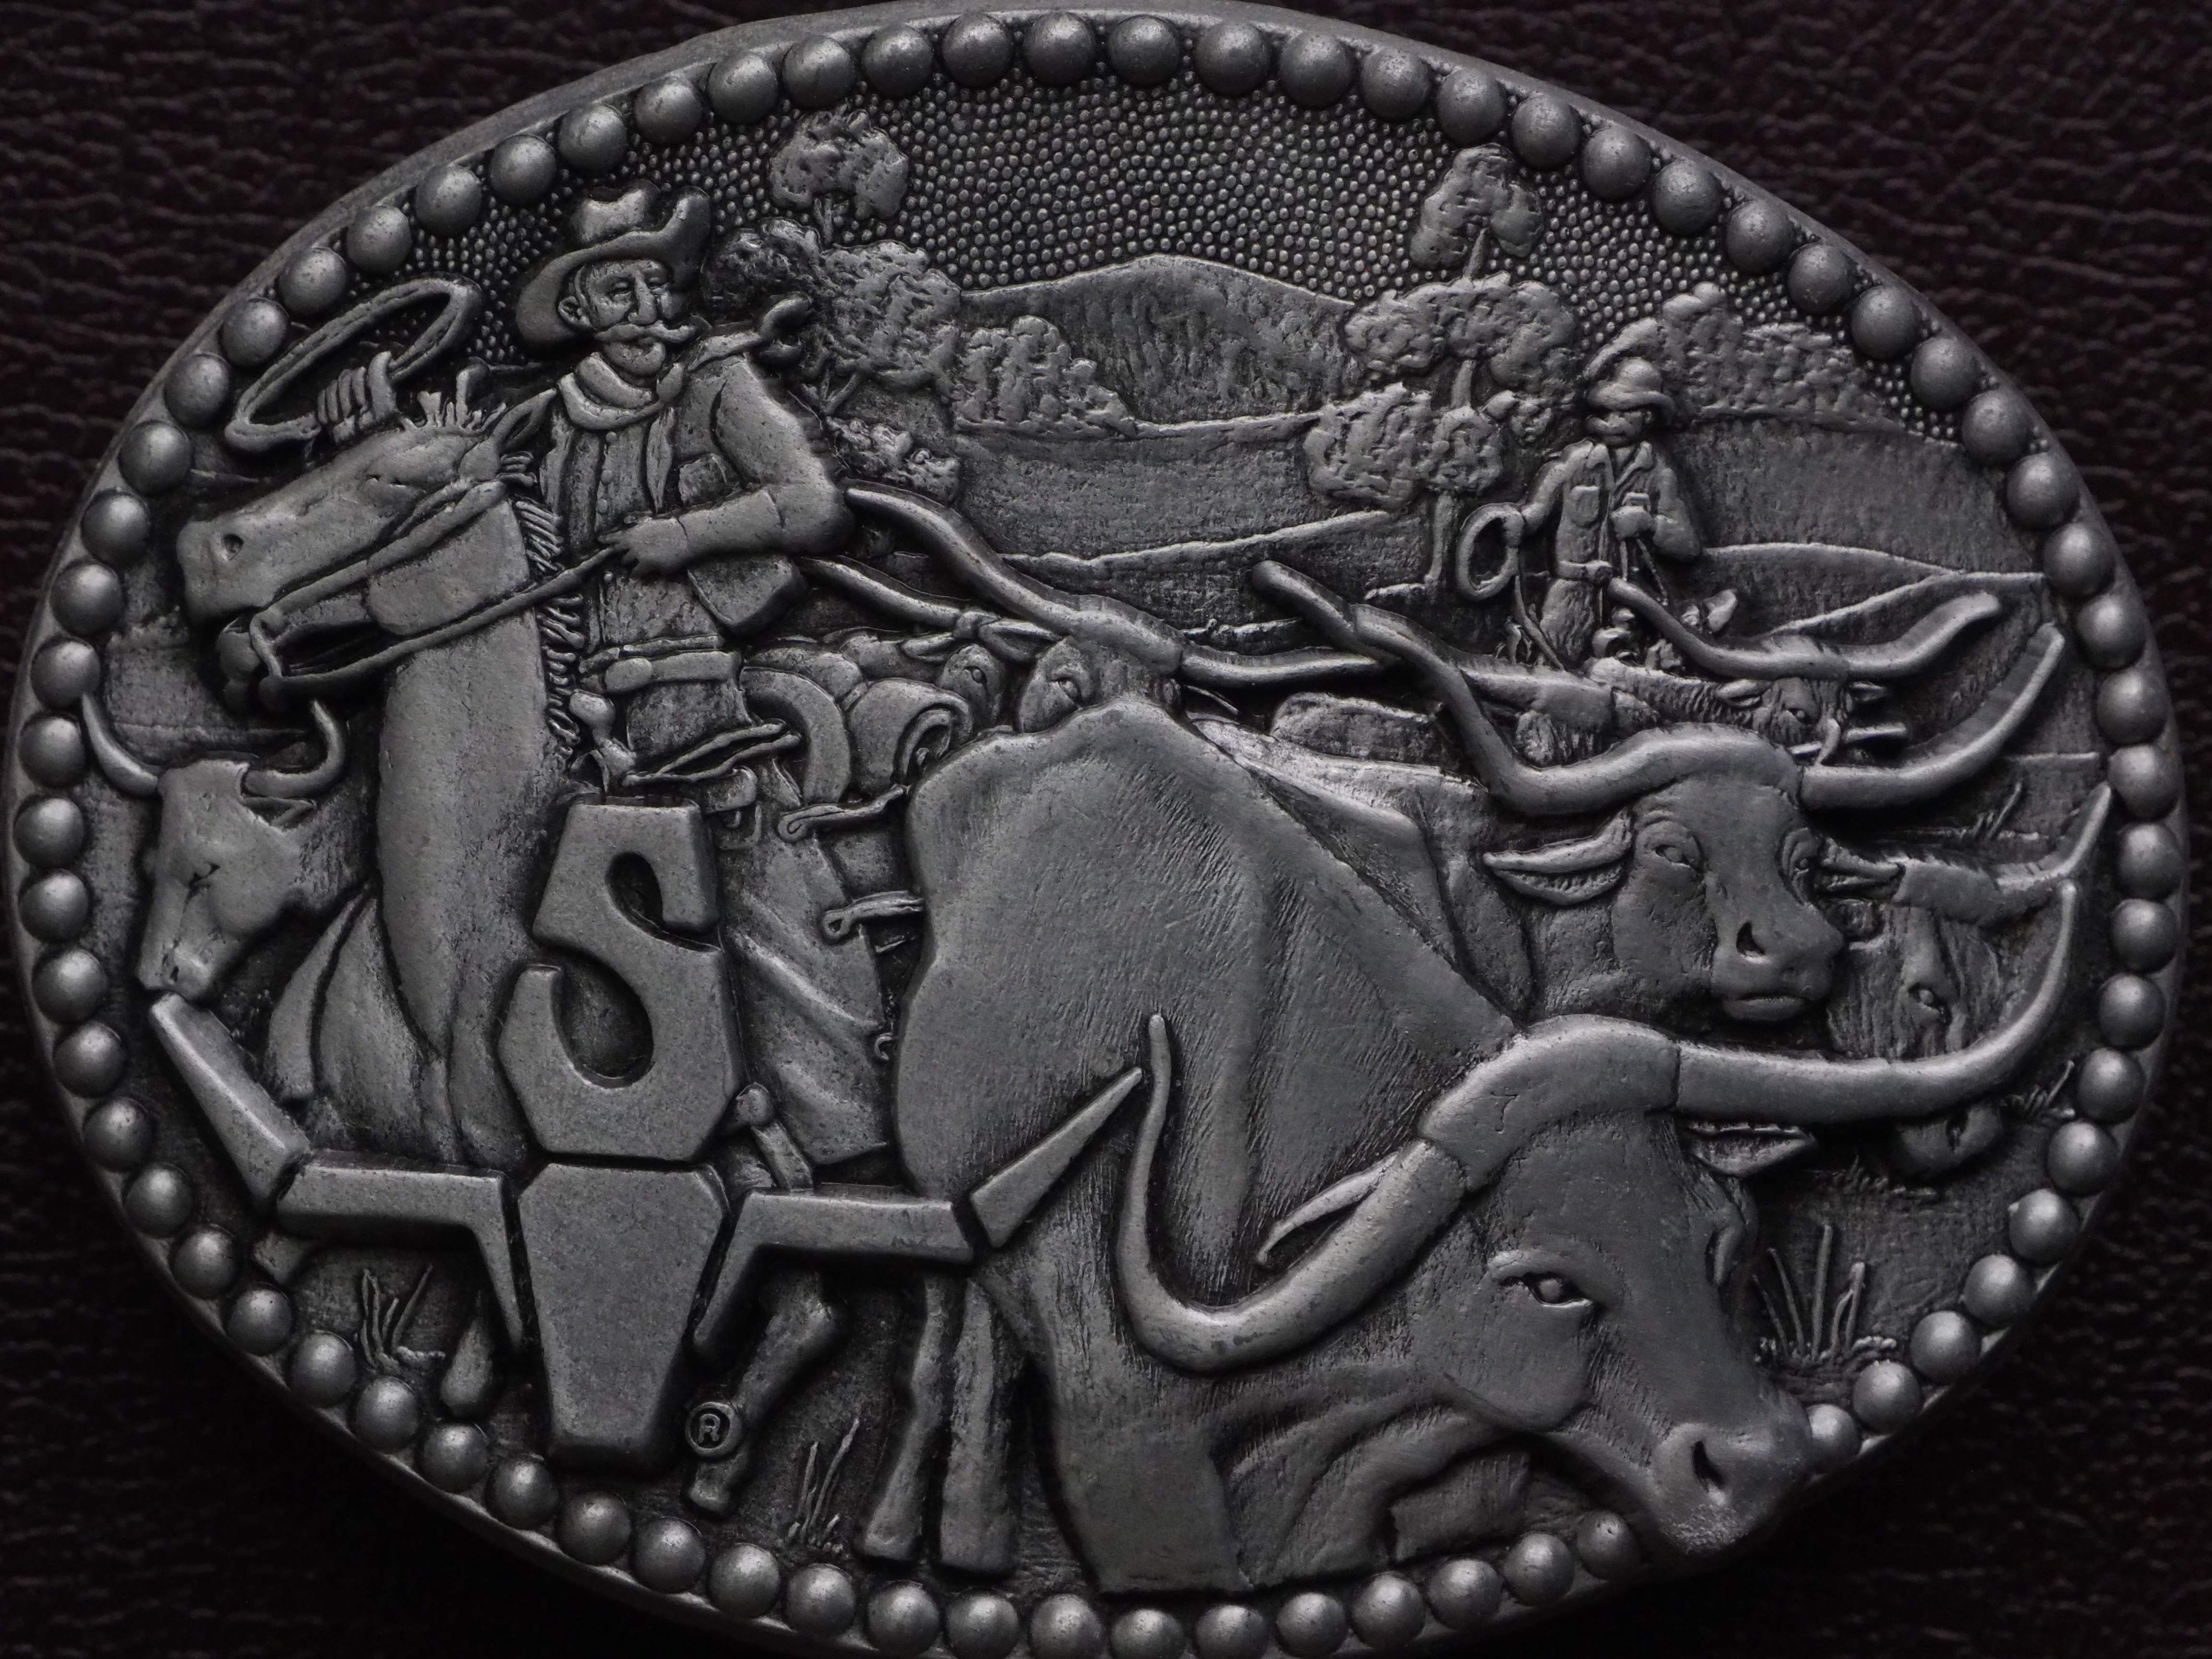
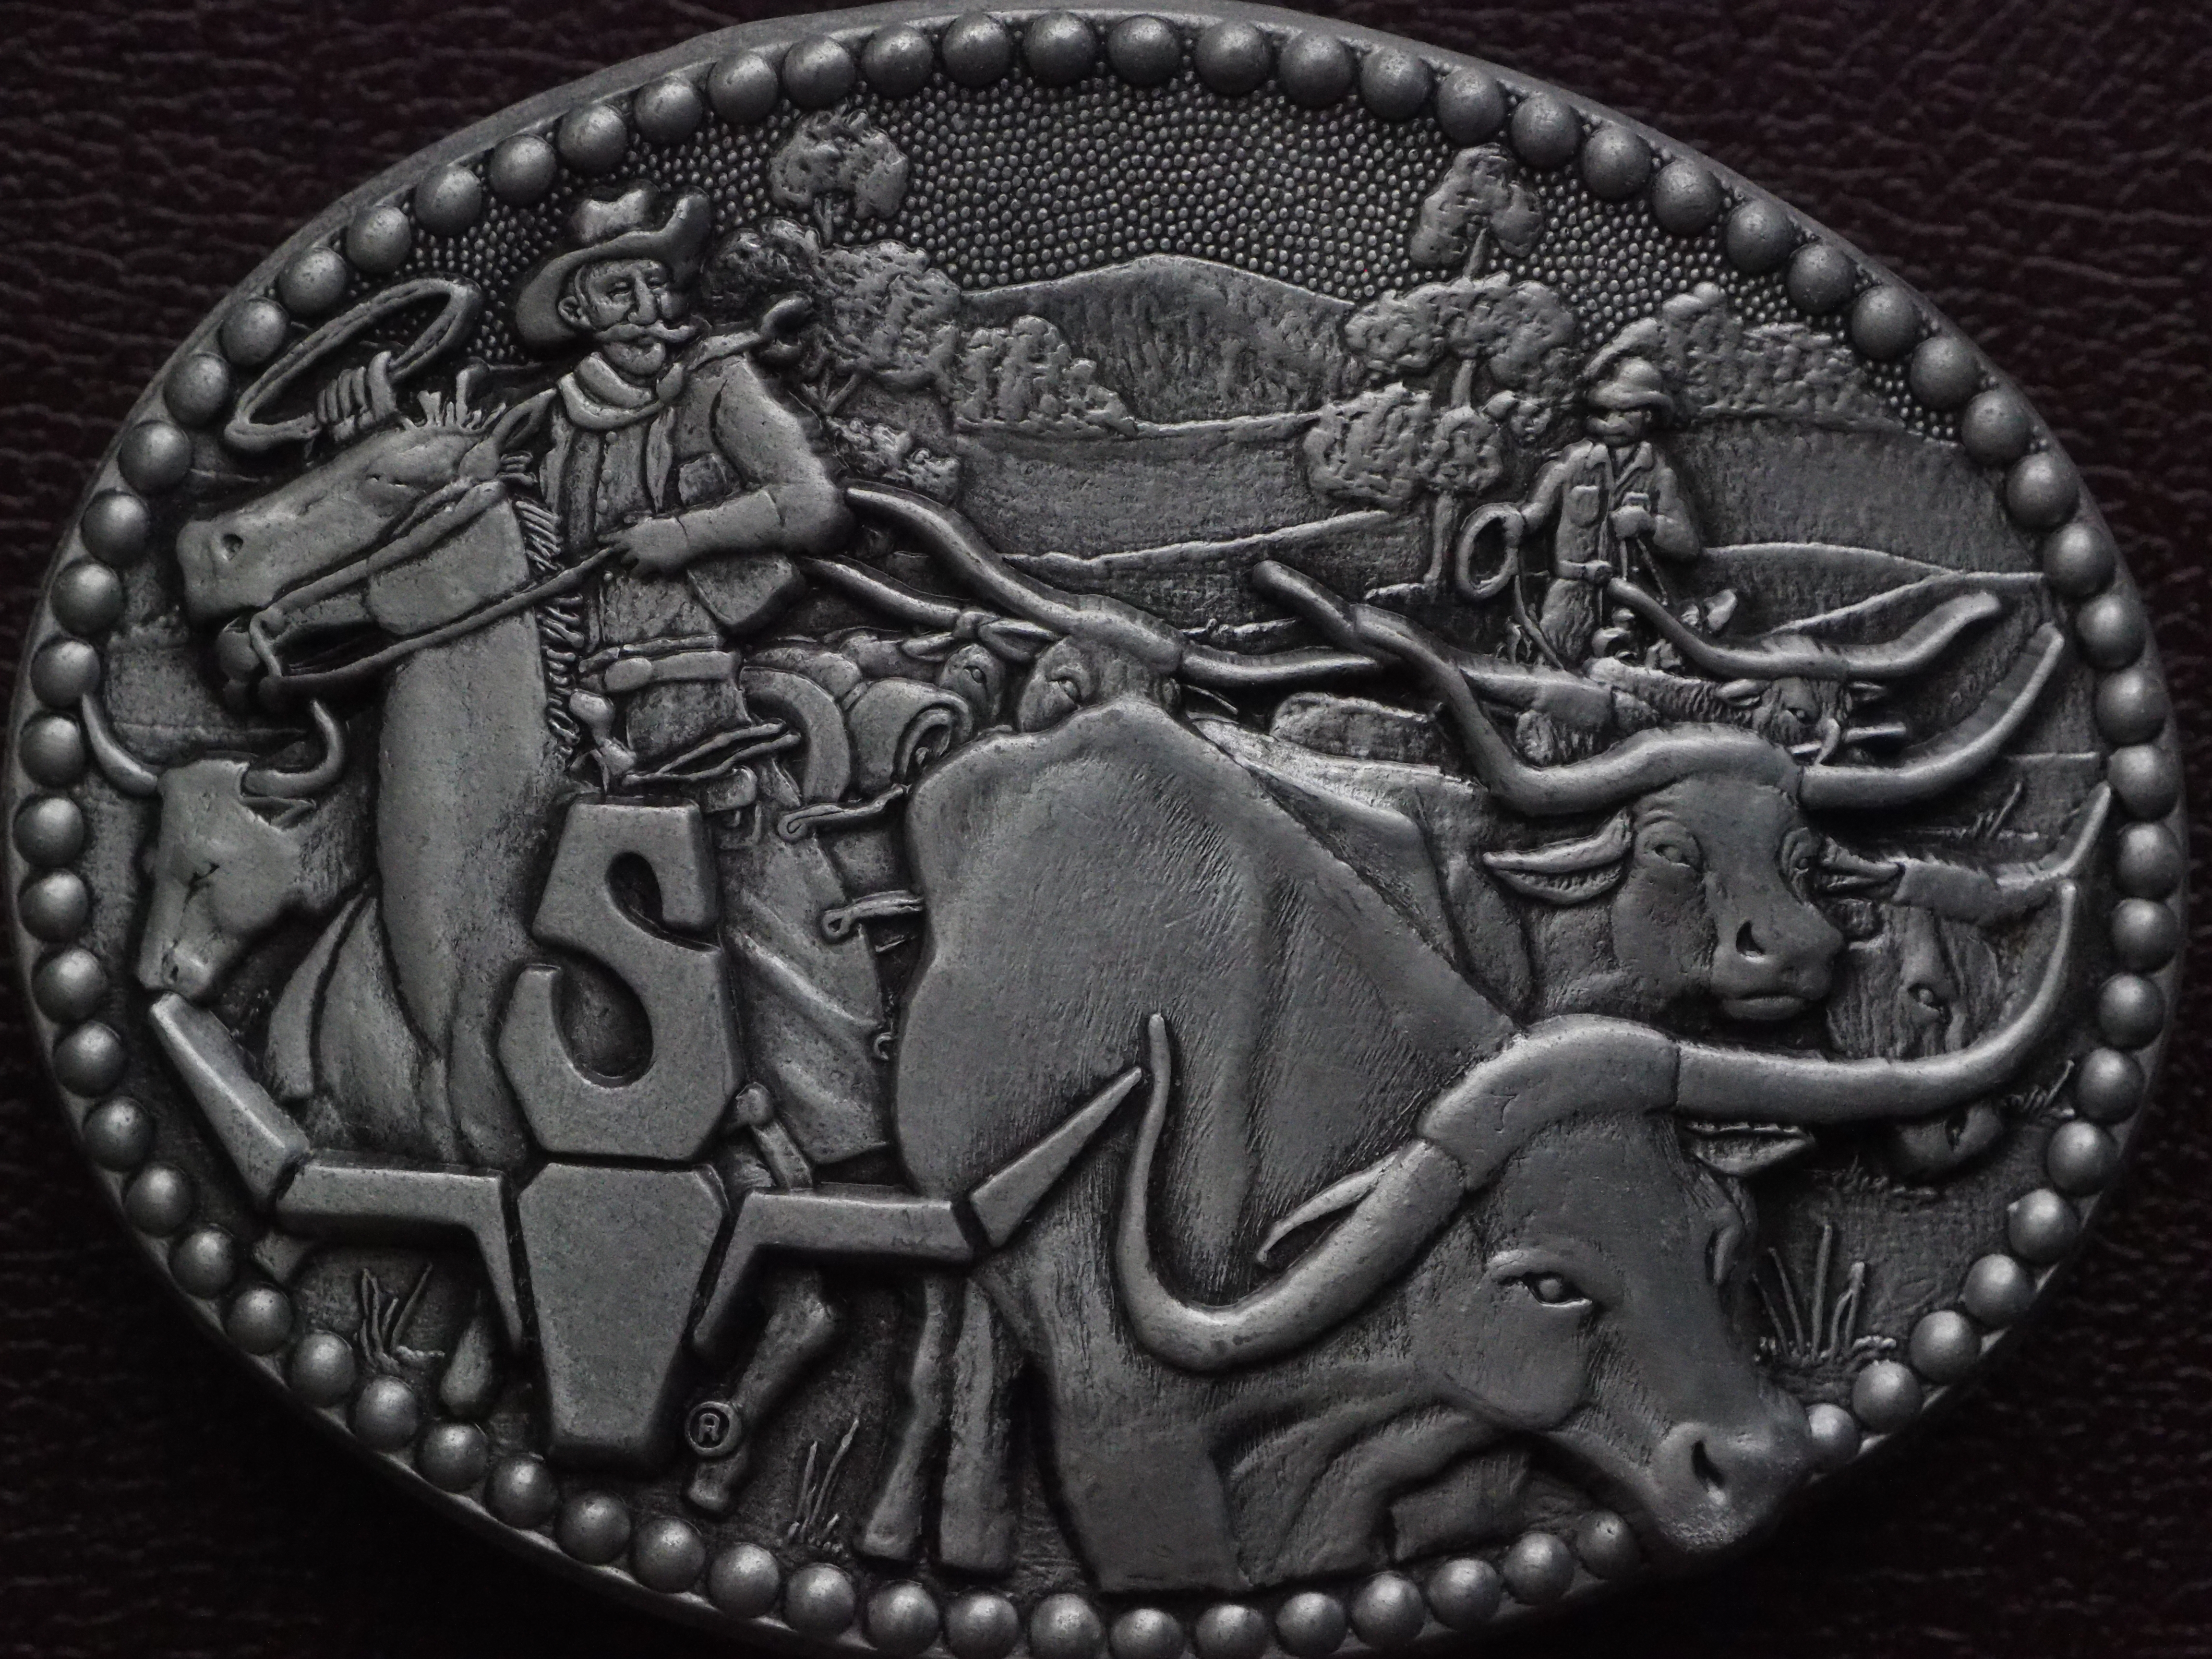
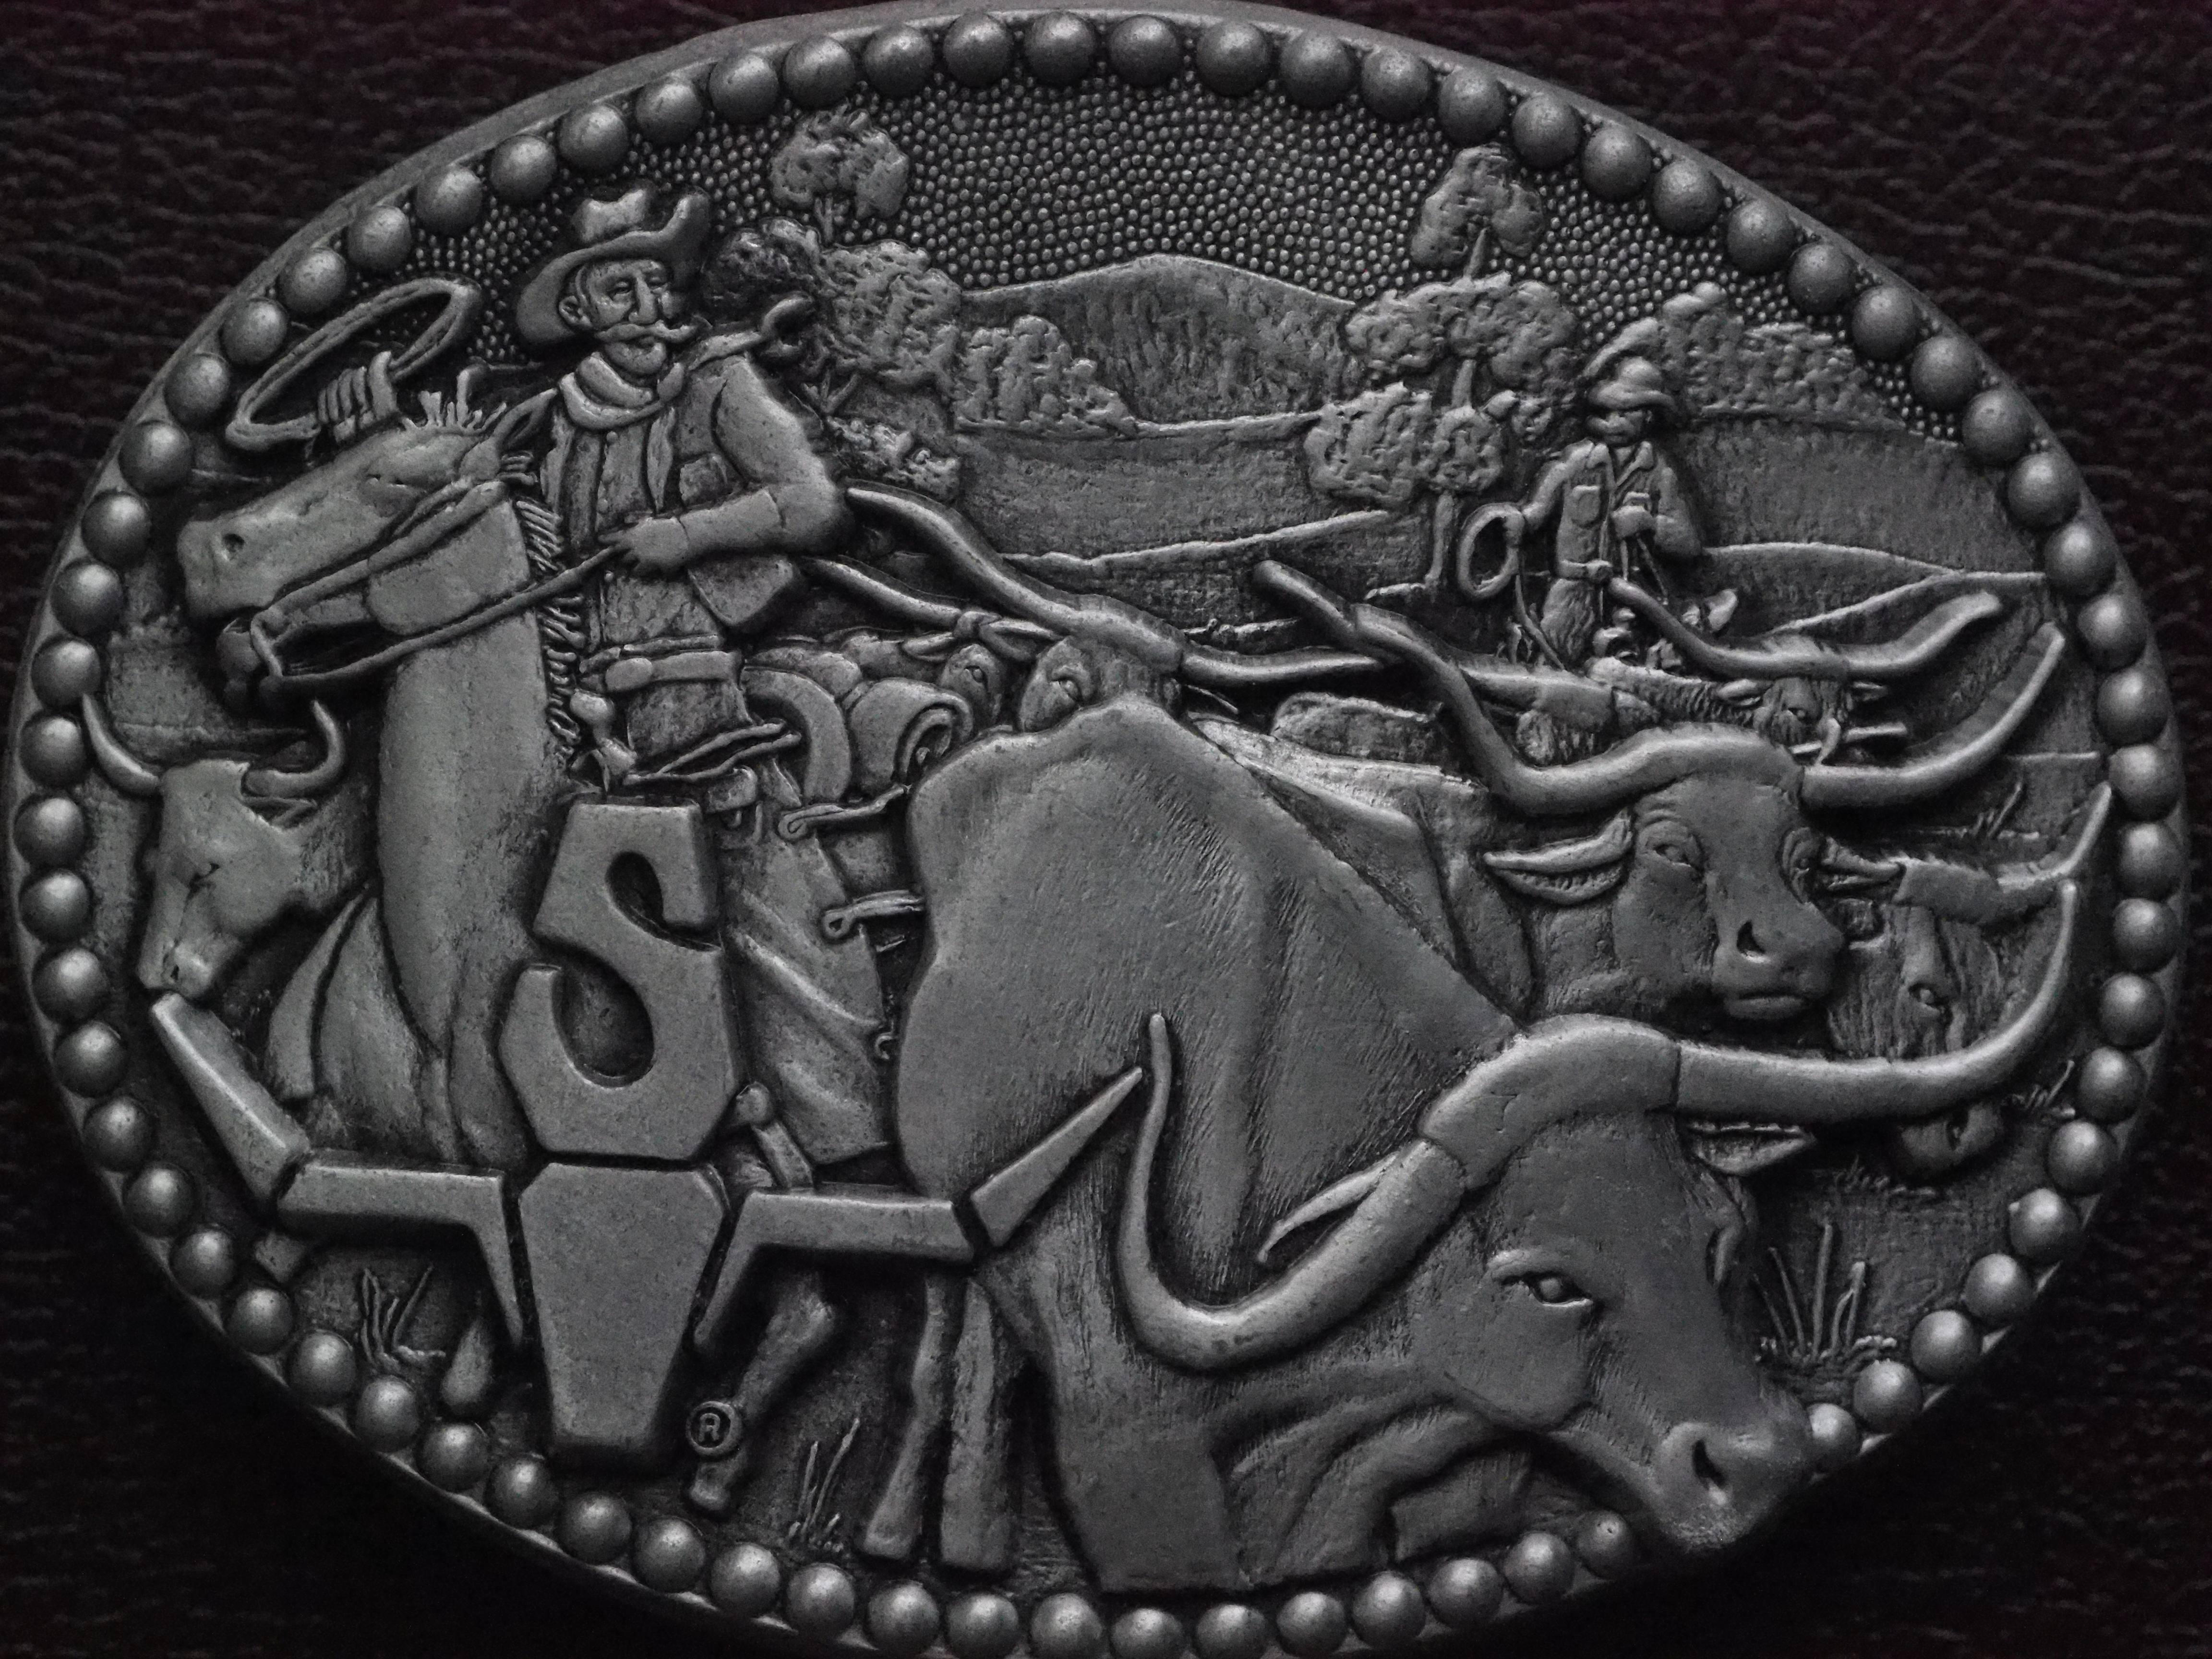
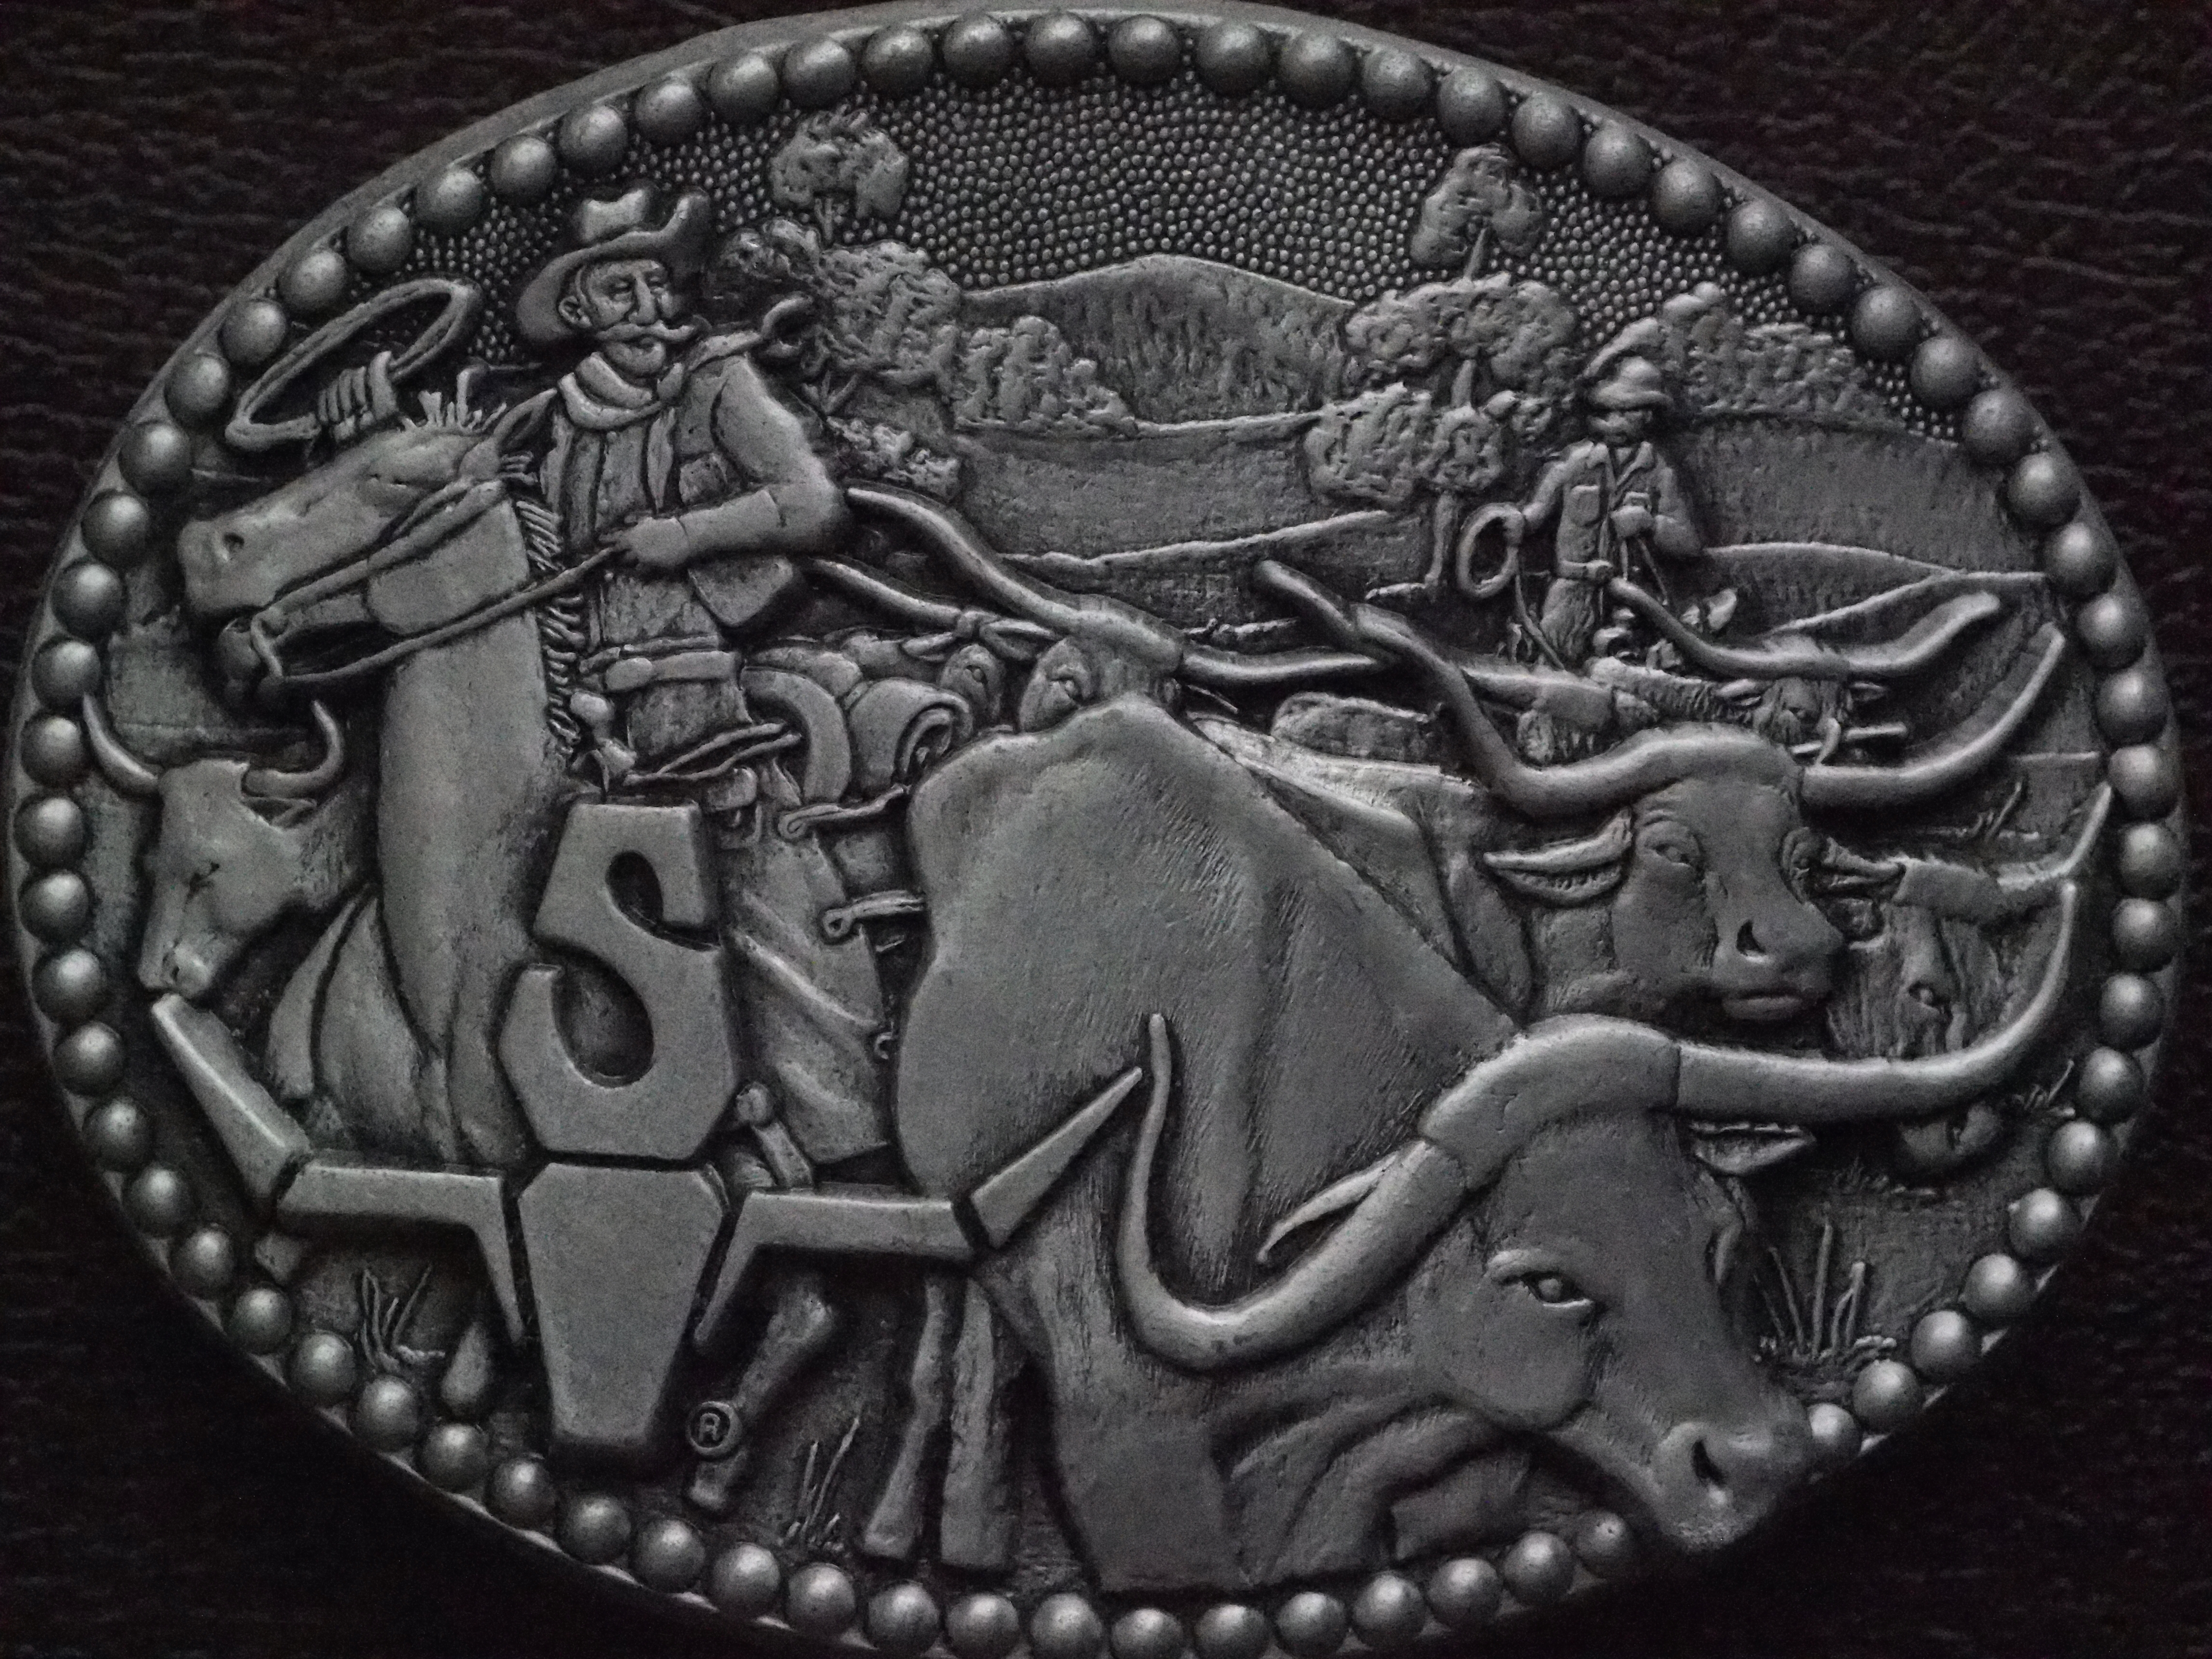
Scene #1: Belt Buckle
| Lens at 50 mm, Aperture Priority (-0.7 EV) at F/8.0; shutter speeds from 1/20 to 1/2500 s, depending on ISO. My past experience with this particular scene object shows that the rather busy detail tends to mask noise effects, if any. On the other hand, any loss of resolution due to noise filtering will become quite obvious. As the scene is practically in monochrome (or, as Olympus would say, "monotone"), if a chroma noise shows up, it is easy to see.
| 
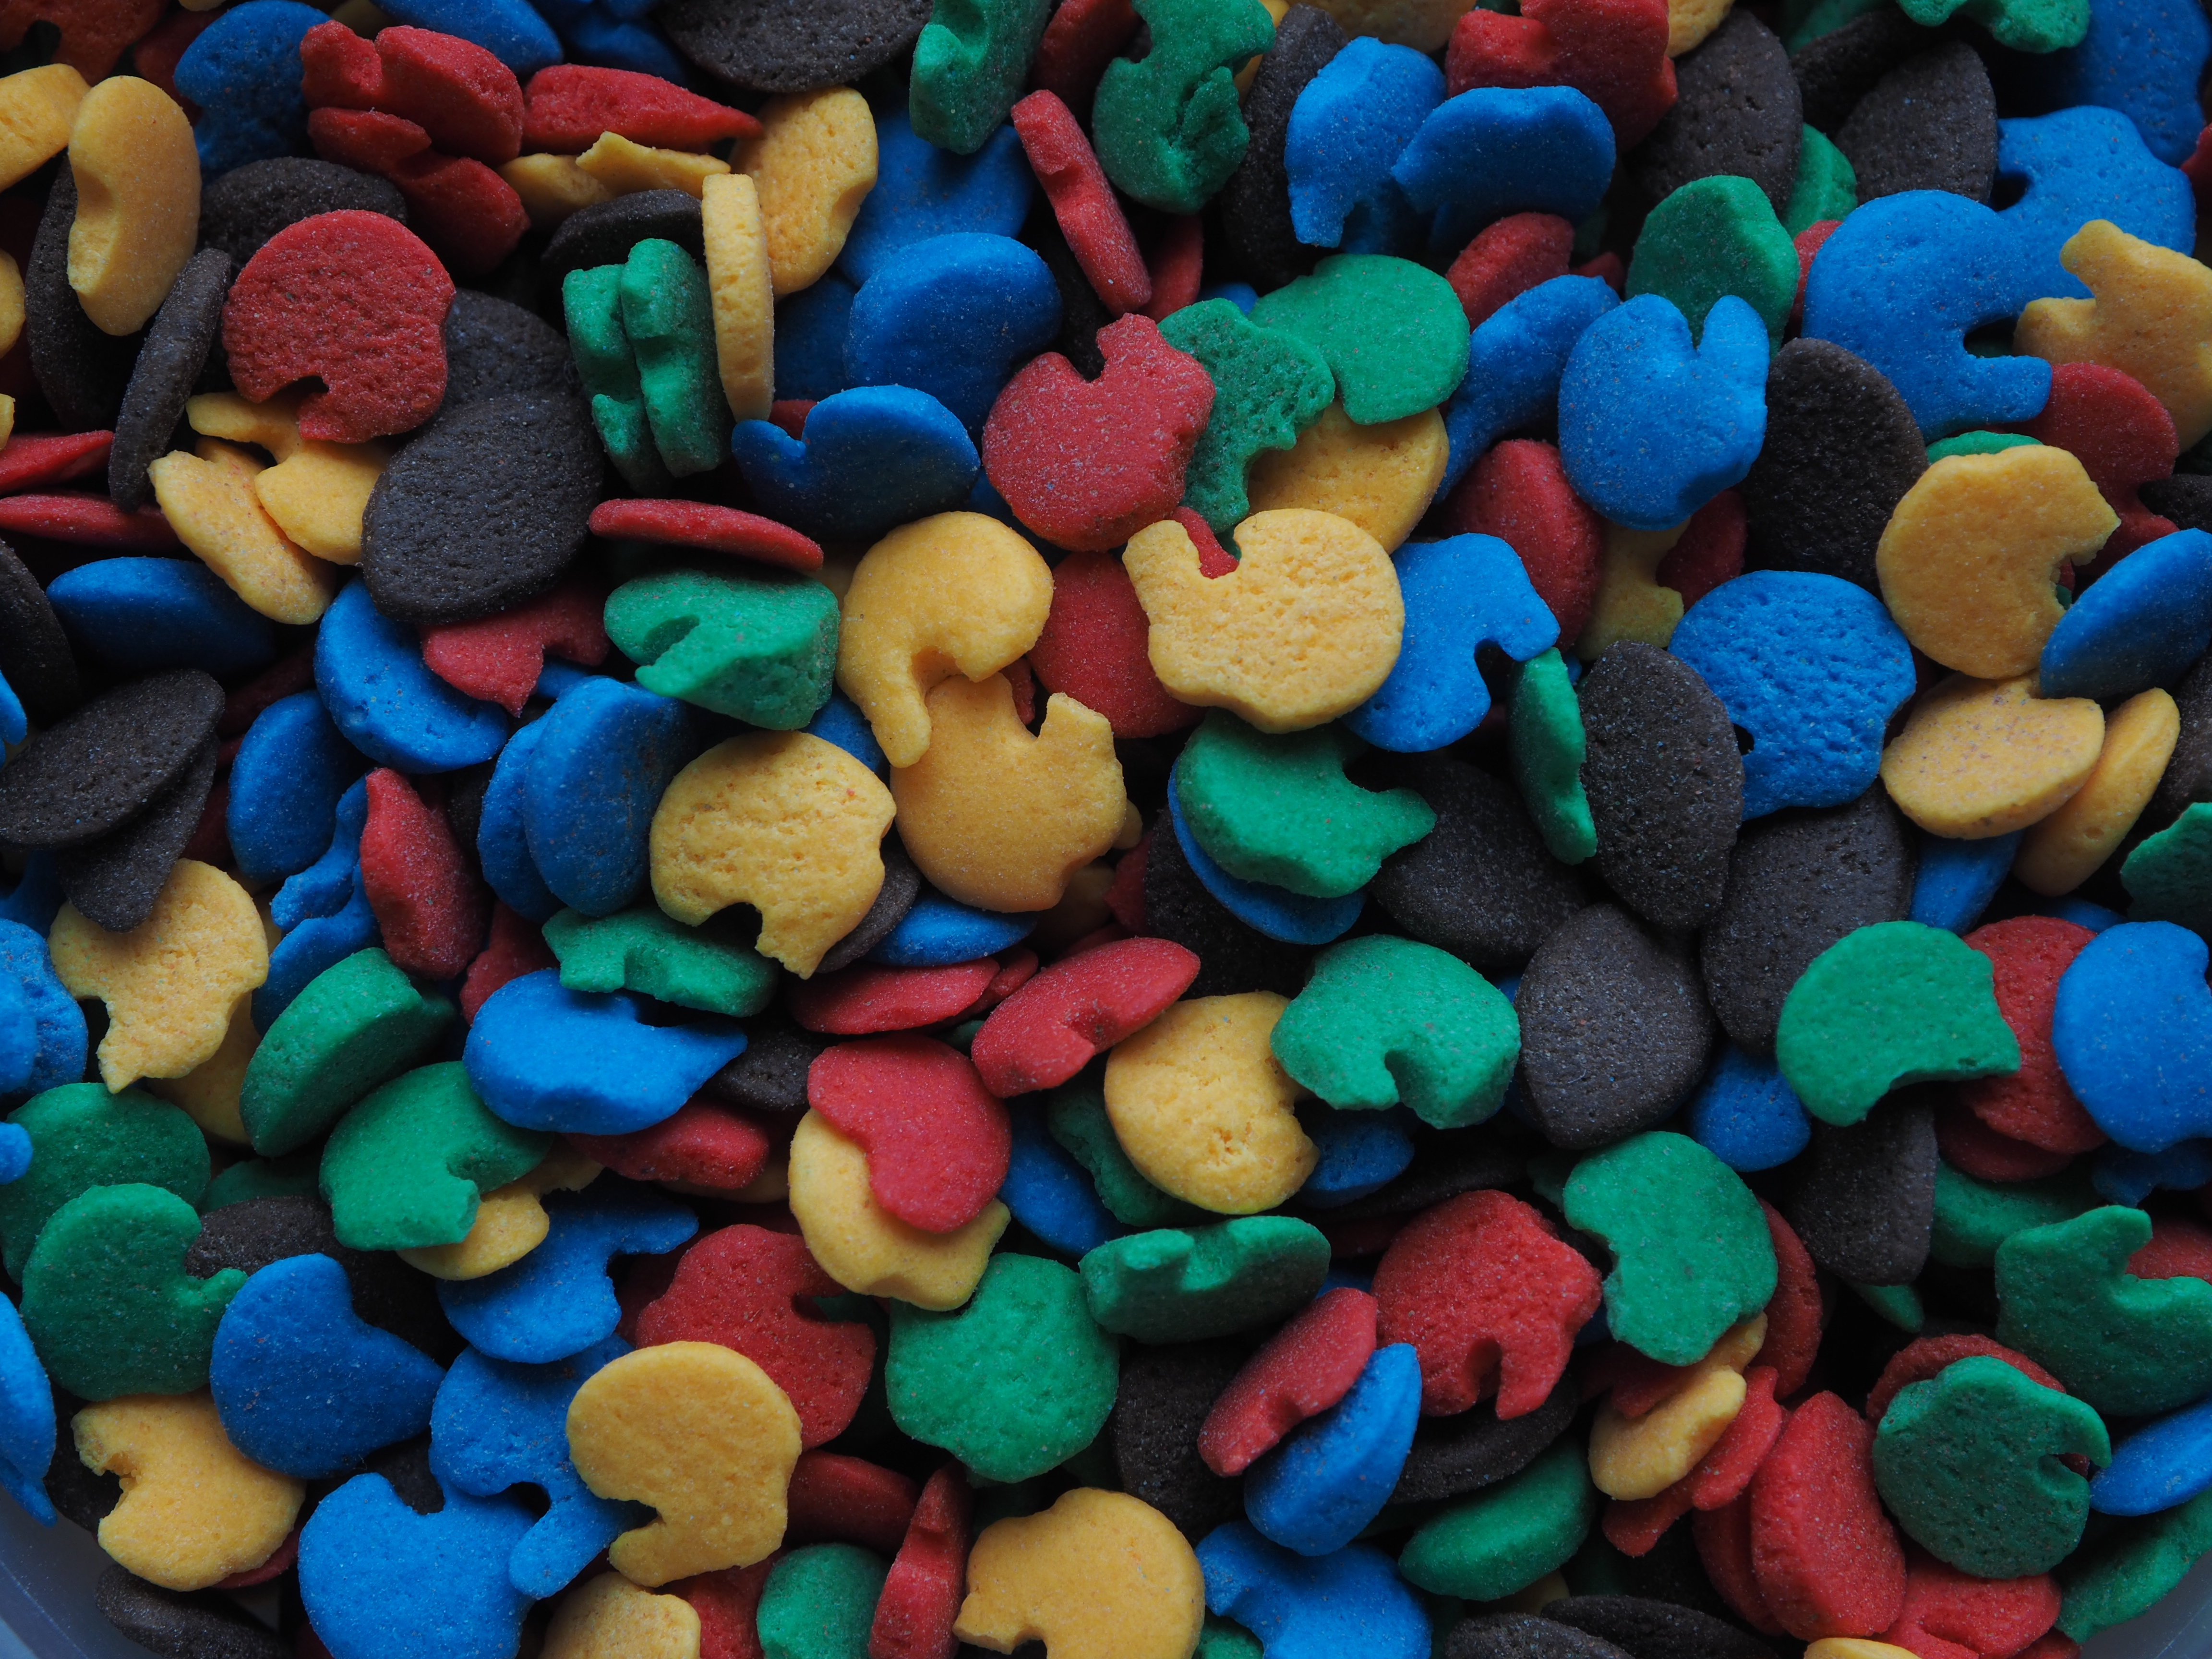
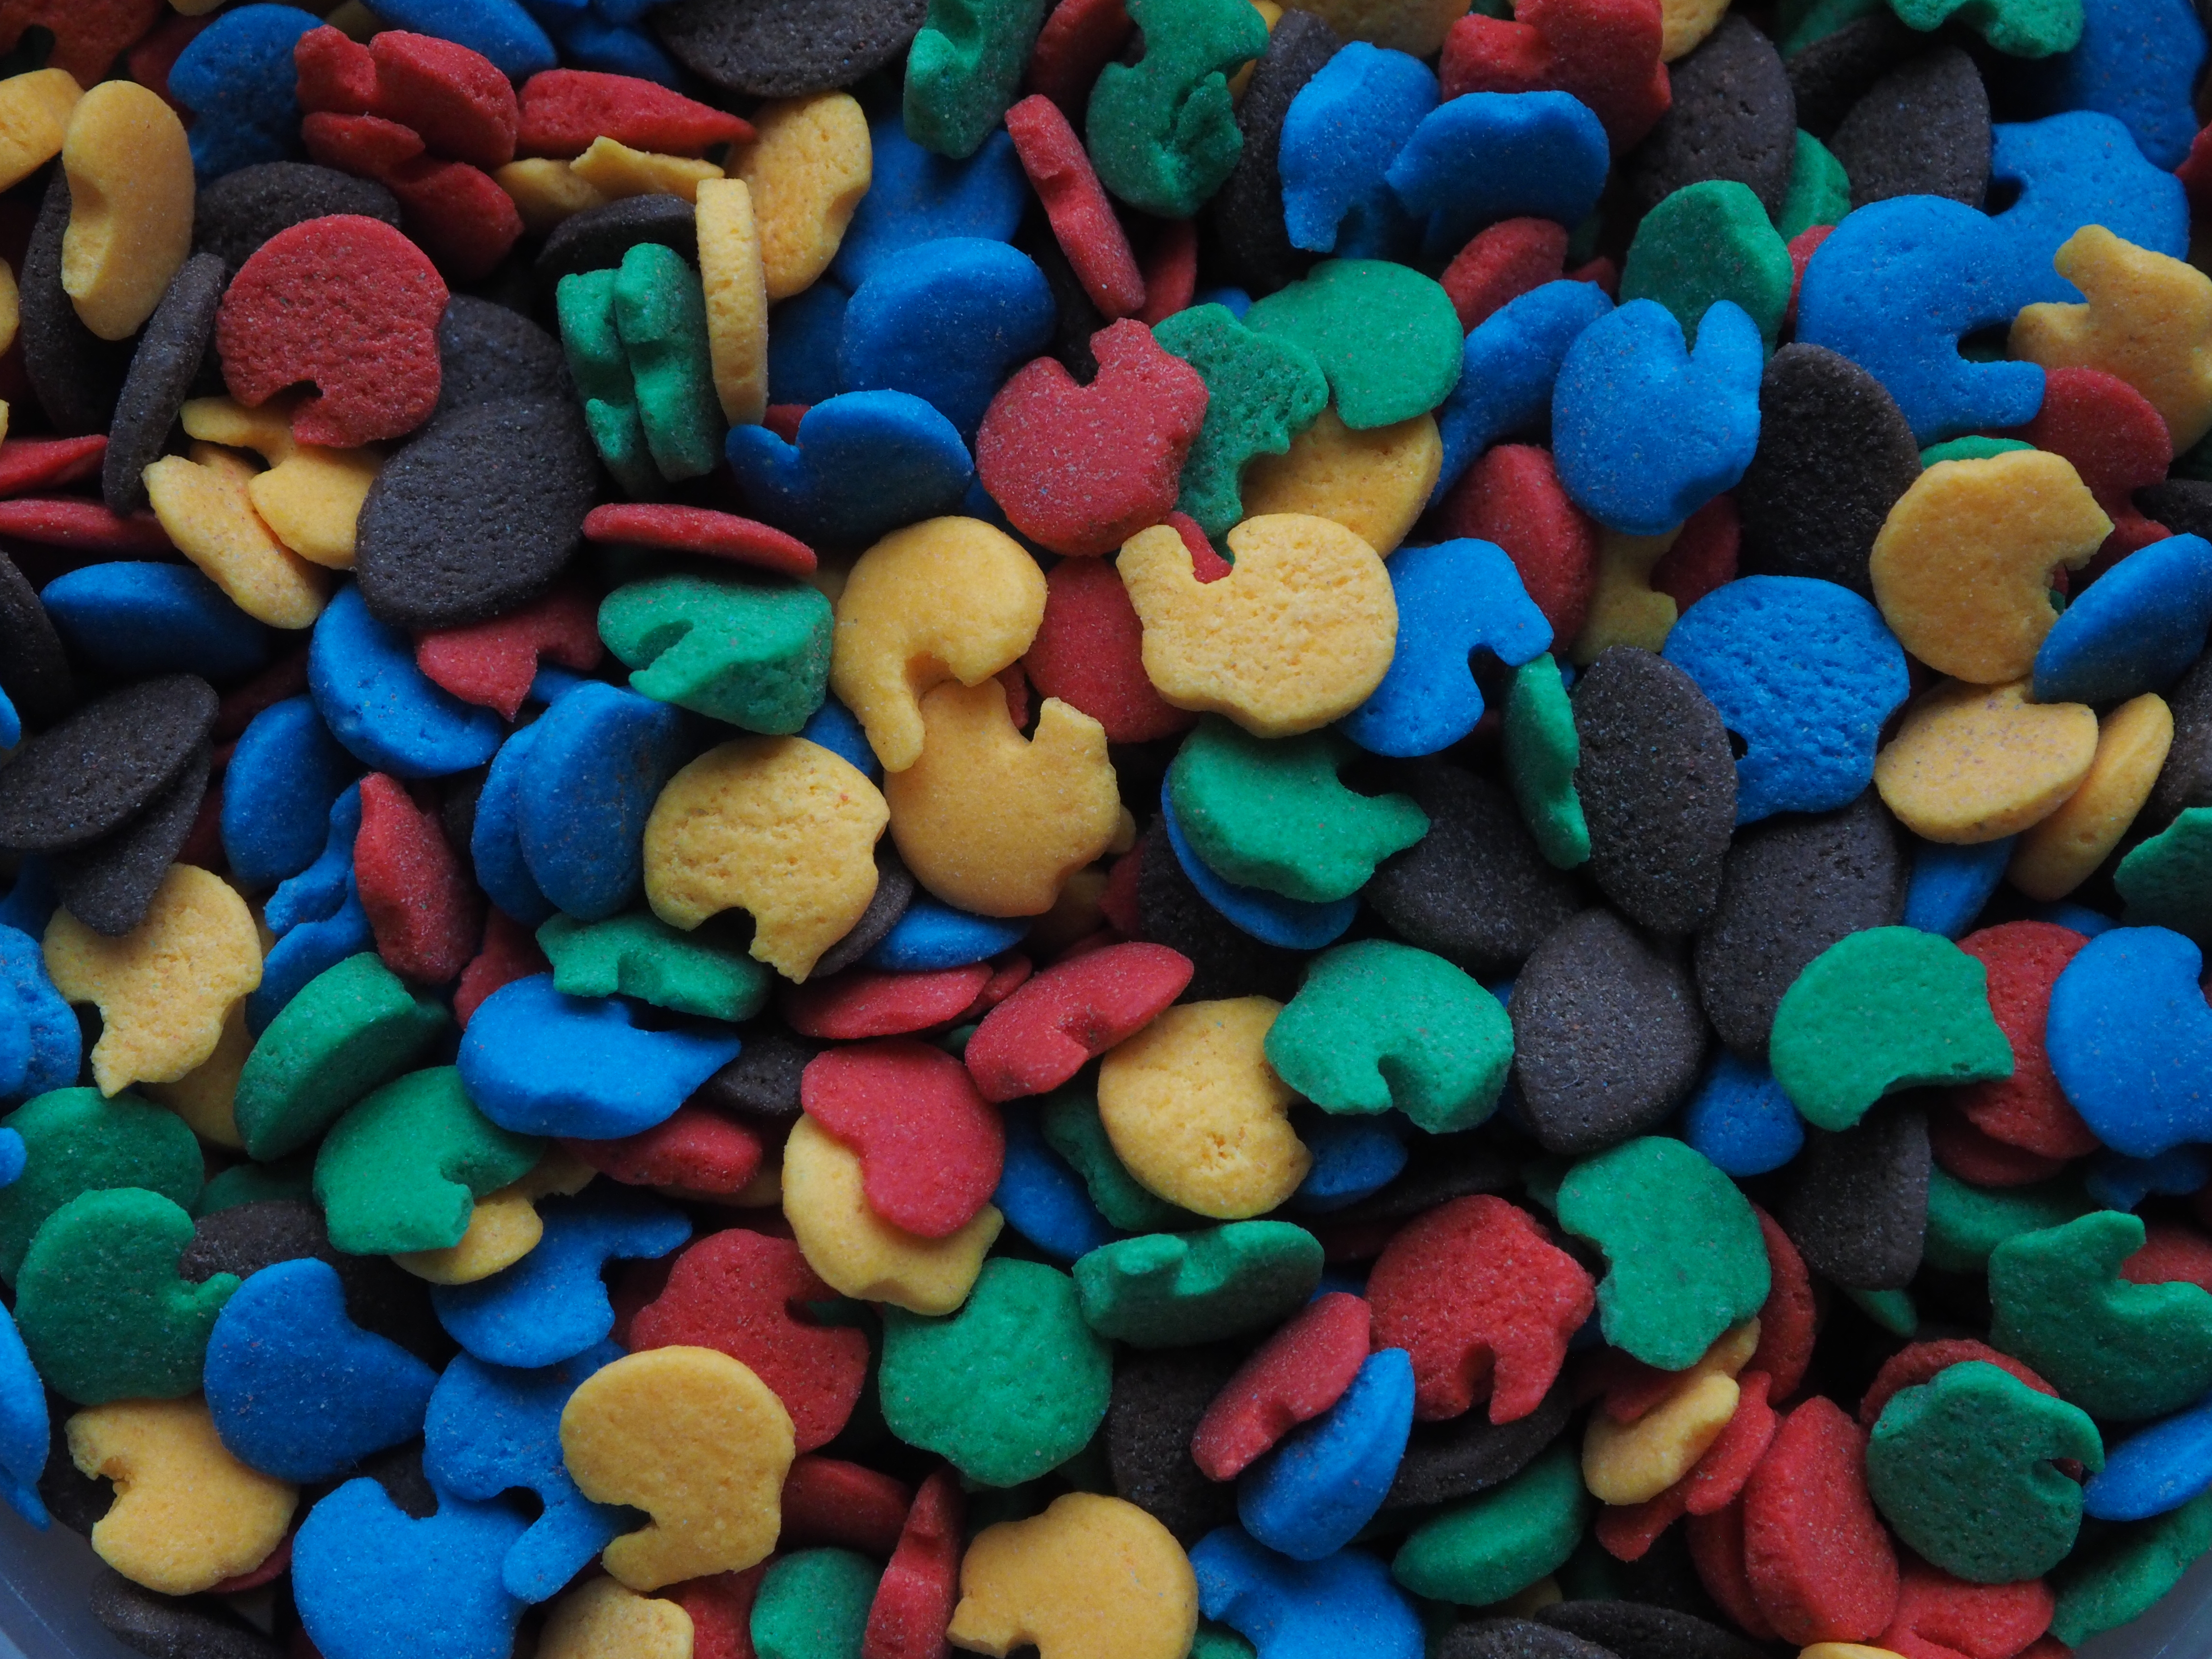
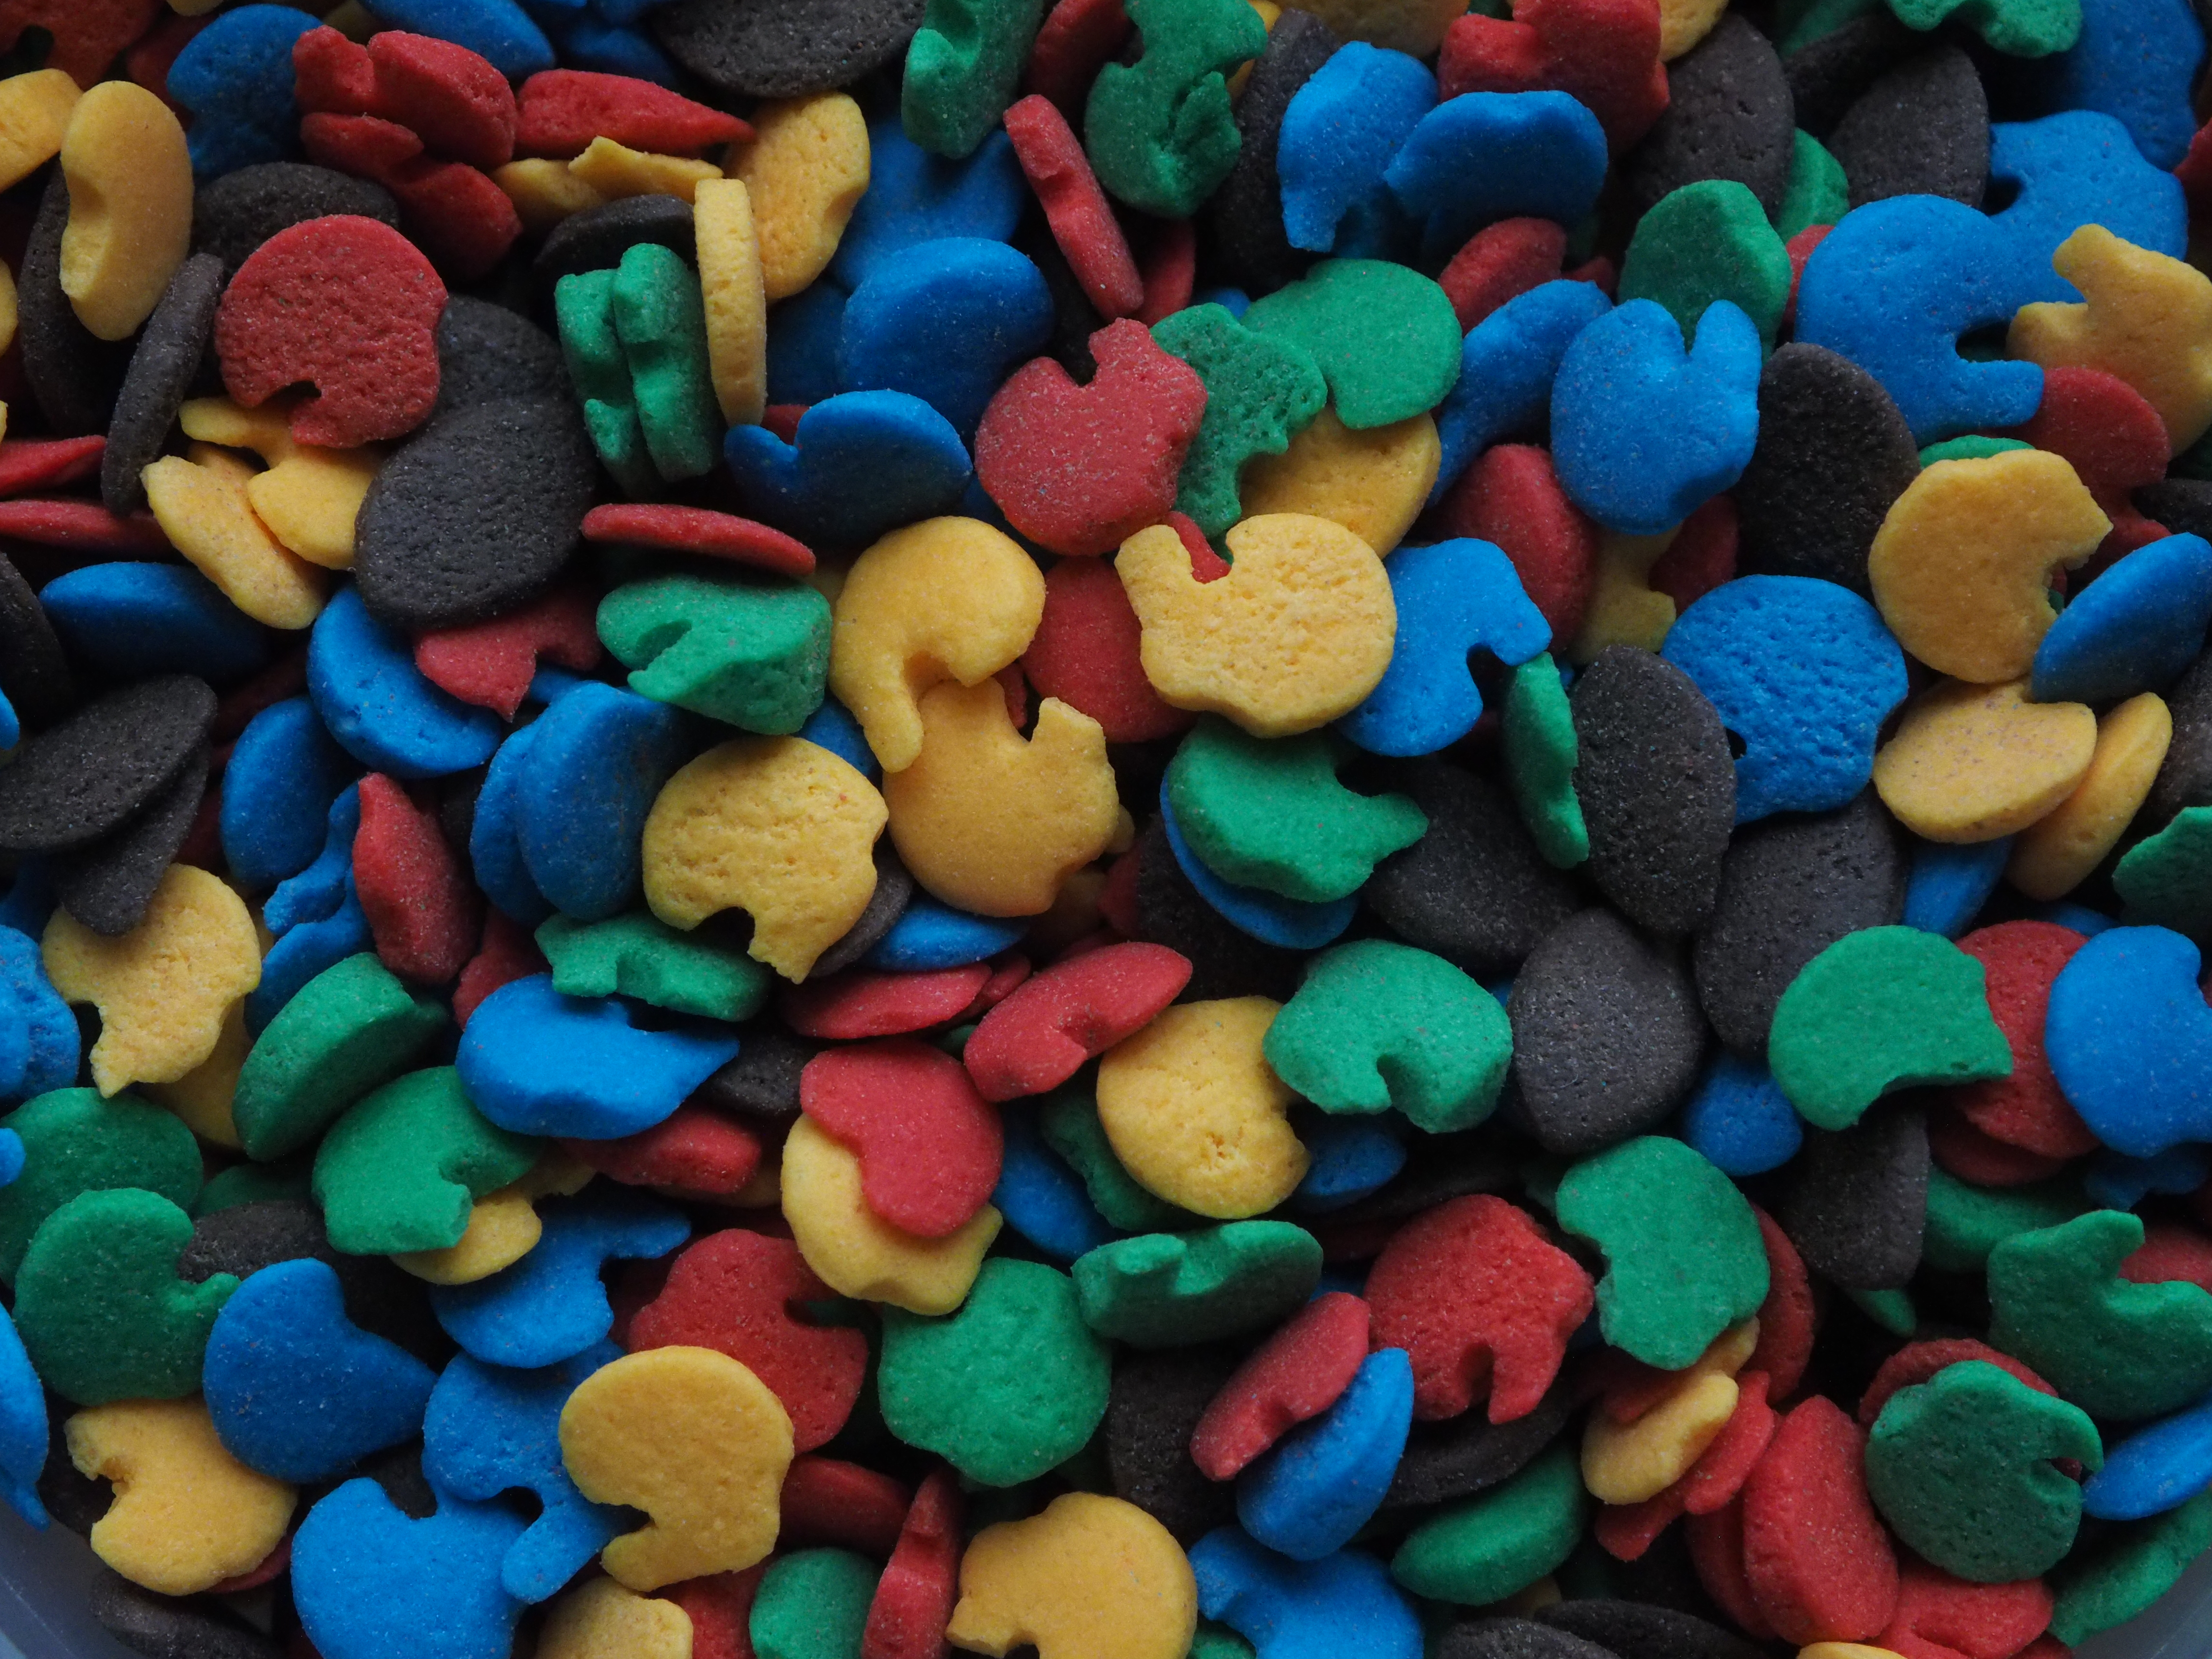
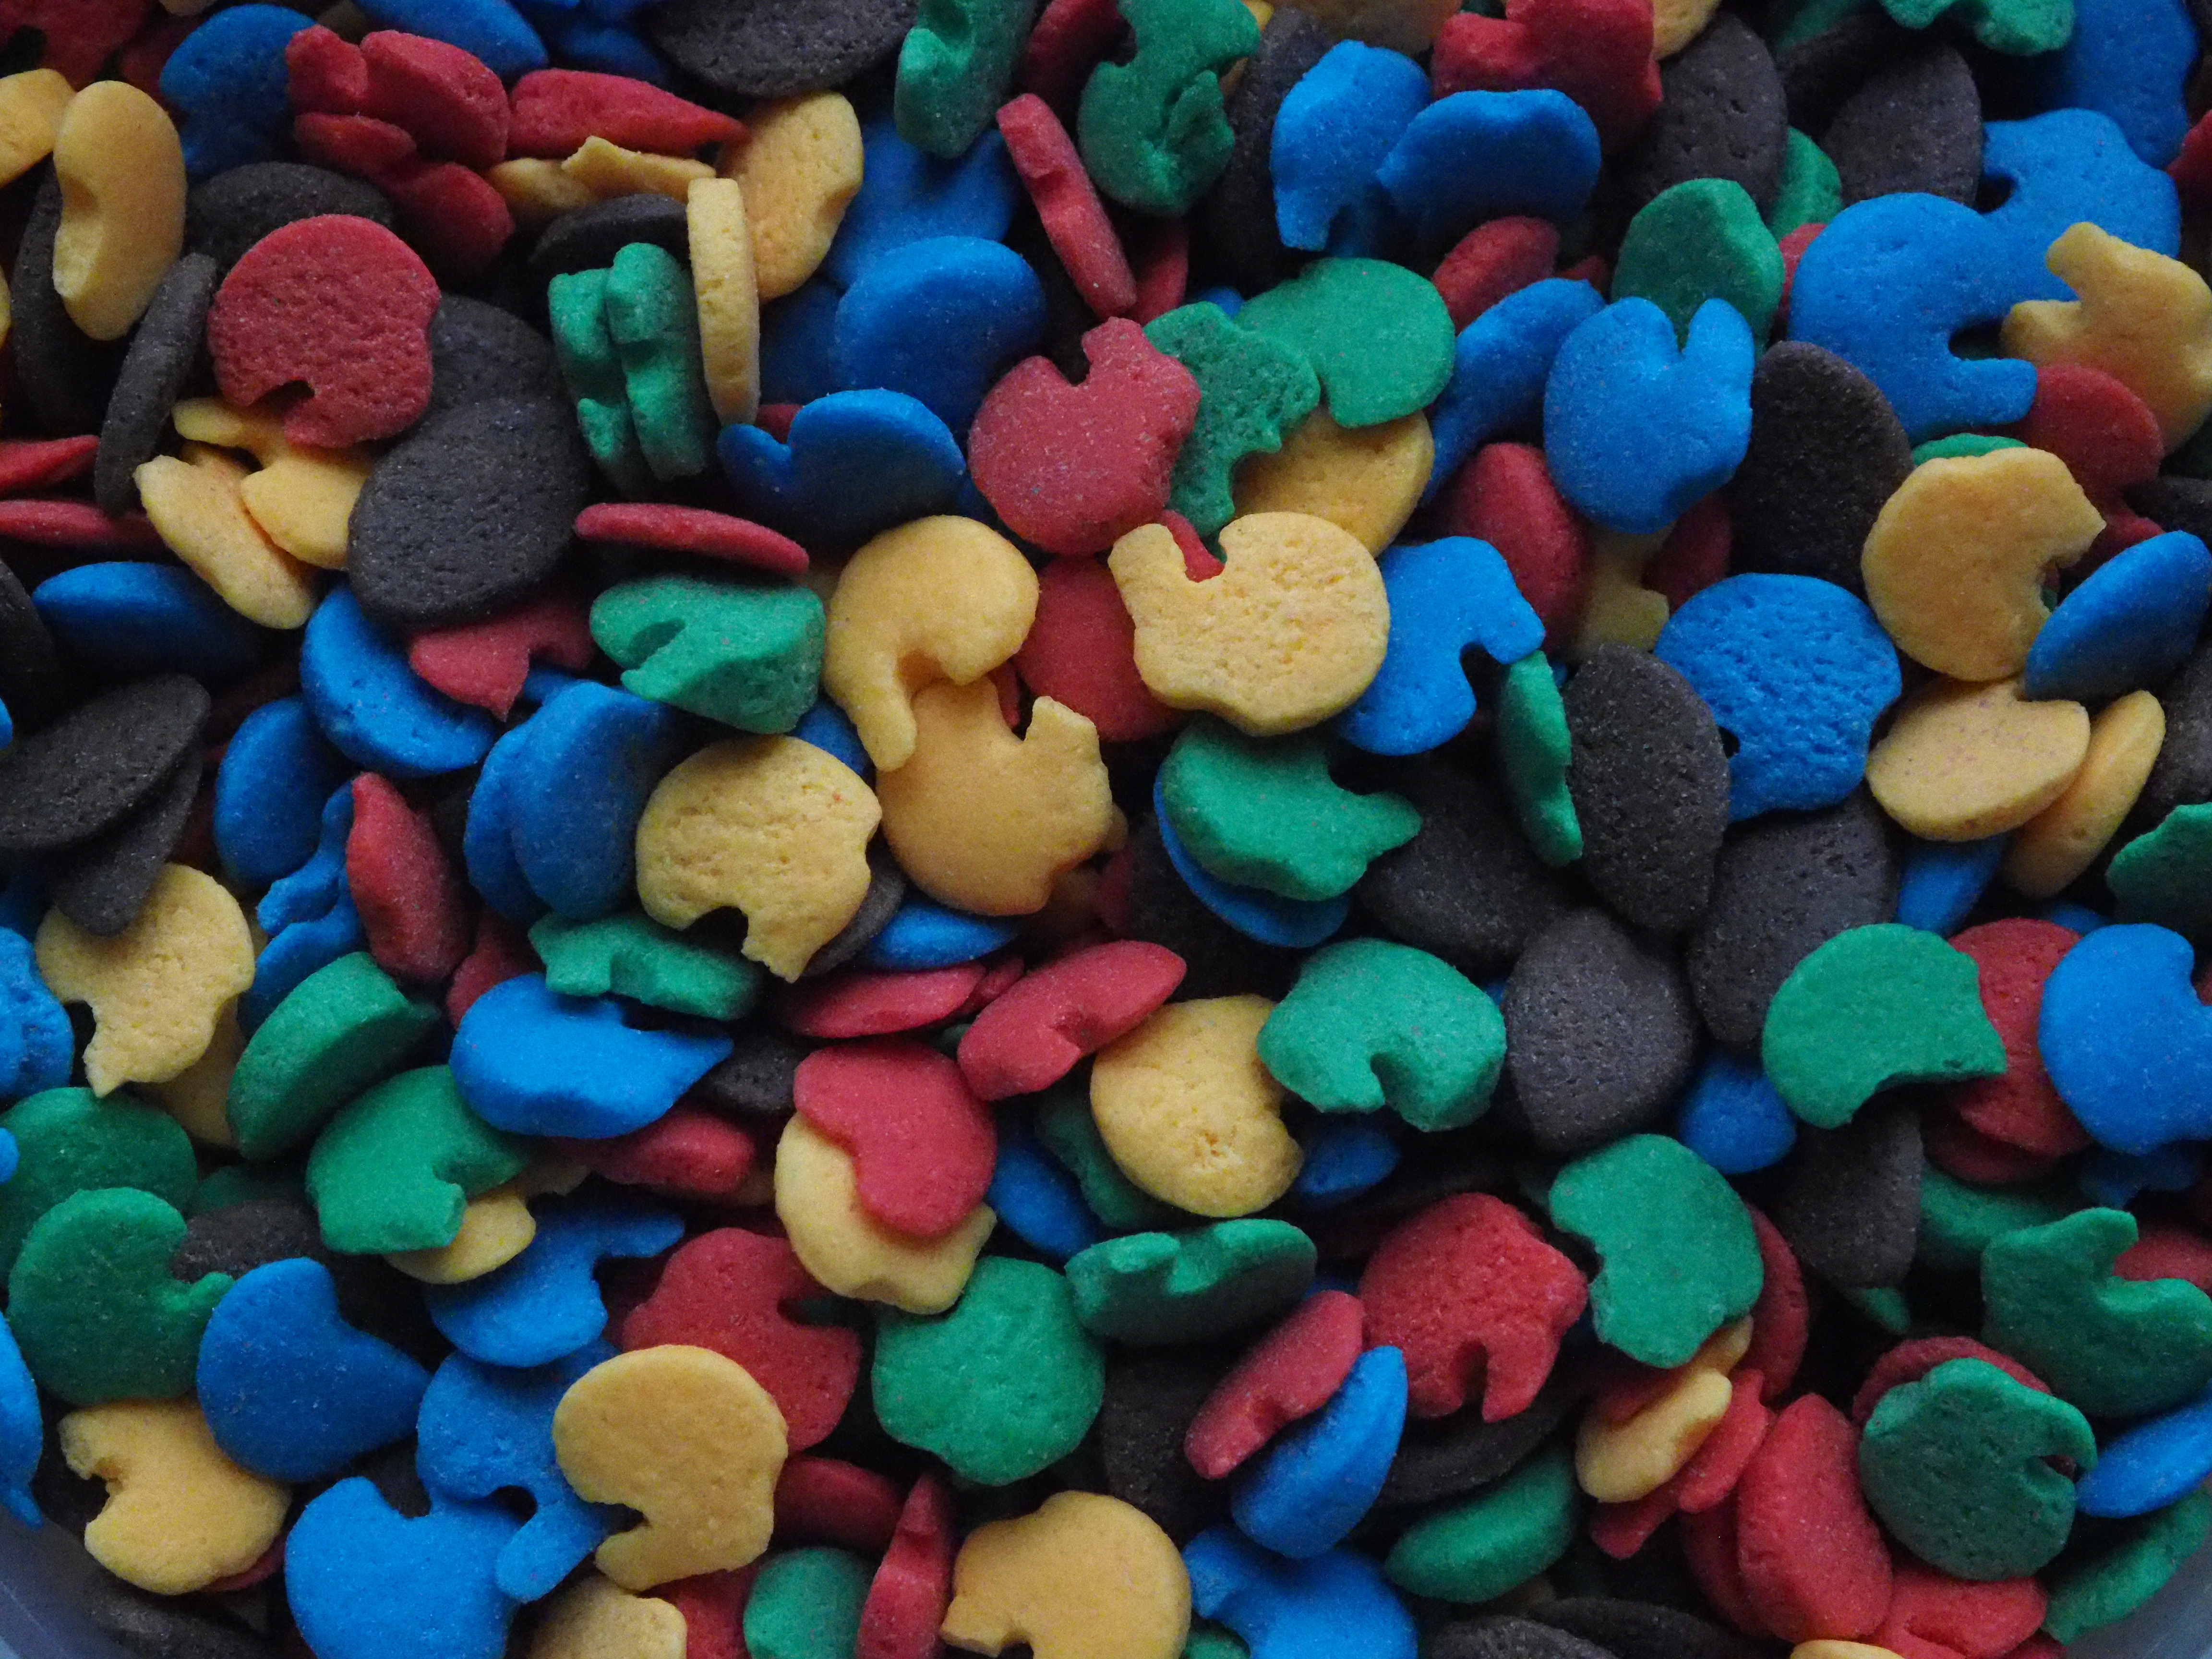
Scene #2: Amish Candy
| Lens at 43 mm (Macro mode), Aperture Priority (-0.7 EV) at F/8.0; shutter from 1/15 s to 1/1600 s. This, actually, is a tough subject. The candy pieces have lots of tiny sugar dust particles on them, to which the noise is being added as ISO increases, while the particles themselves become more diffuse. Also, it is difficult to judge color rendition, as we do not really know what the colors should be; on the other hand, any color shift between various ISO settings is very easy to spot here.
| 
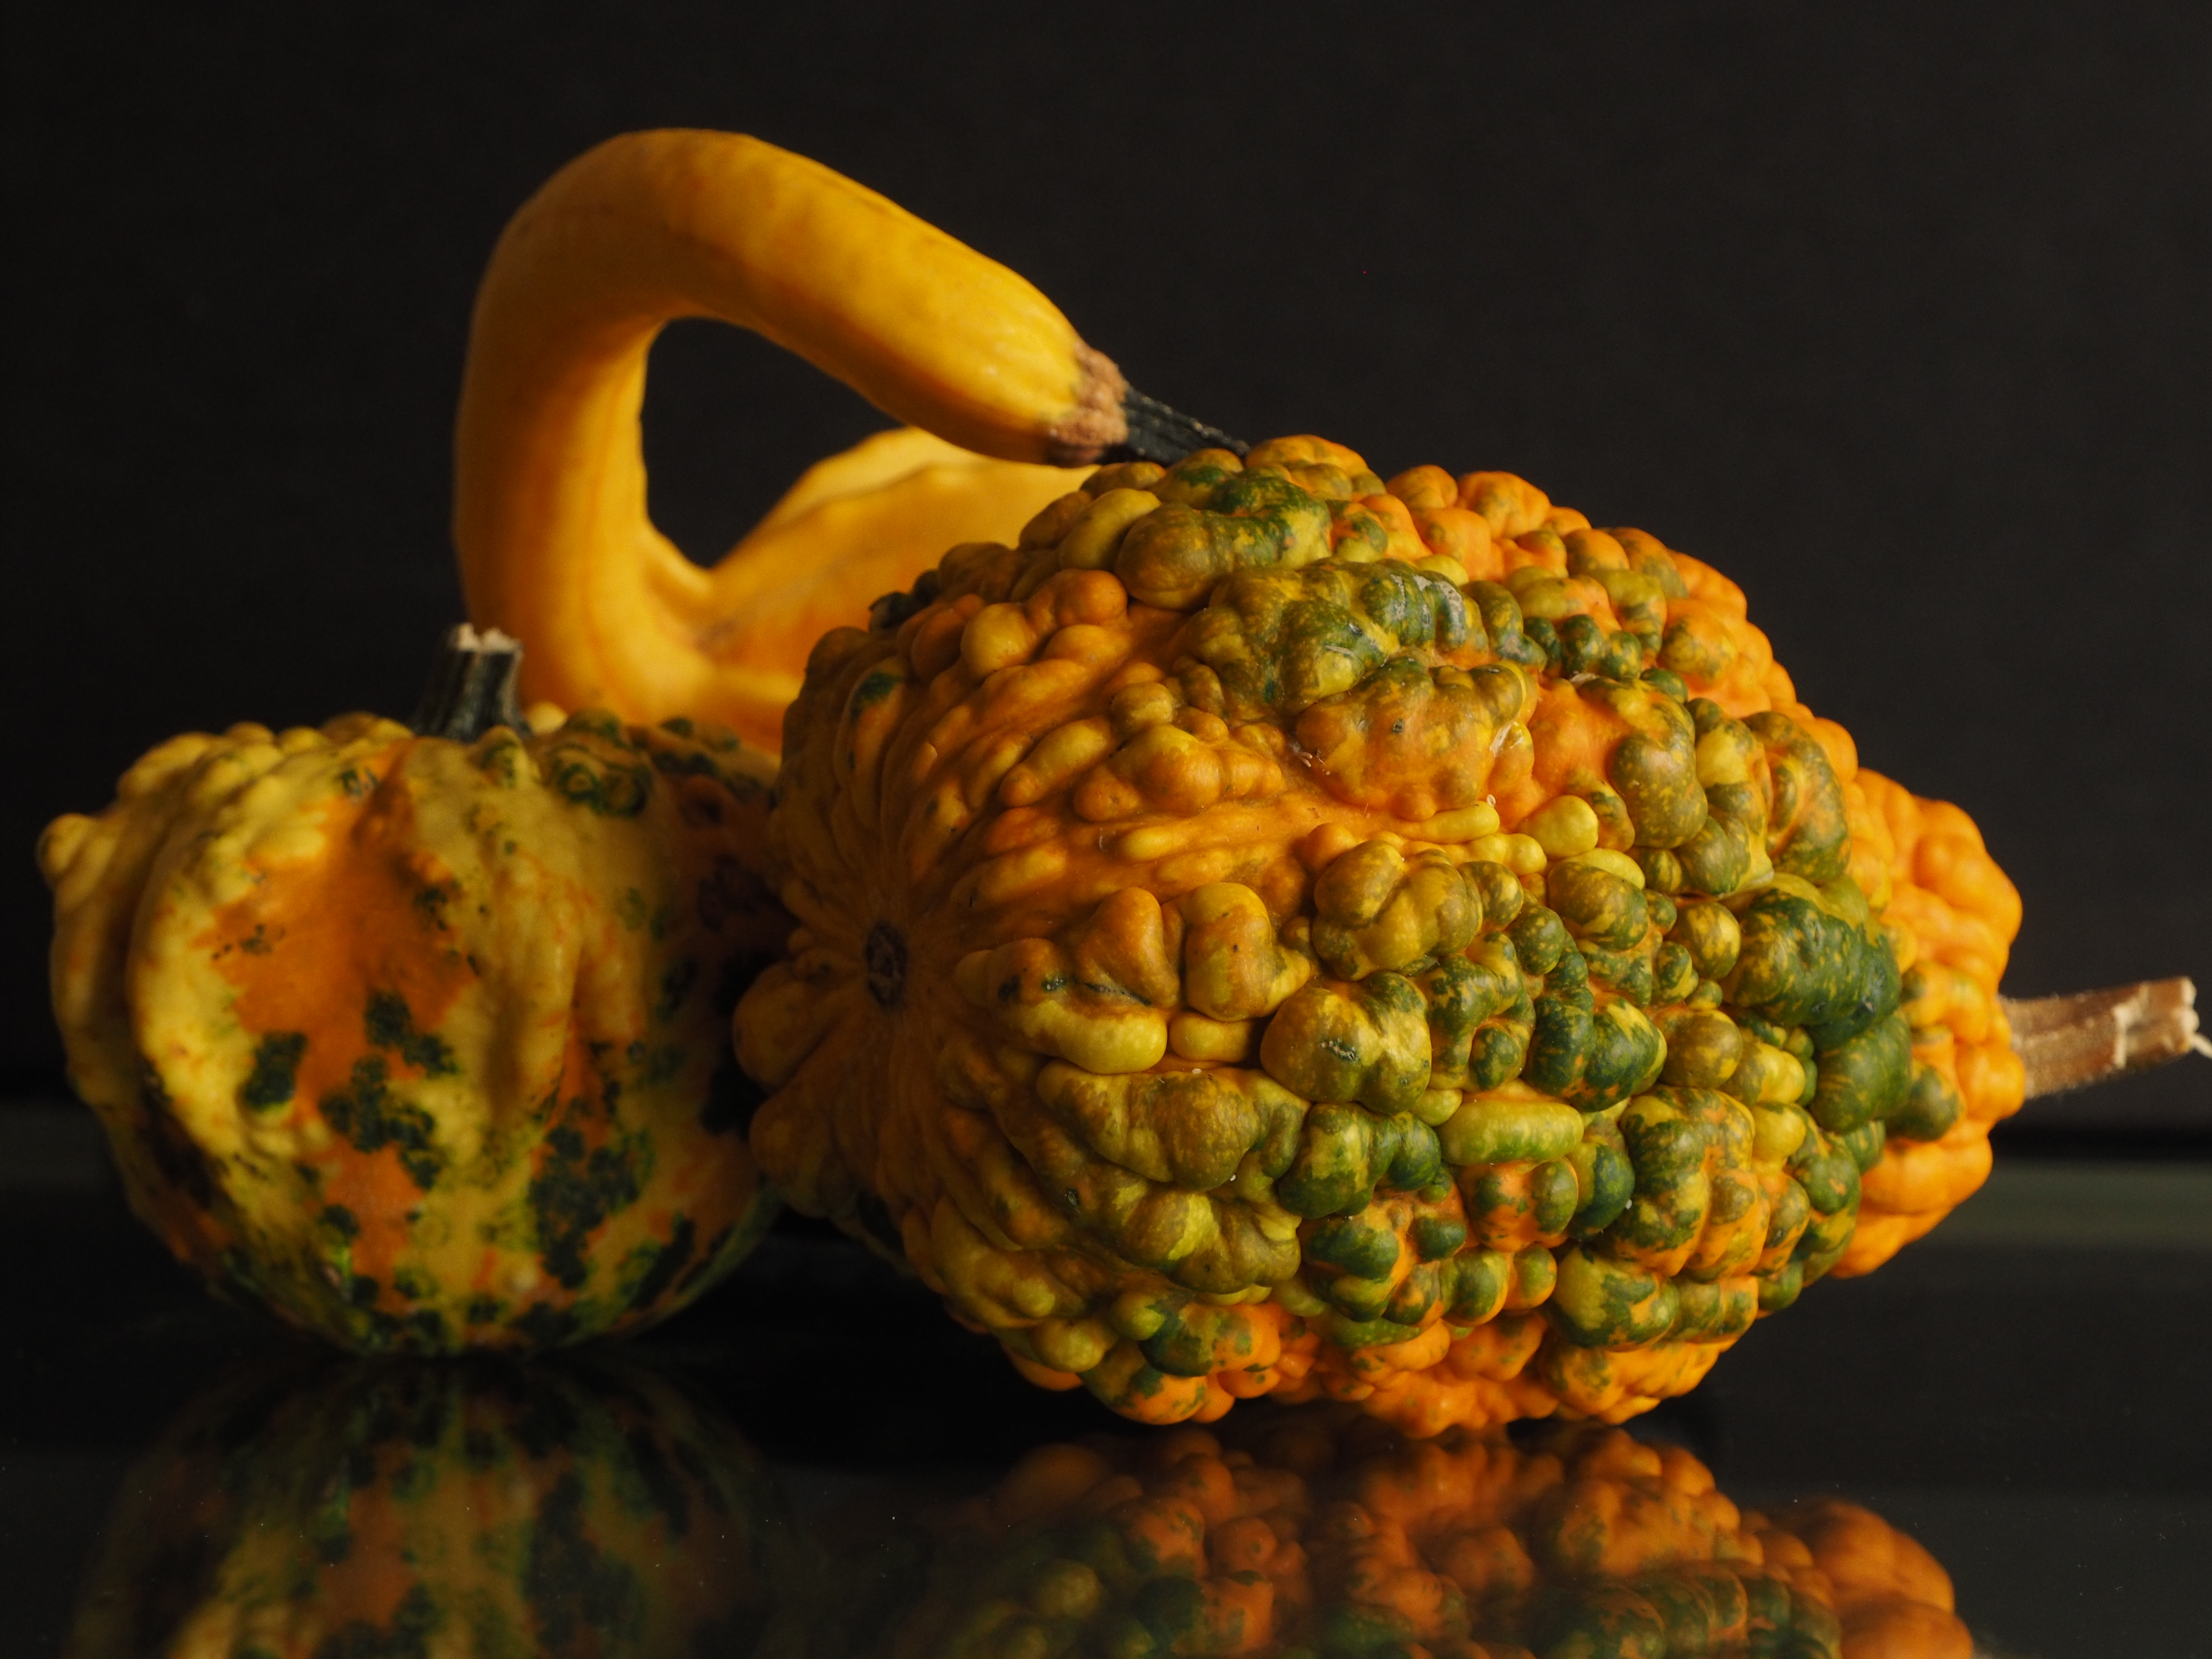
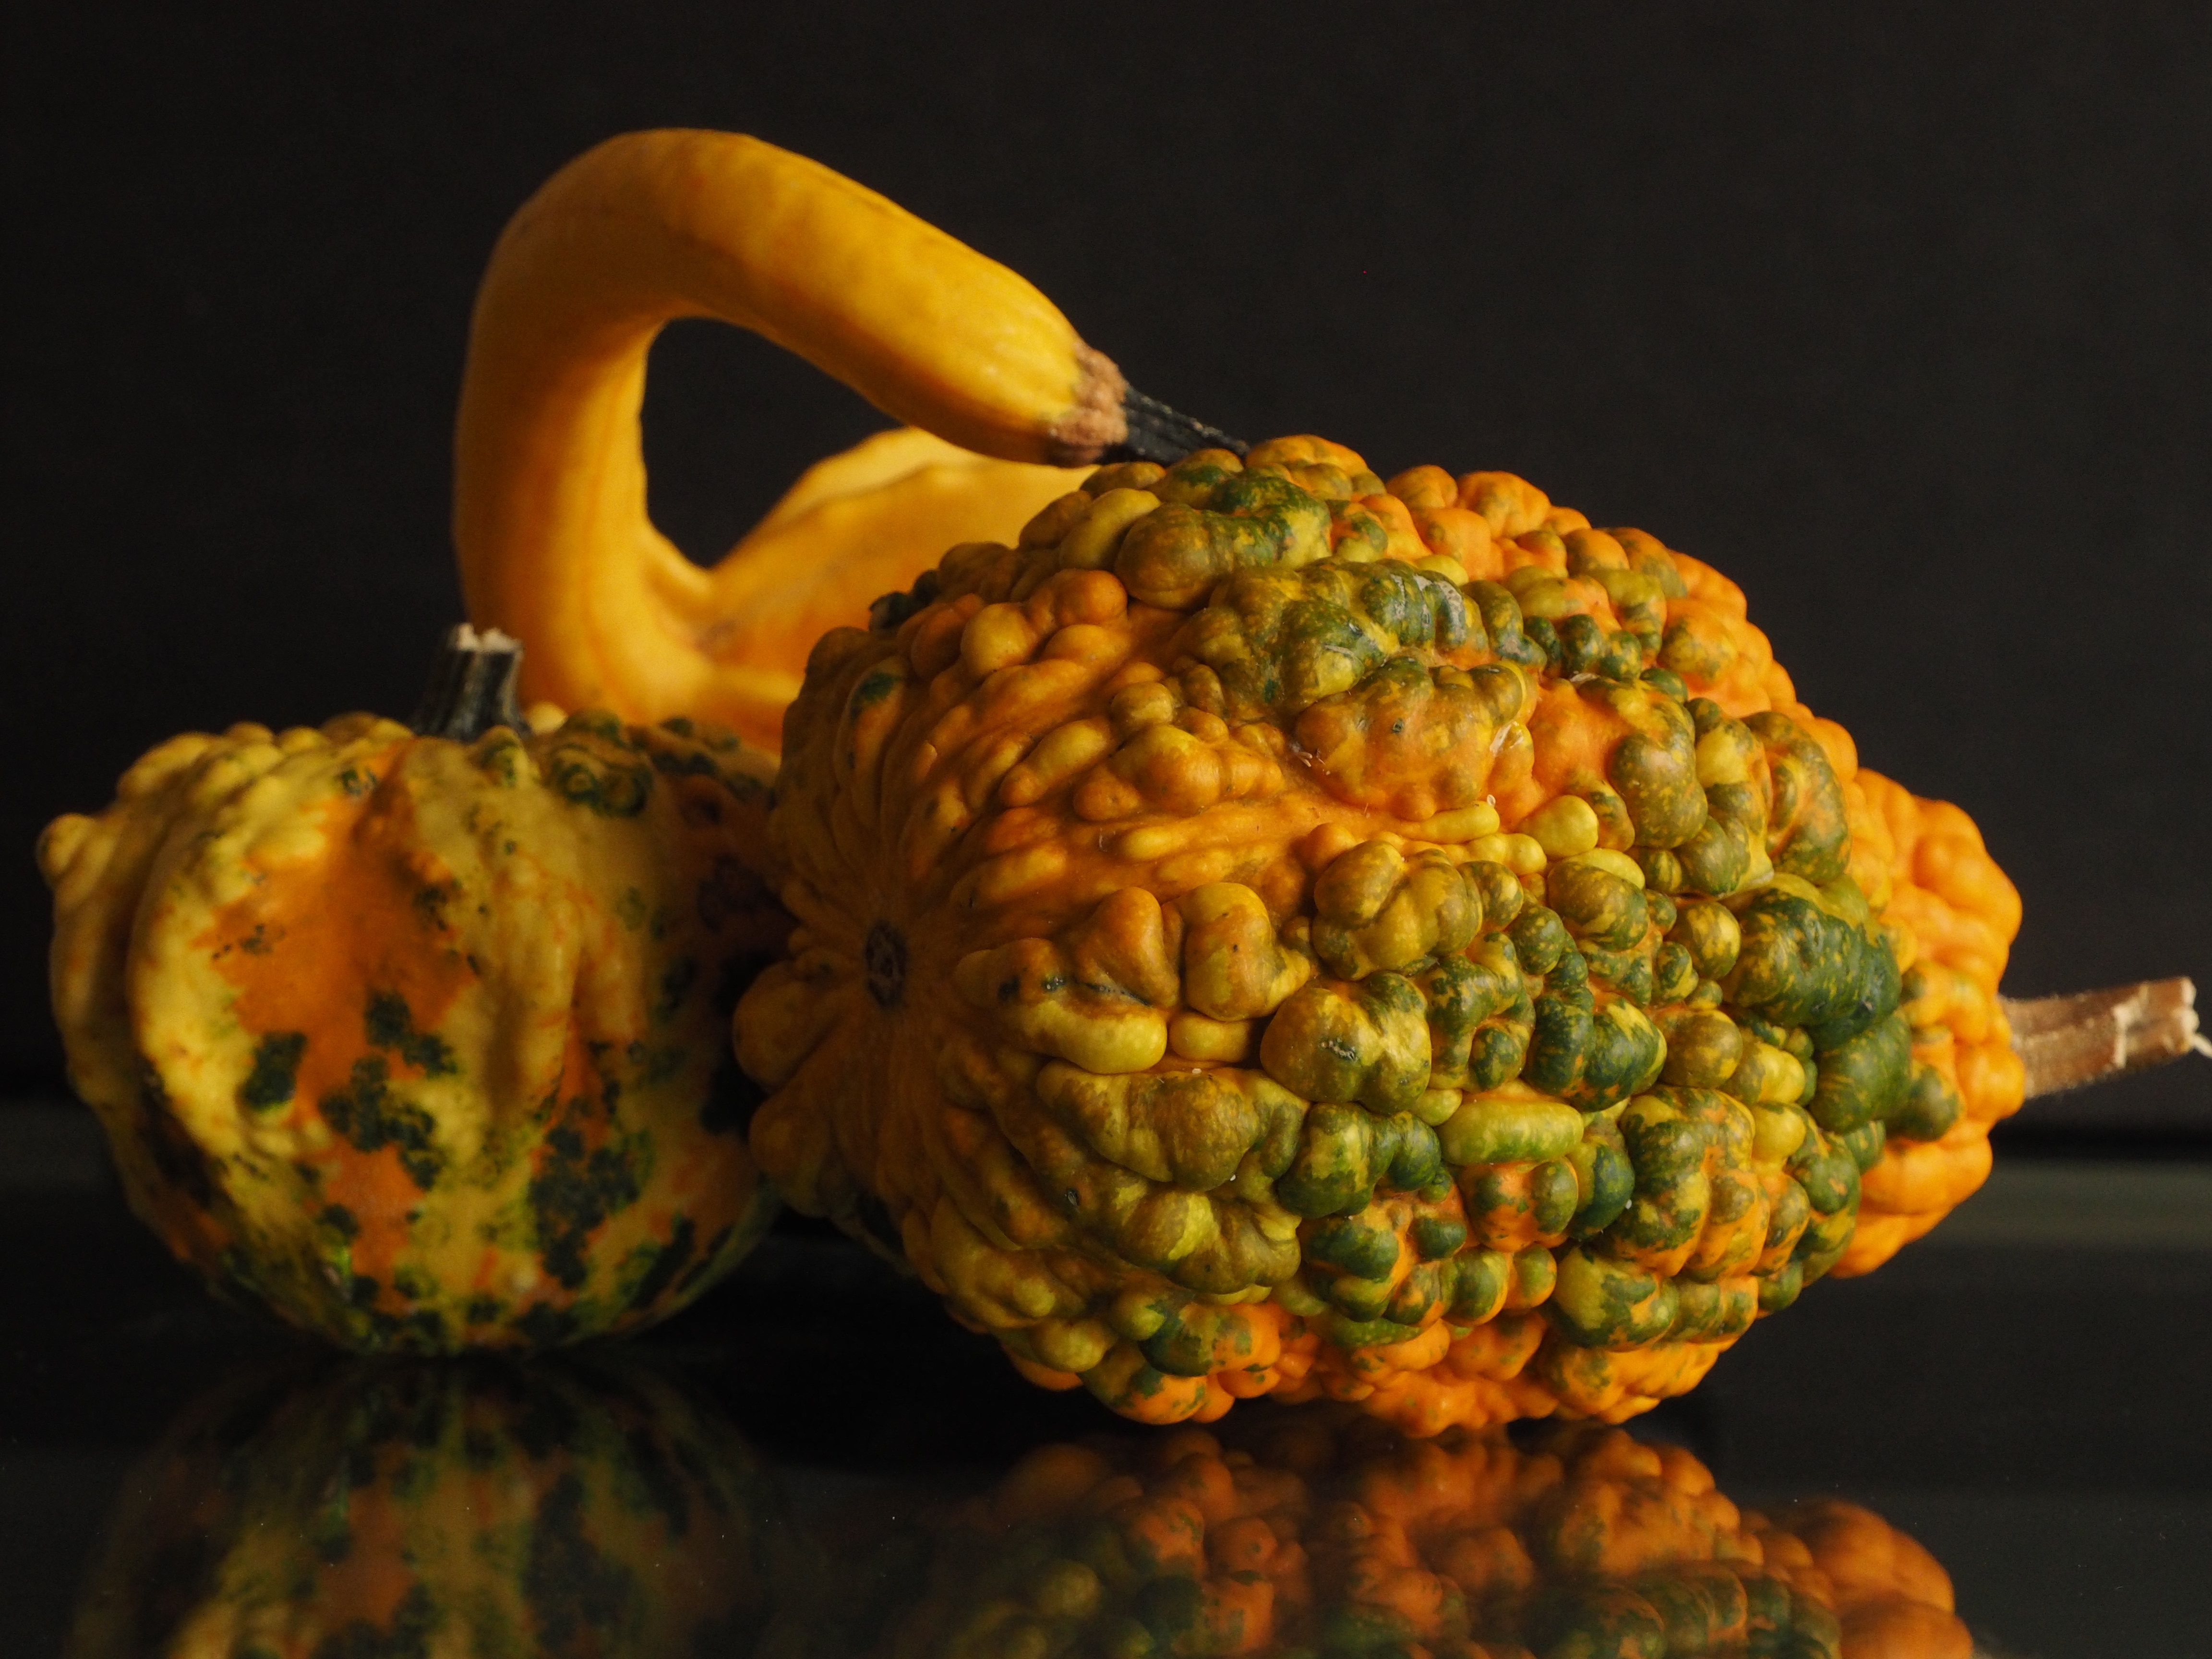
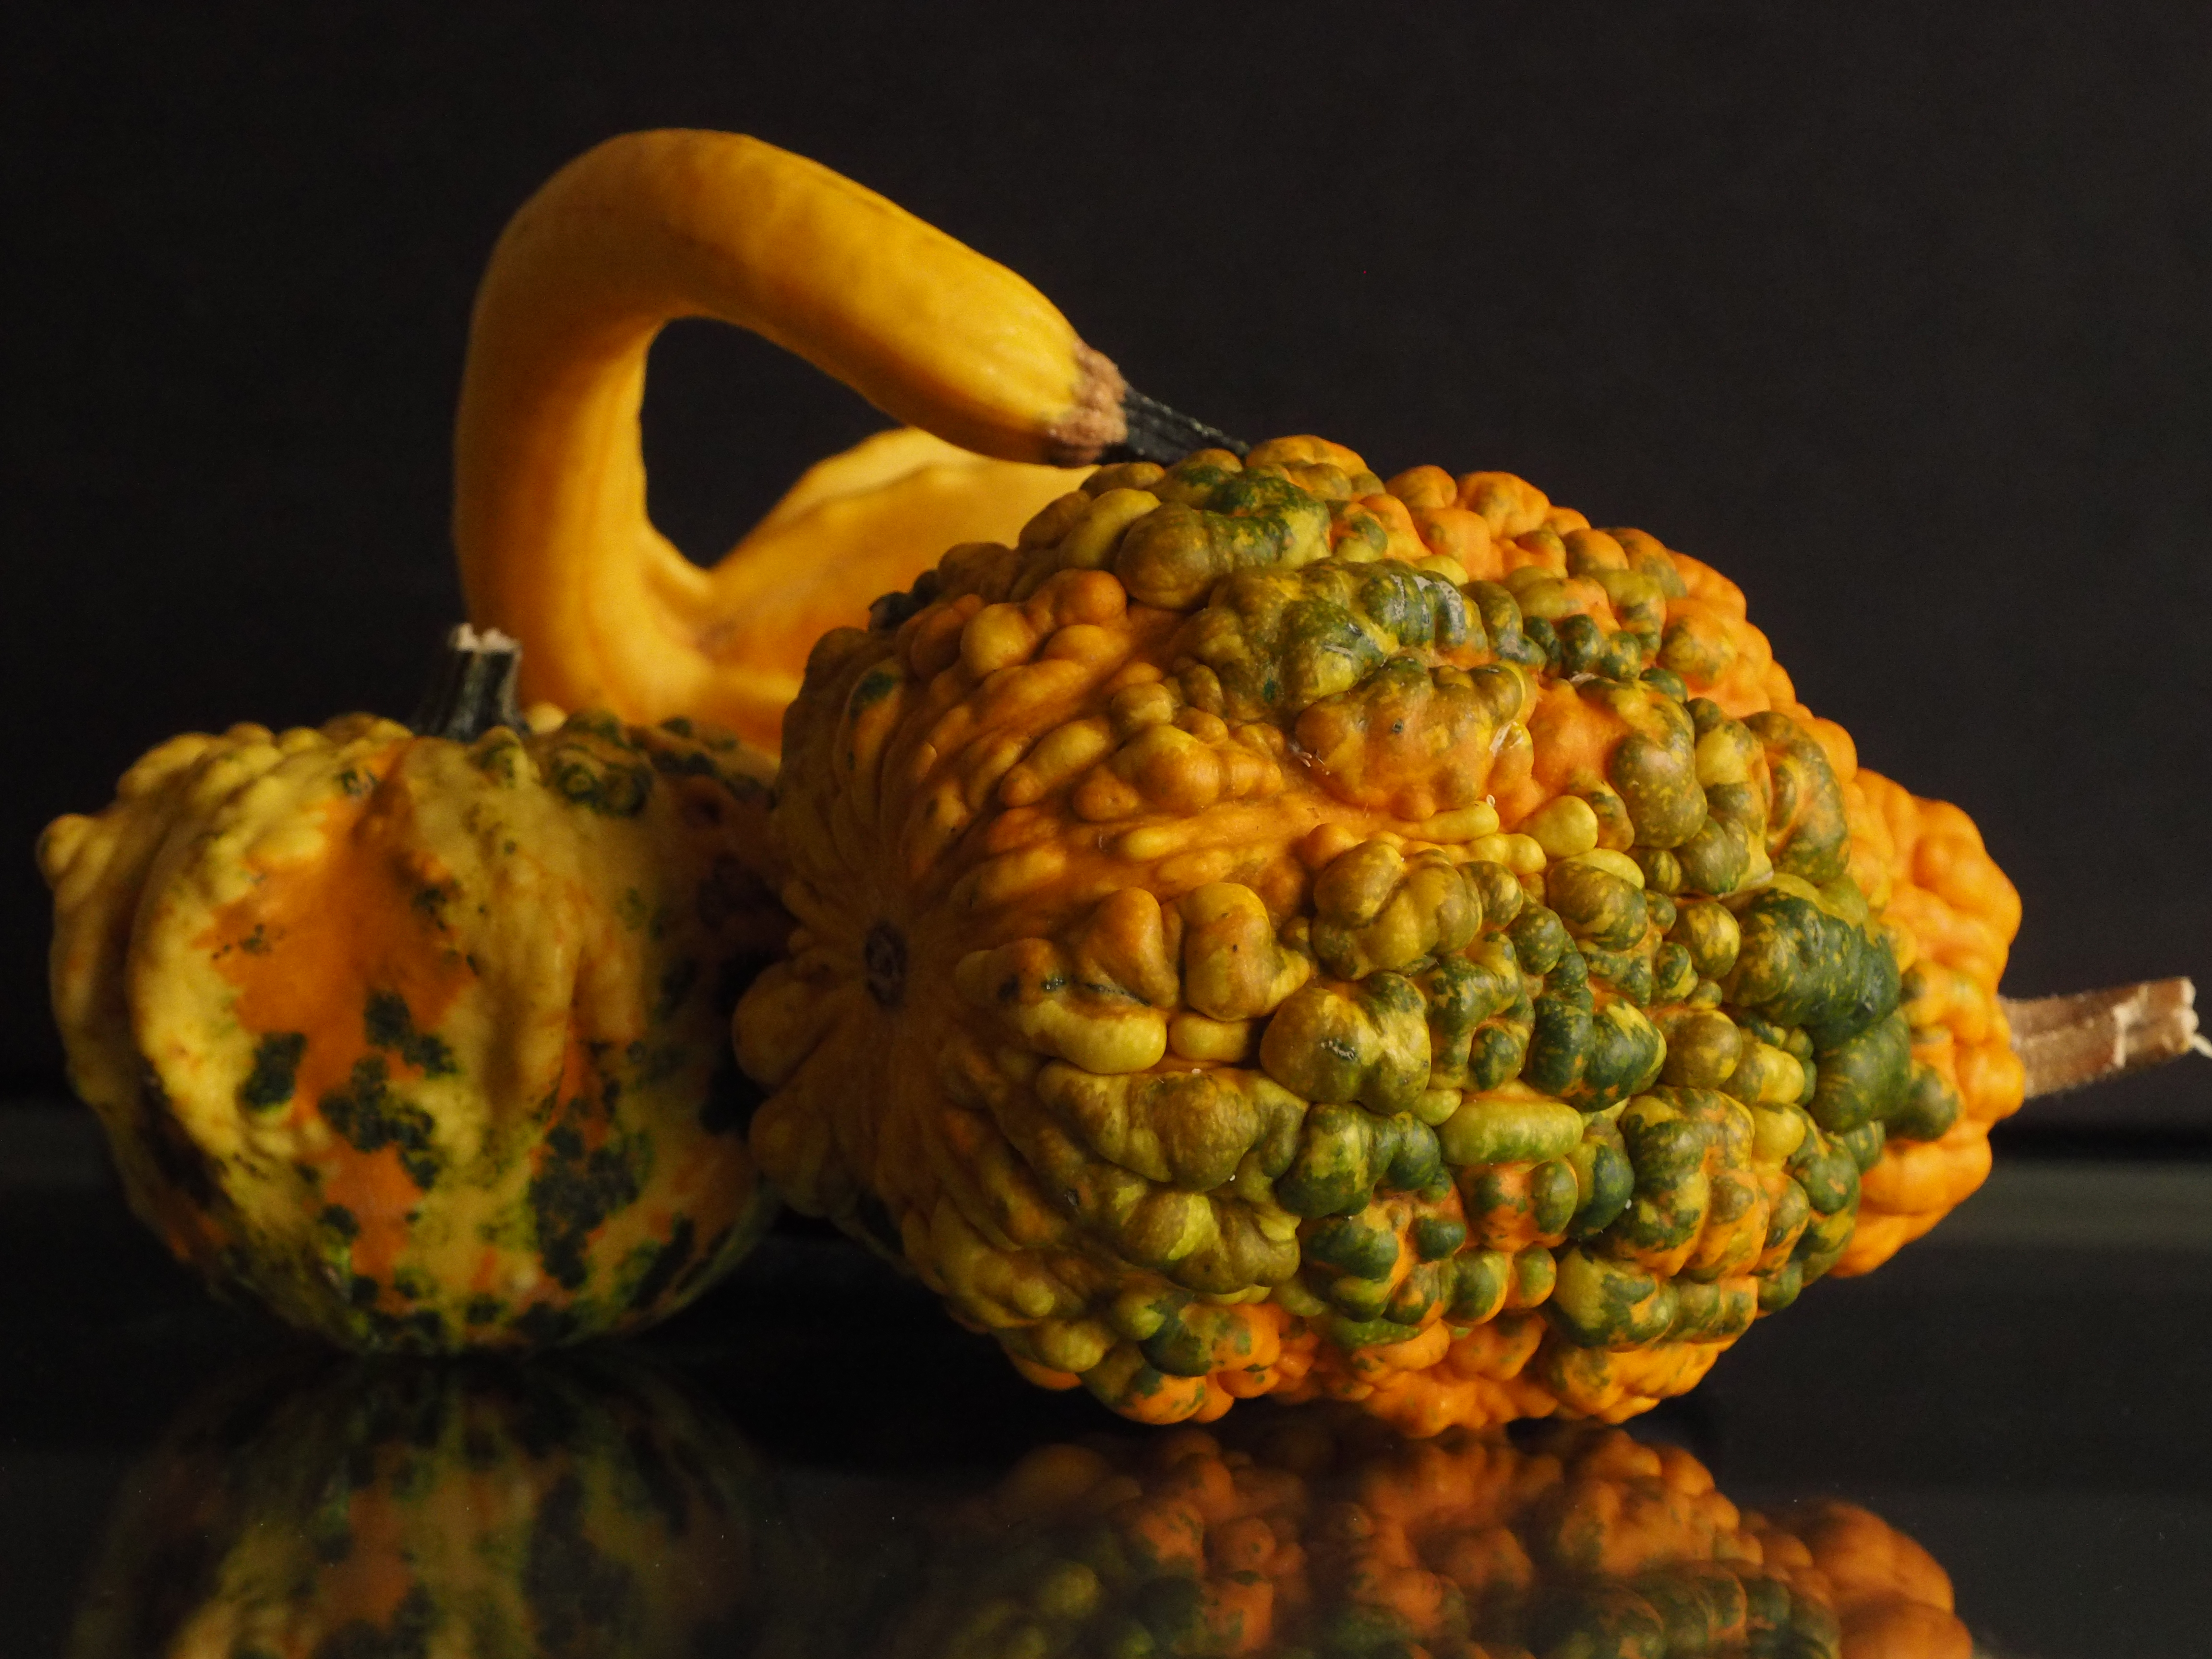
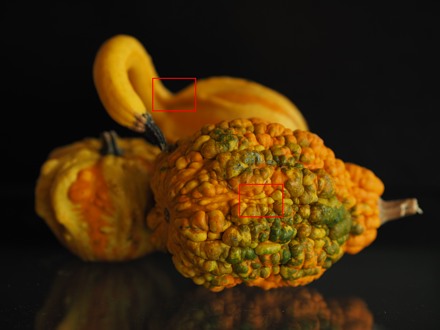
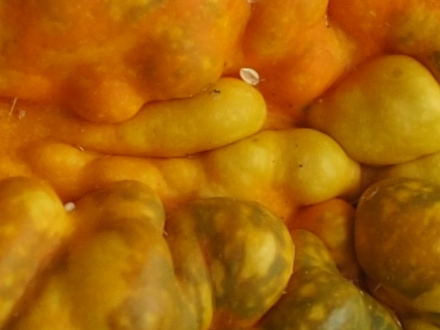
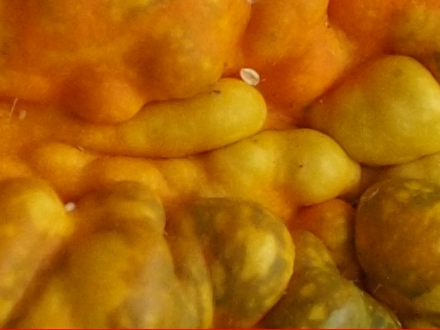
Scene #3: Gourds on Glass
| Lens at 48 mm, Aperture Priority (-0.7 EV) at F/8.0; shutter from 1/4 to 1/500 s. This is a new scene in my test setups; it was only by accident how I discovered the lovely daytime light in that particular corner of my living room. The scene contains both high-detail areas and (when shot at a larger aperture) out-of-focus ones, plus some dark background, all of which are useful in judging noise effects. The bad news is that the pumpkins may not last long.
| 
| Image samples at ISO 200-25600 Now the samples for various ISOs, low to high. Each sample is shown in the 1:1 scale (one camera pixel to one screen pixel), thus they should be viewed from a distance about 5 feet (1.5 m) from the screen, not 2 feet or less as you are sitting now. All samples are clickable, which brings the full, unaltered image file (10 MB or so). I hope I have enough server bandwidth. | |||
|
ISO 200 |
|
|

|
|
ISO 400 |
|

|

|
|
ISO 800 |
|

|
|
|
ISO 1600 |
|
|
|
|
ISO 3200 |
|
|
|
|
ISO 6400 |
|

|

|
|
ISO 12800 |
|
|

|
|
ISO 25600 |
|

|

|
|
Wasn't that fun... Now I have a few comments (but having access to original images you are, of course, free to draw your own conclusions which don't have to agree with mine.) First of all, the camera does an amazing job in holding the color and contrast all the way up to ISO 25,600 (well, perhaps the candy scene loses a bit at the last setting, but still nice). Two interrelated factors remain then: noise and detail. Actually, the camera's imaging engine attempts to remove the former at the expense of the latter, as always. Noise- and resolution-wise I am happy with the images all the way up to ISO 1600, or perhaps even 3200. Even these at ISO 6400 are still presentable — as long as you don't start peeping pixels. If you disagree with me on that, take the ISO 6400 gourd image file to your local Office Depot store and ask them to print it at 9×12" (if they have a printer supporting this size). Now you see what I mean? The ISO 12800 image is a bit worse (especially when you use the screen-flipping technique to compare it against the previous one), and things really go south at ISO 25600, with the is the biggest quality drop (per 1 EV, that is). Even so, the last triplet of images, printed at 8×10" or similar size, will be quite passable. In any case, the ISO 12800 setting can be used not just for emergencies, that I am sure of. Note that Olympus first sacrifices the resolution to remove noise; what remains, while present, is not ugly: no banding, patching or blobbing. I think that at ISO 25,600 this camera produces images better than my last two Olympus SLRs (E-30 and E-620) were delivering at ISO 3200. Somebody may say that these were relatively short exposures (1/500 to 1/2500 s at ISO 25,600), and at longer ones the noise will be worse. A misunderstanding: when I am using the highest ISO, this is to allow me for use of handholdable speeds. If I have to use a tripod, I can as well use it at lower ISO, which, as my previous experience shows, brings better results. Yes, quite a few people may not realize, that from the viewpoint of noise it is better to use an exposure of 30 s at ISO 200 than the (equivalent) one second at ISO 6400. Neither of these is handholdable, after all. We also have to remember that the image adjustment parameters, applied at the raw-to-RGB conversion (inside the camera or in postprocessing) may significantly affect the results, especially at the highest ISO settings. As mentioned above, here I was using the Natural preset with sharpness and noise reduction tuned down by one step. The noise filter can be turned off entirely (except for whatever is the hardwired, unavoidable level), which should improve the detail visibly, while allowing more noise. I wouldn't mind that, as long as that noise is fine-grained and uniform in structure. Ironically, most of noise tests measure just the amplitude, which makes the published data not very meaningful. Another shot at the pumpkins: no Noise Filter It is gloomy outside and it begins to snow: a good pretext to stay home and do some more experimenting. This time I wanted to see what will be the effect of disabling the in-camera Noise Filter option. This would be my preference if I am planning to do any noise removal in postprocessing. Generally, it is best to handle the noise either in- or off-camera, but not both. At the same time, in order to create significant out-of-focus areas as a playground for noise effects, I switched to the MZD 75 mm F.1.8 lens added just two days ago to my setup. |
|
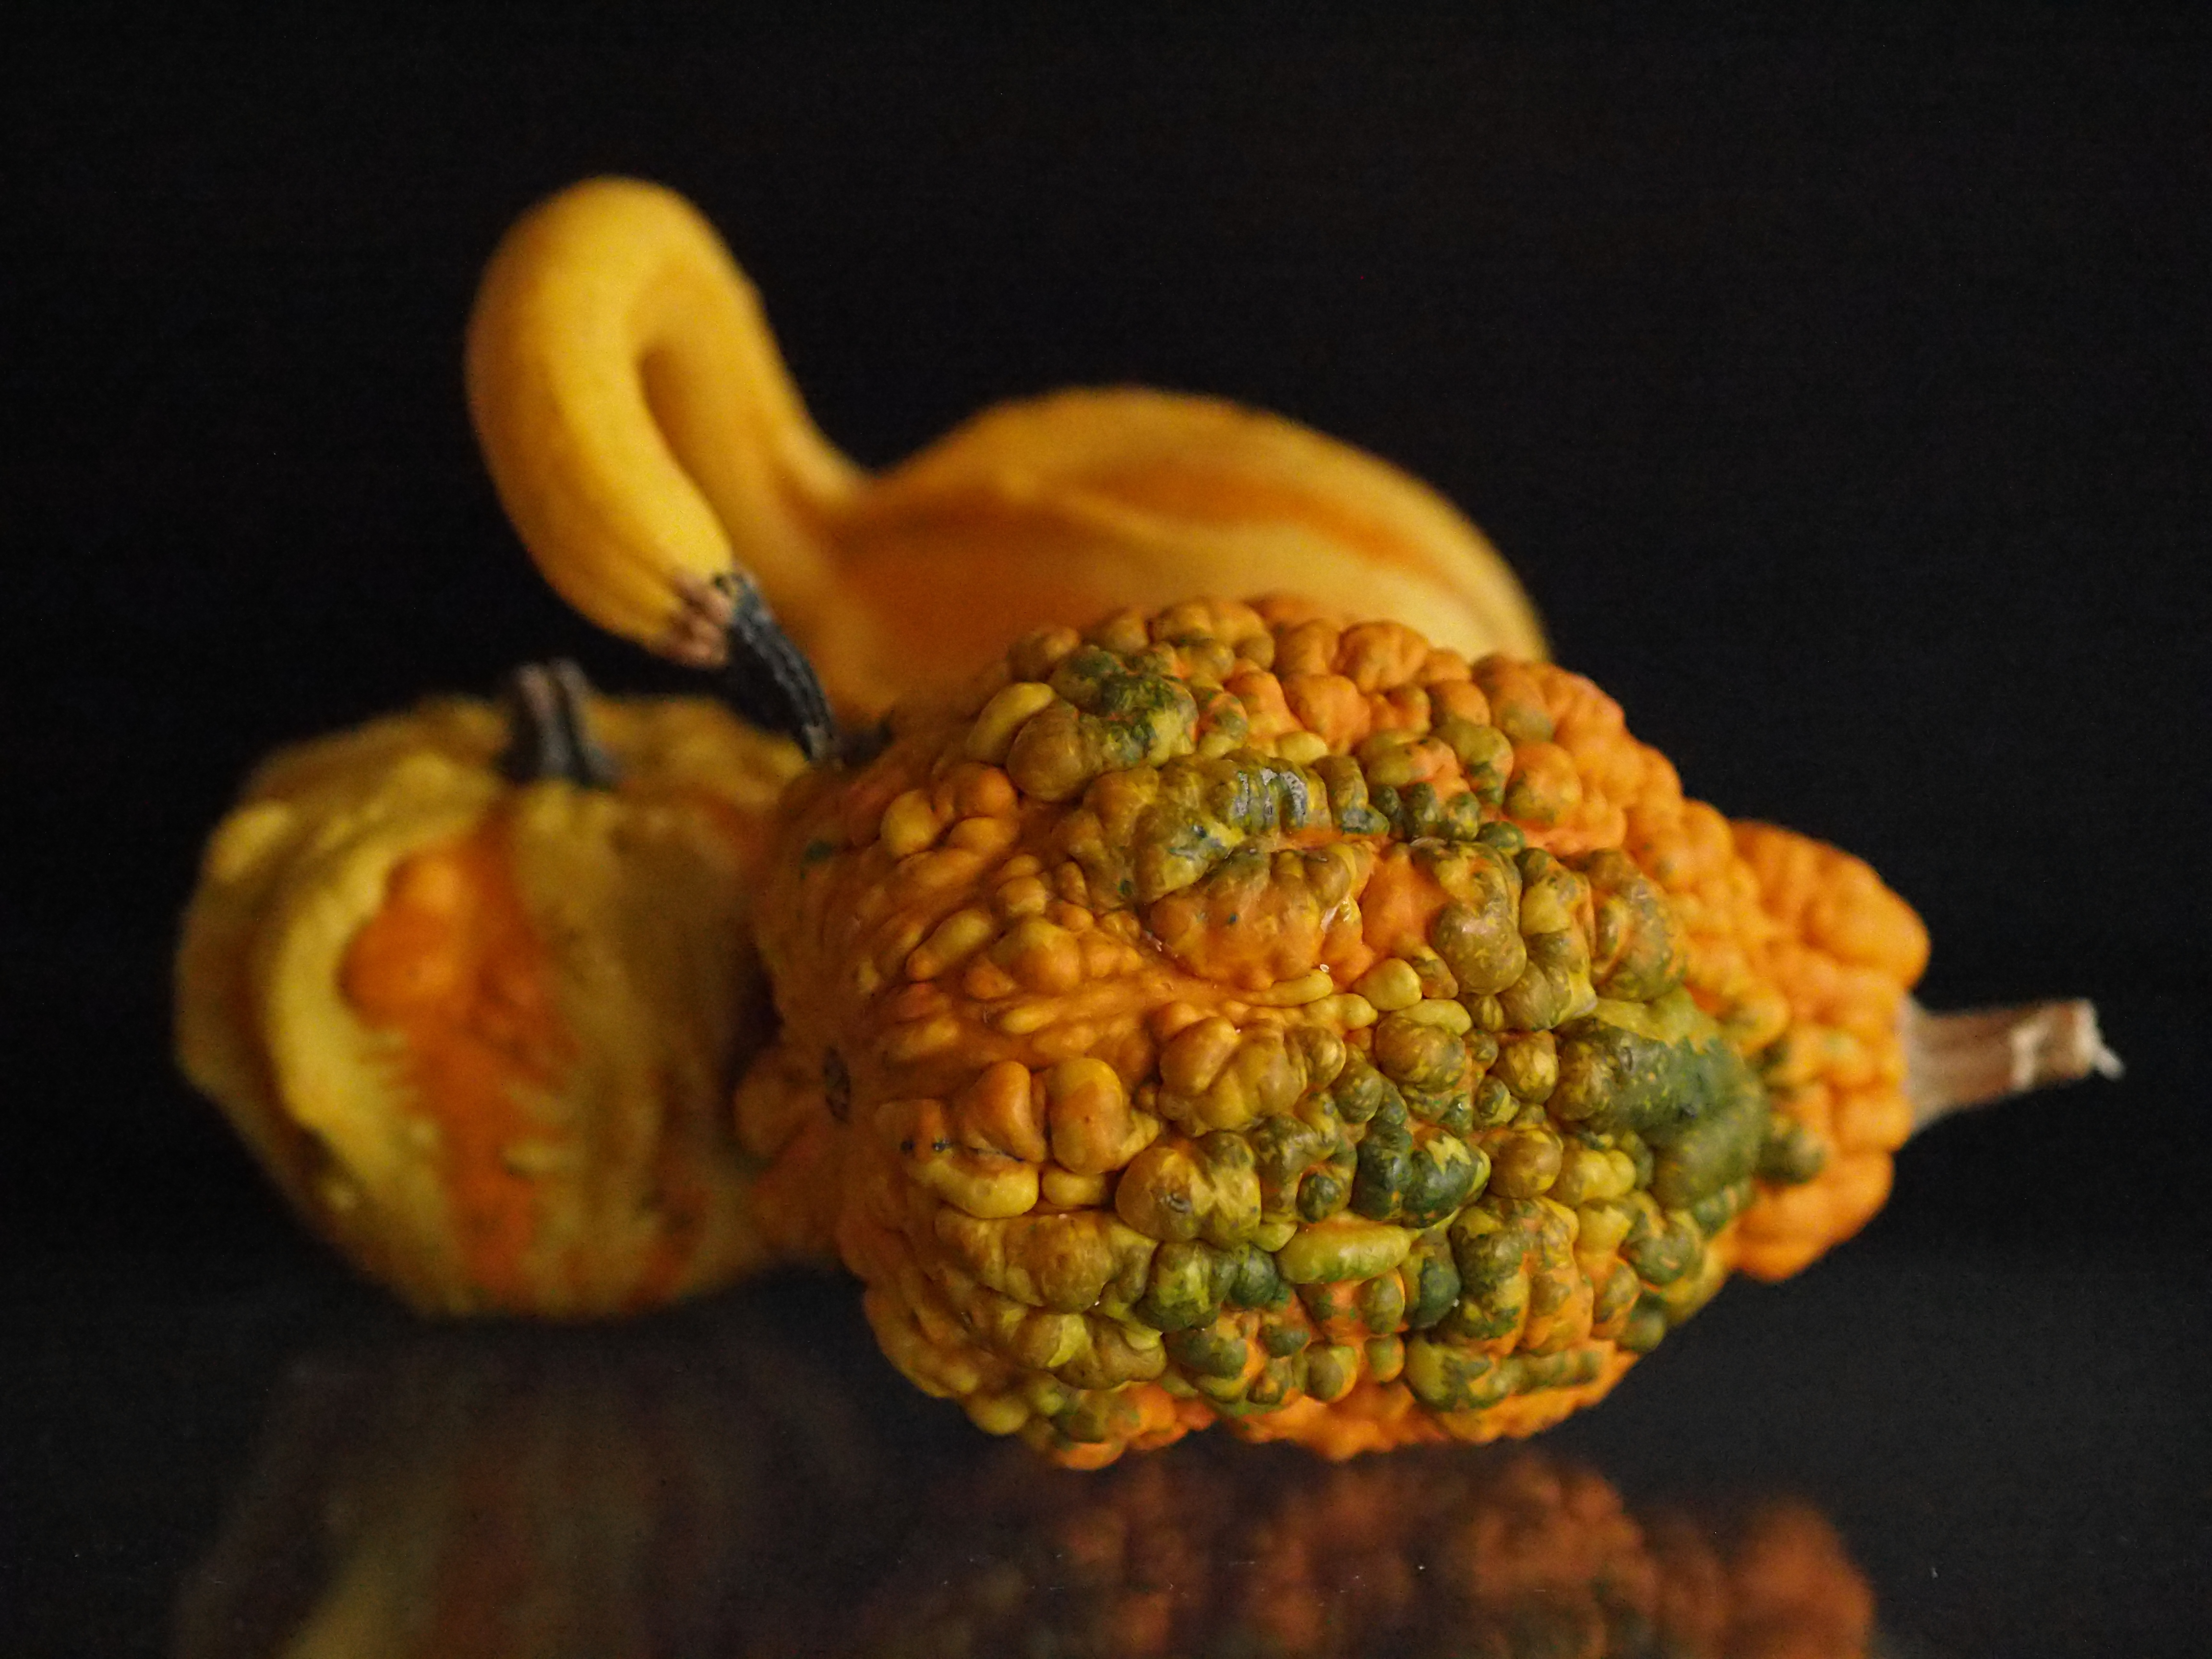
This is how the pumpkin scene looked this time, shown at the right in the ISO 200 version. I decided to select two 1:1 samples from each image: one with some in-focus detail, and one with smooth out-of-focus transitions, with both color and gray areas. In all frames they were in the same positions, as shown here.
Slightly different settings this time: WB was set by reference (off a white sheet), aperture priority at F/2.0 (resulting in shutter from 1/30 to 1/2000 s), sharpening at Normal-2 (the lowest I could get would be Muted-2, which is just one notch lower). Most importantly, the Noise Filter was set to Off. |
|
|
This time I decided to space the ISo values by 2 EV, therefore using only four: ISO 200, 800, 3200, and 12800. Each row of 1:1 samples below corresponds to one ISO setting.
| |
|
ISO 200 |
|

|
|
ISO 800 |
|

|
|
ISO 3200 |

|
|
|
ISO 12800 |

|
|
| Links to full, original image files: ISO 200 — ISO 800 — ISO 3200 — ISO 12800 | ||
|
Guess what? I think I like it better this way! The ISO 3200 images become outright pretty, and ISO 12800 is way better than the previous version (even if most reviews will show it as more noisy). I also like the ISO 800 a lot: with just a hint of extra texture the traces of noise add to it. The way things are, many of the hard-core pixel peepers (or, like Ken Rockwell says, measurebators) seem to be allergic to noise; when they see any in 1:1 samples, they behave like a two-year old who proudly runs to Mommy with something disgusting he found (let me spare you the details). A moderate amount of noise gives a picture some flavor, I think, and looks more natural than denoising artifacts. Go to (almost) any photography forum just to see, not once: "Nikon cameras are nice, but they have more noise than Canons..." So what? They still may produce better images! Usually, manufacturers filter the noise excessively, at least by default, if just to get better rating in reviews (which limit themselves to the not-so-important aspect of noise amplitude). When the pixel count increases, the apparent image noise does not increase as long as the pixel-to-pixel noise amplitude does not rise faster than square root of the pixel count. (This is assuming the same size of the viewed image and non-correlated noise nature.) Thus, for example, a 16 MP camera with noise amplitude of 10 WhU (Whatever Units) is, noise-wise, as good as a 4 MP camera with noise amplitude of 5 WhU. A 64 MP camera with the amplitude of 15 WhU will be better, i.e. less noisy (it would equal the two others only at 20 WhU). (This may be the most important thing in this article, that's why I'm showing it framed. And no, there is no such things like WhU, but it doesn't matter.) Using the Neat Image with ISO 12800 The question which arises now is: how do the old and new images submit themselves to noise removal in postprocessing? Thus, I've run both ISO 12800 frames through the Neat Image plugin in Photo Paint, with no other modifications) and here is the result. To make the comparison easier, I am showing four samples side by side, with samples linking to the corresponding full frames. |
|
NF: Low |
|

|
|
NF: Off |

|
|
| Without Neat Image | After Neat Image |
|
My preference is, quite clearly if not by a large margin, for the frames without in-camera noise filtering. As I mentioned before, this holds true even for frames not submitted to Neat Image, right off the camera. (The comparison is harder than it should be, because the Low and Off images come from different sessions, shot with different lenses and under differing light conditions.) The bottom line? While my current E-M1 setup uses Sharpness at N-2 and Low Noise Filtering, I've just decided to change the latter to Off. Both settings provide good results, so my recommendation would be for you to try both and then decide. There is one new thing for sure: we are no longer in Kansas. |
|
|
My other articles related to the |
|
This page is not sponsored or endorsed by Olympus (or anyone else) and presents solely the views of the author.
All brand names and trademarks are a property of some fat guy with a cigar and a bunch of lawyers. |
| Home: wrotniak.net | Search this site | Change font size |
| Posted 2013/12/08; last updated 2014/01/28 | Copyright © 2013-2014 by J. Andrzej Wrotniak |